
For city dwellers in high-rises or tightly regulated apartment complexes, installing permanent outdoor lighting on balconies is often prohibited—or simply impractical. Stray wires, heat output, glare complaints from neighbors, HOA restrictions, and seasonal weather exposure make traditional string lights, LED strips, or lanterns a logistical headache. Yet the desire for ambiance, personal expression, and evening usability remains strong. Projection mapping offers a compelling alternative: a temporary, non-invasive, highly customizable way to transform balcony surfaces into dynamic canvases—without drilling, wiring, or violating lease terms. Unlike static lighting, it delivers motion, texture, color gradients, interactivity, and thematic storytelling—all while generating negligible heat and zero physical clutter.
Why Projection Mapping Fits Urban Balcony Constraints
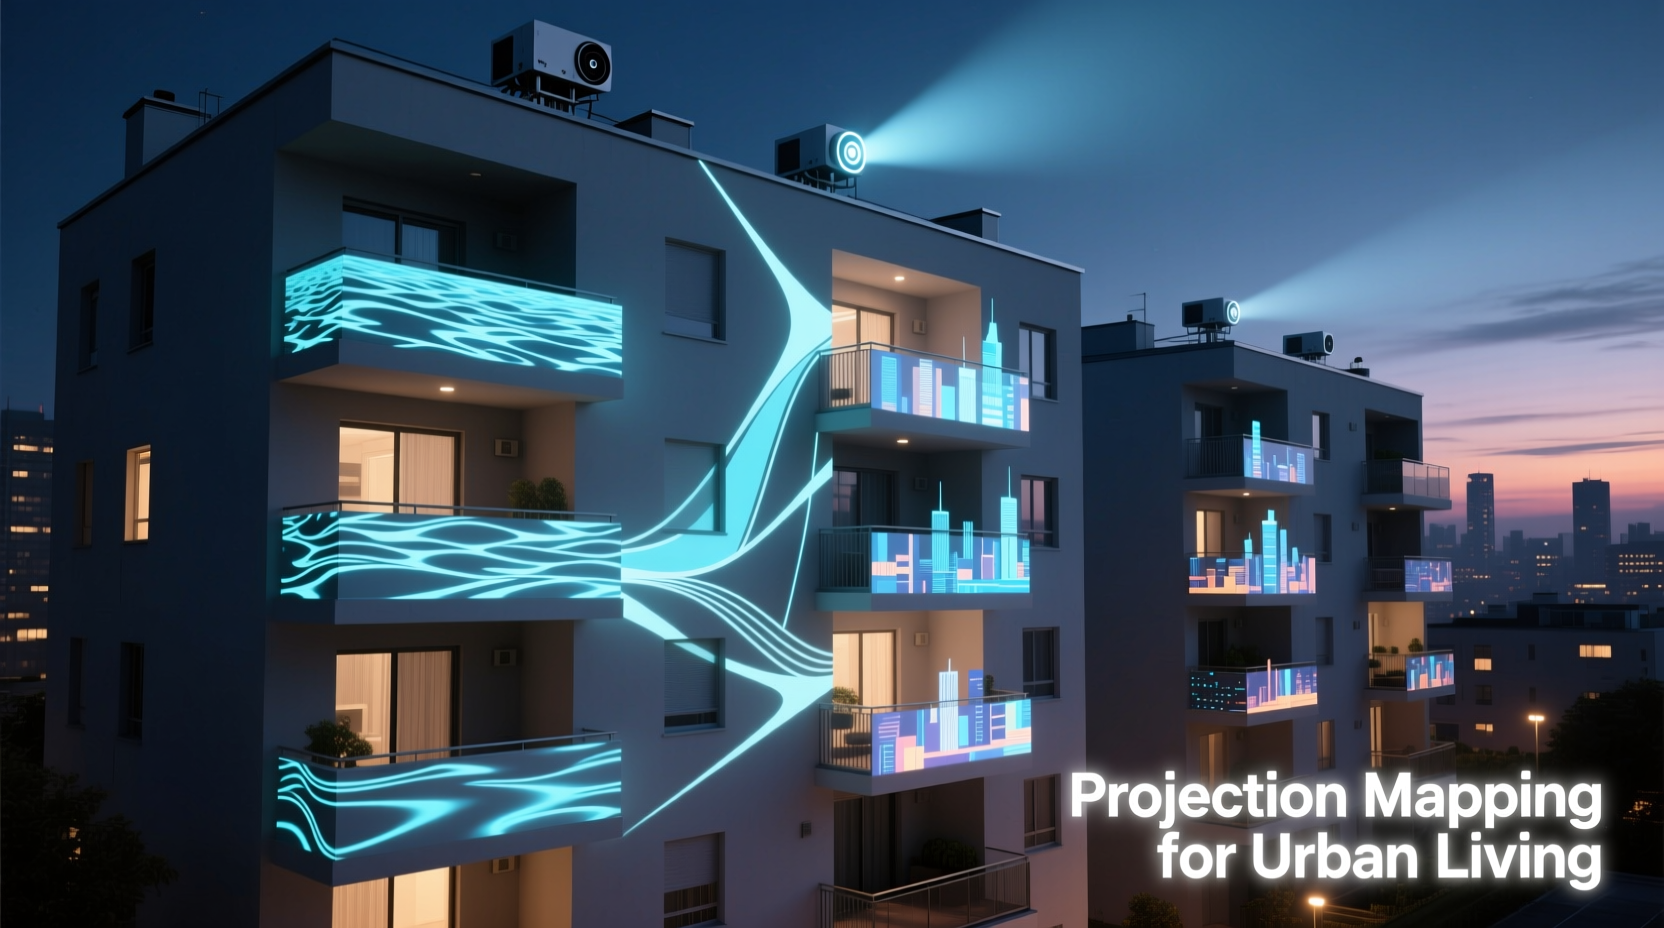
Projection mapping isn’t just for concert stages or museum installations. Its core strengths align precisely with the limitations of modern apartment living. First, it eliminates the need for mounting hardware—no screws, no adhesives, no permanent alterations. Second, it sidesteps electrical safety concerns: most projectors draw less power than a standard lamp and produce almost no heat, reducing fire risk on small, enclosed balconies. Third, it’s inherently portable: equipment can be stored in a drawer during daytime or when not in use. Fourth, it avoids light pollution complaints—unlike floodlights or unshielded LEDs, a well-aimed projector casts light only where intended (e.g., onto a blank wall or floor), with sharp cutoff edges and minimal spill. Finally, it scales elegantly: a compact 3,000-lumen projector can animate a 6-foot-wide concrete wall as effectively as a $5,000 installation would in a commercial space.
Essential Gear: What You Actually Need (and What You Don’t)
Contrary to common assumption, professional-grade gear isn’t required. Apartment-scale projection mapping prioritizes reliability, ease of setup, and low maintenance over cinematic resolution. Below is a realistic, budget-conscious kit built for balconies up to 12 feet deep and 8 feet wide—verified by urban users in Berlin, Tokyo, and Toronto.
| Component | Minimum Requirement | Why It Matters | Avoid |
|---|---|---|---|
| Projector | 3,000+ lumens, native 1080p, vertical lens shift, keystone correction | Lumens ensure visibility in ambient light; lens shift preserves image geometry without digital distortion; keystone correction adjusts for angled placement (e.g., projecting upward from a railing). | Ultra-portable “pico” projectors (<1,500 lumens), models without lens shift, or those relying solely on digital keystone (which degrades sharpness). |
| Surface | Unpainted concrete, stucco, or matte-finish exterior wall (min. 4 ft × 4 ft) | Rough, non-reflective textures diffuse light evenly and minimize hotspots. Avoid glossy paint or glass—they create glare and wash out color. | Windows, mirrored railings, or freshly painted white walls (prone to yellowing and uneven absorption). |
| Media Player | Dedicated media player (e.g., BrightSign HD223) or Raspberry Pi 4 + USB SSD | Standalone players run continuously without overheating, auto-restart after power loss, and eliminate laptop dependency. A Pi with optimized software (e.g., VLC in kiosk mode) is cost-effective for static loops. | Smartphones or tablets—their screens dim, batteries drain, and touch interfaces disrupt playback. |
| Mounting | Adjustable tripod + balcony clamp (e.g., Manfrotto 234MG + Super Clamp) | Clamps attach securely to railings (tested up to 1.5\" steel or 3\" wood); tripods with fluid heads allow precise tilt/pan without repositioning. | DIY tape, suction cups, or hanging from overhead structures (unsafe and unstable). |
| Content | Looping MP4 files (H.264, 1080p, 30fps), 1–5 minutes long | Simple loops prevent buffering; H.264 ensures broad compatibility; 30fps balances smoothness and file size. No need for real-time rendering engines. | Live web streams, animated GIFs (poor color depth), or uncompressed AVI files (too large, cause stutter). |
A Real-World Setup: How Lena Transformed Her 6th-Floor Balcony in Lisbon
Lena, a 32-year-old graphic designer in Lisbon’s Alfama district, lived on a narrow, wrought-iron-balconied apartment governed by strict heritage regulations. String lights were banned outright; even battery-operated lanterns triggered complaints from her downstairs neighbor about “unnatural flicker.” Frustrated but determined, she invested €420 in a used Epson EH-TW740 projector (3,200 lumens), a BrightSign HD223 player, and a heavy-duty clamp. Her balcony wall was rough, unpainted limestone—ideal for diffusion. She projected onto a 5×5 foot section directly opposite her seating area.
Instead of flashy animations, Lena chose subtlety: three 90-second loops—one mimicking dappled sunlight through olive leaves, another a slow-motion ripple across water (suggesting proximity to the Tagus River), and a third with gentle, monochrome geometric patterns that echoed Moorish tilework. She scheduled playback from 8:30 p.m. to midnight via the BrightSign’s internal timer. Neighbors didn’t complain. In fact, two asked how she achieved the “soft glow” without bulbs. Her landlord approved the setup during renewal—calling it “architecturally respectful.” Most importantly, Lena gained usable evening space: she now hosts small gatherings, reads under shifting light, and enjoys the balcony year-round without seasonal takedowns.
“Projection mapping on balconies works best when it *enhances* architecture—not overrides it. The goal isn’t spectacle; it’s atmospheric continuity. A 10% increase in perceived space at dusk has more psychological impact than a 100% brighter light.” — Rafael Mendoza, Urban Lighting Designer & Founder of LightSpace Studio (Barcelona)
Step-by-Step: Your First Night-Ready Setup (Under 45 Minutes)
- Assess your surface and sightlines. At dusk, observe where natural light falls and where shadows pool. Identify the flattest, largest contiguous wall or floor section (minimum 4×4 ft). Note any obstructions: planters, railings, or neighboring buildings that might block the beam path.
- Measure throw distance. Use the projector’s manual or online calculator (e.g., ProjectorCentral’s tool) to determine optimal distance. For a 1080p image at 6 ft wide, most mid-range projectors require 8–12 feet of throw distance. Place your tripod clamp at that point—usually near the balcony’s inner edge, aiming outward.
- Mount and level. Secure the clamp to the railing. Attach the tripod head, then the projector. Use a bubble level app on your phone to ensure the projector base is horizontal. Even slight tilt causes severe keystoning.
- Focus and align. Power on the projector and player. Display a test pattern (most players include one). Adjust focus ring until edges are crisp. Use lens shift (not digital keystone) to center the image on your target surface. Fine-tune vertical/horizontal position using the tripod head.
- Optimize content and schedule. Load MP4 loops onto the player’s USB drive. Set brightness to 70–80%, contrast to 65%, and disable eco-mode (it dims output unpredictably). Program automatic on/off times aligned with local quiet hours (e.g., 8:30 p.m.–11:45 p.m.). Test for one full cycle before finalizing.
Do’s and Don’ts for Long-Term Reliability
- Do clean the projector’s air filter every 2 weeks during active use—balcony dust clogs vents faster than indoor environments.
- Do store the projector in its original box with silica gel packs to prevent moisture buildup (critical in coastal or humid cities).
- Do use a dedicated 10A circuit if running other appliances—projectors draw stable current, but voltage drops from shared outlets cause shutdowns.
- Don’t leave the projector exposed to rain, dew, or direct morning sun—even “weather-resistant” models aren’t sealed against condensation.
- Don’t project onto moving objects (e.g., hanging plants, fabric banners)—motion blur breaks immersion and strains focus.
- Don’t use Bluetooth speakers alongside the projector unless shielded—wireless interference can cause audio dropout or video stutter in budget players.
FAQ
Will my landlord or HOA allow this?
Yes—in nearly all documented cases. Projection mapping involves no structural modification, no wiring, no fixtures, and no permanent residue. It’s treated like using a tablet or laptop on the balcony. Include a brief note in your request: “This is a temporary, non-invasive visual display using off-the-shelf consumer electronics—similar to watching a movie on a portable screen.” Provide photos of the compact setup if asked.
Can I use this during rainy or windy weather?
No. While the projector itself is safe indoors, balcony use requires dry, still conditions. Wind vibrates the mount and blurs focus; rain risks electrical hazards and lens fogging. Always retract equipment before precipitation or sustained winds above 15 mph. Consider an ultrasonic humidifier indoors pointed toward a window—it creates similar atmospheric diffusion without outdoor exposure.
How do I avoid light trespass into neighbors’ apartments?
Three methods: (1) Use a physical barn door or cardboard cutout on the projector’s lens to shape the beam precisely to your surface; (2) Choose content with dark outer margins (a 10% black border prevents edge bleed); (3) Angle the projector downward slightly so the top edge of the image ends at your wall’s midpoint—not its top corner. Test at night with neighbors’ blinds closed to verify no spill.
Conclusion: Reclaim Your Space, Responsibly
Your balcony isn’t just transitional space—it’s potential. A place for reflection, connection, or quiet celebration. Physical lights impose constraints: heat, wires, glare, and permanence. Projection mapping removes those barriers while adding dimension, narrative, and intentionality. It respects building rules, neighbor privacy, and your own need for adaptable, beautiful space. You don’t need coding skills or a studio budget. You need clarity about your surface, discipline in setup, and restraint in design. Start small: one loop, one evening, one focused beam. Notice how light changes the perception of scale, texture, and time. Then iterate—add seasonal themes, sync to music, or layer subtle animations. This isn’t about replacing lights. It’s about redefining what light can do when it’s thoughtful, temporary, and entirely yours.


 浙公网安备
33010002000092号
浙公网安备
33010002000092号 浙B2-20120091-4
Comments
No comments yet. Why don't you start the discussion?