
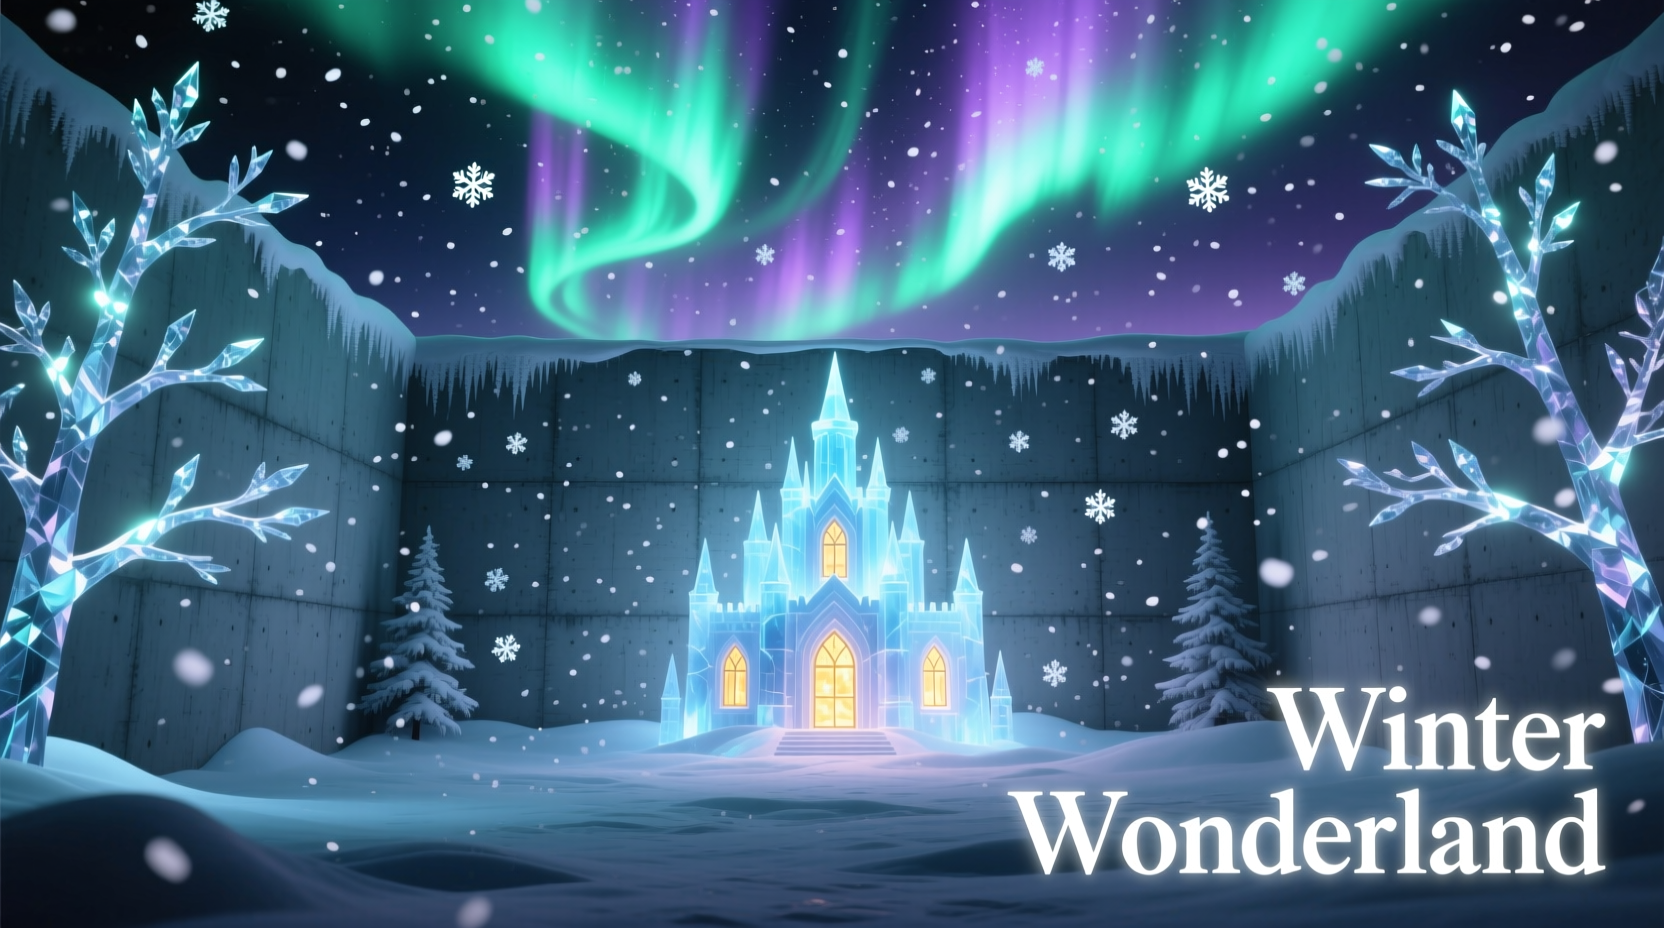
Projection mapping—once reserved for high-budget festivals and museum installations—is now accessible to homeowners, educators, small businesses, and holiday enthusiasts. With the right planning and affordable tools, you can convert a blank interior or exterior wall into a living canvas of falling snow, glowing ice crystals, animated reindeer silhouettes, or softly drifting auroras—all without paint, glue, or permanent fixtures. Unlike static decorations, projection-mapped winter scenes respond to movement, time of day, and even ambient sound—creating moments of quiet awe in your living room, classroom, or storefront. This guide distills years of real-world installation experience into actionable steps, grounded in physics, software logic, and seasonal practicality.
Why Projection Mapping Beats Traditional Winter Decor
Traditional winter decor—string lights, paper snowflakes, vinyl decals—offers charm but lacks depth, interactivity, and scalability. A projection-mapped wall delivers dynamic storytelling: snow accumulates realistically on ledges, frost patterns grow organically over minutes, and light shifts with the hour. More importantly, it’s reusable, low-waste, and adaptable. One projector can serve eight distinct seasonal themes—from icy tundras to spring blossoms—simply by swapping media files. According to the 2023 International Projection Mapping Association (IPMA) survey, 74% of residential adopters cited “flexibility across seasons” as their top motivation—not just holiday spectacle.
Essential Gear: What You Really Need (and What You Can Skip)
You don’t need a $5,000 laser projector or custom-built rig. Most successful home-scale winter mappings run on equipment under $600. The core components are non-negotiable; accessories depend on your ambition level.
| Component | Minimum Requirement | Recommended Upgrade | Why It Matters |
|---|---|---|---|
| Projector | 3,000 lumens, native 1080p, keystone correction | 4,500+ lumens, 0.6–0.8 throw ratio, HDMI 2.0 | Winter scenes rely on cool whites and deep blues—low-lumen projectors wash out snow texture and dim aurora gradients. |
| Media Player/Computer | Dedicated Windows/macOS laptop (i5/Ryzen 5, 16GB RAM) | Mini PC with NVIDIA GTX 1650 or better | Real-time particle effects (e.g., wind-blown snow) demand GPU acceleration—not CPU rendering. |
| Mounting Hardware | Sturdy shelf or tripod (no wobble) | Adjustable ceiling mount + tilt/swivel bracket | Vertical offset is critical for avoiding keystoning distortion on tall walls. |
| Content Software | Free: OBS Studio + Resolume Arena trial | Paid: MadMapper ($199 one-time) or TouchDesigner ($199/year) | MadMapper excels at precise edge blending and geometry warping—essential for irregular walls or windows. |
| Winter Media Assets | CC0-licensed snow loops from Pixabay or Openverse | Custom-designed 4K loops (snowfall intensity, wind direction, accumulation rate) | Generic “snow loop” videos lack physical realism—real snow falls at 1–2 m/s, clumps on surfaces, and reflects ambient light differently at dusk vs. midnight. |
What you can skip: IR sensors for motion tracking (unless you want interactive snow that melts where people walk), 3D scanning hardware (manual masking works for flat walls), and professional calibration kits. Consumer-grade projectors have improved enough that manual gamma and white-balance tweaks in VLC or QuickTime suffice for most indoor applications.
A Real-World Case Study: The Maple Street Living Room
In December 2023, Sarah Lin, a graphic designer and parent in Portland, Oregon, transformed her 12' × 8' living room wall into a responsive winter landscape using $520 in gear. Her wall had two obstructions: a built-in bookshelf (3' wide, 6' tall) and a window (4' × 3'). She used MadMapper’s surface masking tool to exclude both areas, then layered three synchronized layers: (1) a slow-moving aurora borealis background (subtle green-blue pulse), (2) mid-depth snowfall with parallax depth (achieved by scaling foreground flakes 120% larger than background ones), and (3) reactive frost bloom—white crystalline growth triggered by audio input from her Sonos speaker (a gentle “whoosh” when music paused).
The result wasn’t just visual—it changed behavior. Her children spent 40% more time reading near the wall (drawn by the soft light), and guests consistently paused before entering the room, commenting on its “calming weightlessness.” Crucially, setup took 3.5 hours: 45 minutes for projector alignment, 90 minutes for masking and layer timing, and 60 minutes testing brightness across daylight and evening conditions. No electrician, no painter, no permits.
“Projection mapping isn’t about replacing reality—it’s about inviting viewers to inhabit a parallel atmosphere. In winter, that atmosphere is stillness, reflection, and gentle transformation. When done well, the wall doesn’t ‘show’ snow—it *holds* winter.” — Javier Ruiz, Creative Director, Lumina Studios & IPMA Advisory Board Member
Your Step-by-Step Mapping Workflow (From Wall to Wonder)
This sequence assumes no prior mapping experience. Follow each step in order—skipping alignment or calibration will undermine all subsequent effort.
- Measure & Map Your Wall Geometry: Use a tape measure and smartphone level app. Record width, height, distance from projector lens to wall center, and note all obstructions (outlets, vents, trim). Sketch a rough diagram—include angles if your wall isn’t perfectly flat.
- Position the Projector Strategically: Place it 8–12 feet from the wall (for standard 3,000-lumen units). Elevate it so the lens hits the wall’s vertical center. Avoid projecting upward onto ceilings—that forces extreme keystone correction, which degrades resolution and creates uneven brightness.
- Calibrate Brightness & Contrast: In a dark room, project a pure white image. Adjust projector settings until white appears crisp—not blindingly hot—and black retains texture (not crushed to void). Use a grayscale test pattern (download free from Lagom.nl) to verify smooth tonal transitions—critical for snow’s subtle highlights.
- Create Your Mask Layer: Import your wall photo into MadMapper or Resolume. Draw polygons around obstructions. Enable “alpha masking” so those areas remain transparent—no snow falls on your bookshelf or window glass. Save this mask as a reusable asset.
- Layer Your Winter Content: Start with background (aurora or starfield), then mid-ground (snowfall with moderate speed), then foreground (large, slow-drifting snowflakes or frost animations). Set opacity of foreground layer to 70–85% so background remains visible—this creates atmospheric depth.
- Test Under Real Conditions: Run your sequence at noon, 5 p.m., and 9 p.m. Note where ambient light washes out detail. Add a simple brightness automation curve: reduce output 20% at noon, increase 15% at night. Many media players support time-based triggers.
- Refine Motion Physics: In your video editor (DaVinci Resolve Free or CapCut), adjust snow velocity curves. Real snow accelerates slightly as it falls—use easing (ease-out) rather than linear motion. For frost blooms, animate scale from 0% to 120% over 4 seconds, then hold.
Five Critical Do’s and Don’ts
- Do test projector focus at the exact distance you’ll use—not on a tabletop. Focus shifts dramatically with throw distance.
- Don’t use compressed MP4s with aggressive H.264 encoding. They introduce macroblocking in dark blue/black winter scenes. Export as ProRes 422 or DNxHR HQ instead—even if file size doubles.
- Do clean your projector lens weekly during heavy use. Dust motes magnify into visible “snow ghosts” on screen.
- Don’t rely solely on built-in projector color profiles. Manually set white point to D65 (6500K) and gamma to 2.2 for natural winter light reproduction.
- Do schedule automatic shutdown. Projectors generate heat; running overnight risks thermal throttling and lamp degradation. Use VLC’s “play for X minutes then quit” function.
Frequently Asked Questions
Can I map onto brick, stucco, or wallpapered walls?
Yes—but expect reduced contrast and softer edges. Rough textures scatter light, making fine details (like individual snowflakes) appear blurred. Mitigate this by increasing projector brightness by 25%, reducing animation complexity (avoid tiny particles), and using higher-contrast color palettes (e.g., cobalt blue + bright white instead of powder blue + ivory). Test first with a single static frame before committing to full sequences.
How do I prevent the projection from looking “flat” or “video-like”?
Three techniques break the “screen illusion”: (1) Add subtle lens distortion in post-production (1–2% barrel effect) to mimic human peripheral vision; (2) Introduce very slow, imperceptible camera drift (0.1 pixels/frame) in your animation software—this mimics organic observation; (3) Layer in ambient occlusion shadows beneath floating elements (e.g., a faint, soft shadow under drifting snowflakes) using alpha-channel overlays. These micro-adjustments signal “physical presence,” not playback.
Is it safe to project outdoors on a garage wall?
Only with weather-rated equipment. Standard projectors fail below 40°F (4°C) and condense moisture at dew points. If attempting outdoor use: (1) Choose an IP54-rated projector (e.g., Epson PowerLite 2250U); (2) Mount it under an eave with 6\" overhang; (3) Warm the unit to operating temperature for 15 minutes before starting; (4) Never project in rain, fog, or snowfall—water droplets on the lens create permanent hotspots. Indoor projection onto an exterior-facing window (with blackout curtains behind) is safer and often more effective.
Conclusion: Your Wall Is Already Waiting
A winter wonderland isn’t defined by scale or expense—it’s defined by intention and attention. Projection mapping transforms passive space into active experience: the hush after snowfall, the slow breath of cold air, the quiet reverence of light on ice. You don’t need a studio, a team, or a six-figure budget. You need a wall, a projector, and the willingness to see it not as a surface—but as a threshold. Start small: map one 4' × 4' section above your fireplace with a single snow loop. Tune the brightness at dusk. Watch how light pools in corners, how shadows deepen as night settles. Then expand—add frost, add stars, add silence that feels like snow. Every wall holds winter already. You’re not installing magic—you’re revealing what’s been there all along.


 浙公网安备
33010002000092号
浙公网安备
33010002000092号 浙B2-20120091-4
Comments
No comments yet. Why don't you start the discussion?