
Transforming a backyard tree into a living video display may sound like science fiction, but with modern projection mapping technology, it’s not only possible—it’s increasingly accessible. Whether for seasonal celebrations, immersive art installations, or private events, turning a tree into a video canvas adds depth, motion, and storytelling to natural landscapes. Unlike flat-screen displays, projection mapping adapts visuals to the organic contours of bark, branches, and foliage, creating an illusion of movement across three-dimensional surfaces.
This technique has moved beyond galleries and festivals into homes and public spaces, thanks to affordable projectors, open-source software, and growing online communities. With careful planning and attention to detail, you can create a mesmerizing visual experience that turns a static tree into a dynamic centerpiece.
Understanding Projection Mapping Basics
Projection mapping—also known as spatial augmented reality—involves projecting images onto irregularly shaped surfaces so they appear to fit seamlessly. Instead of treating a wall or screen as a flat surface, software adjusts the image to conform to the object's geometry. When applied to trees, this means warping digital content to align with trunks, limbs, and clusters of leaves.
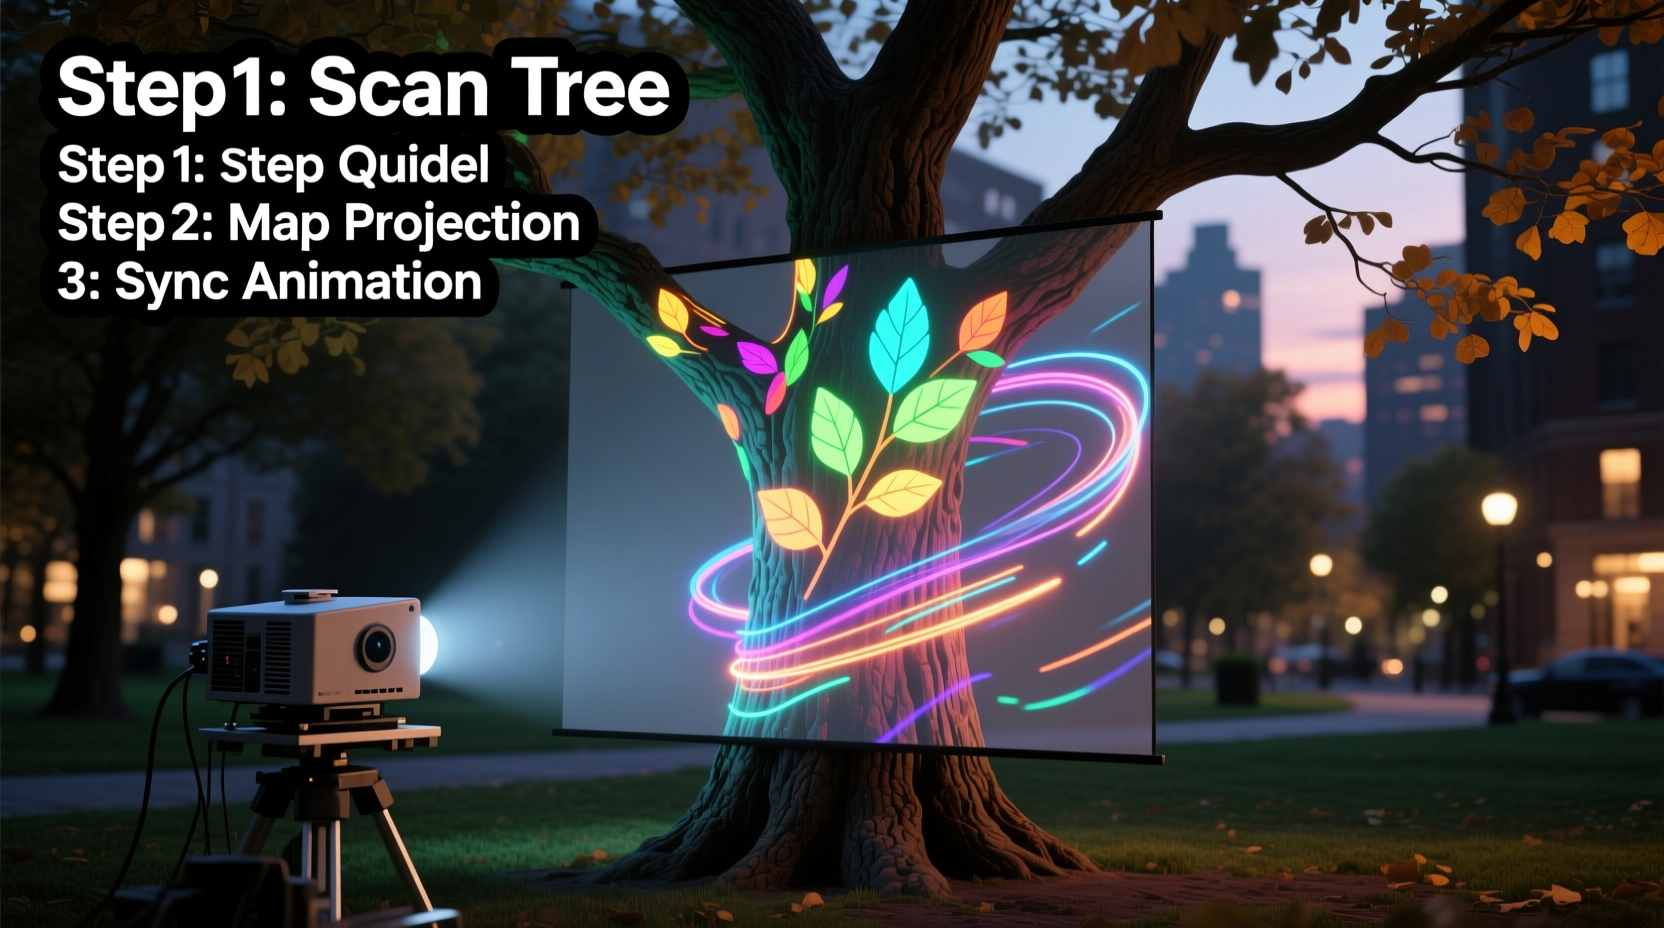
The process begins with surface analysis. A 3D scan or manual calibration helps define where light falls and how shadows form. Then, specialized software maps virtual pixels to physical space, ensuring animations flow naturally over bark textures and branch splits. The result? A tree that appears to bloom in fast motion, ripple with color waves, or even tell a story through animated sequences.
While large-scale installations often use multiple synchronized projectors and professional-grade gear, smaller versions can be achieved with consumer equipment. Key components include:
- A high-lumen projector (minimum 3,000 lumens for outdoor use)
- A computer running projection mapping software
- Digital content tailored to the tree’s shape
- Stable mounting hardware
- Dark ambient conditions for optimal visibility
“Projection mapping on organic forms like trees challenges traditional media boundaries—it turns nature into a responsive stage.” — Dr. Lena Torres, Digital Media Artist and Professor at NYU Tisch School of the Arts
Step-by-Step Guide to Mapping Your Tree
Creating a successful projection requires technical precision and creative vision. Follow this timeline to ensure every phase is executed effectively.
- Choose the Right Tree: Look for a tree with strong structural features—a broad trunk, visible branching patterns, and minimal obstruction from nearby lights or structures. Deciduous trees work well in winter when bare branches provide clear silhouettes; evergreens offer dense texture year-round.
- Assess Ambient Lighting: Conduct a site visit at dusk. Avoid areas under streetlights or near reflective surfaces. Trees in enclosed yards or behind fences typically yield better contrast.
- Select and Position the Projector: Place the projector on a stable surface 10–20 feet from the tree, depending on its throw ratio. Use a tripod or mount to prevent vibration. Ensure the lens is level and unobstructed.
- Capture the Surface Geometry: Take several photos of the tree from the projector’s perspective. Alternatively, use a laser pointer or handheld light to mark key points (branch junctions, trunk curves) for reference during digital modeling.
- Create or Source Content: Design animations that complement the tree’s form. Swirling vines, blooming flowers, or flowing water effects enhance organic shapes. Software like TouchDesigner, Resolume Arena, or MadMapper supports custom masking and warping.
- Map and Warp the Video: Import your footage into mapping software. Use the photo references to draw masks around branches and trunks. Adjust corners, curves, and opacity layers until the projected image aligns perfectly with the physical structure.
- Test and Refine: Run a short loop after sunset. Observe how wind affects leaves, whether shadows distort edges, and if brightness is sufficient. Make micro-adjustments to focus, angle, or content timing.
- Finalize and Present: Once calibrated, set up automated playback via media server or laptop. Add ambient sound if desired, but keep volume considerate of neighbors.
Essential Equipment Checklist
Before launching your project, verify all necessary tools are available. This checklist ensures nothing is overlooked.
- Projector (3,000+ lumens, preferably with vertical lens shift)
- HDMI or SDI cable (length appropriate for distance)
- Media playback device (laptop, Raspberry Pi, or dedicated media server)
- Extension cord with surge protector (outdoor-rated)
- Sturdy tripod or mounting bracket
- Projection mapping software (e.g., MadMapper, HeavyM, or VPT 8)
- Backup storage drive with project files
- Flashlight or headlamp (for nighttime setup)
- Weatherproof tarp (in case of unexpected rain)
- Sound system (optional, for synchronized audio)
Optimizing Visual Impact: Do’s and Don’ts
Even flawless technical execution can fall flat without thoughtful design. The following table outlines best practices for maximizing aesthetic impact while avoiding common pitfalls.
| Do | Don’t |
|---|---|
| Match animation speed to wind conditions—slow movements blend better with gentle swaying. | Use rapid cuts or flashing effects that distract from the tree’s natural rhythm. |
| Design content with negative space—let parts of the tree remain unlit to emphasize contrast. | Flood the entire tree with light, washing out texture and depth. |
| Use earthy tones or bioluminescent palettes that feel integrated with nature. | Apply neon gradients that clash with the environment. |
| Incorporate subtle interactivity—motion sensors or sound triggers can make the display respond to viewers. | Overcomplicate with too many inputs that reduce reliability. |
| Schedule shows during low-traffic hours to minimize disturbance. | Run projections past midnight in residential neighborhoods. |
Real Example: The Winter Solstice Installation
In Portland, Oregon, artist Mira Chen transformed a century-old Douglas fir in her front yard into a community attraction during the 2023 Winter Solstice. Using a single 5,000-lumen projector mounted on her porch, she mapped a seven-minute loop depicting the life cycle of Pacific Northwest flora—from seed germination to forest canopy growth.
Chen began by photographing the tree at twilight, then used MadMapper to outline major branches digitally. She designed the animation in After Effects, incorporating time-lapse elements synced to a soft instrumental soundtrack. To engage neighbors, she added QR codes linking to a mini-documentary about local ecology.
The installation ran nightly for two weeks, drawing small evening crowds who stood quietly on the sidewalk. “People didn’t just watch,” Chen said. “They pointed out squirrels moving through the light, or how frost made certain projections shimmer. It became collaborative.” Her total cost was under $800, mostly spent on the projector rental and weatherproof housing.
FAQ: Common Questions About Tree Projection Mapping
Will the projector harm the tree?
No. Standard video projectors emit non-ionizing light similar to household lamps. They do not generate enough heat or UV radiation to damage bark or foliage. However, avoid placing equipment directly against the trunk to prevent moisture trapping or physical abrasion.
Can I use a regular home projector?
You can, but outdoor success depends on brightness. Most indoor projectors range between 1,500–2,500 lumens, which may wash out under moonlight or urban skyglow. For reliable results, choose a model rated above 3,000 lumens. Short-throw projectors are ideal for tight spaces.
How long does setup take?
First-time setups usually require 3–5 hours, including positioning, calibration, and testing. Subsequent installations on the same tree take less than 90 minutes once templates are saved. Pre-mapping the tree during daylight saves significant time.
Advanced Tips for Long-Term Displays
For those looking to move beyond temporary installations, consider building a semi-permanent system. Weatherproof enclosures protect projectors from rain and dust. Automated scripts can trigger daily playback at sunset using tools like cron jobs or smart plugs with geolocation scheduling.
Some artists integrate solar panels and battery packs to eliminate extension cords entirely. Others use wireless HDMI transmitters to separate the computer from the projector, reducing trip hazards and noise.
If expanding to multiple trees, synchronize projectors using SMPTE timecode or network-based protocols like Art-Net. This allows complex narratives to unfold across a garden or park, with each tree playing a different role in the visual story.
“The most powerful projections don’t overpower nature—they converse with it.” — Rafael Kim, Environmental Media Collective
Conclusion: Bring Your Vision to Life
Projection mapping transforms ordinary trees into extraordinary canvases, merging technology with nature in ways that inspire wonder. No longer limited to museums or concert stages, this art form is now within reach of hobbyists, educators, and creatives alike. With careful planning, the right tools, and respect for the environment, you can turn a simple backyard tree into a portal of imagination.
Start small. Test one branch before scaling up. Learn how light interacts with bark at different angles. Let the tree guide your design choices. As you refine your technique, you’ll discover new possibilities—not just for decoration, but for storytelling, education, and community connection.


 浙公网安备
33010002000092号
浙公网安备
33010002000092号 浙B2-20120091-4
Comments
No comments yet. Why don't you start the discussion?