
Transforming a blank wall into a festive, animated winter wonderland no longer requires elaborate decorations or weeks of setup. With projector mapping technology, you can project immersive, motion-based Christmas scenes—complete with falling snow, dancing reindeer, and glowing trees—onto any surface in minutes. This technique blends art, light, and digital precision to create unforgettable holiday displays that captivate both children and adults. Whether you're enhancing a home façade, decorating a storefront, or adding magic to a community event, projector mapping offers a flexible, reusable, and visually stunning alternative to traditional décor.
Understanding Projector Mapping: Beyond Simple Projection
Projector mapping, also known as spatial augmented reality, involves projecting video onto irregular surfaces in a way that adapts the image to the shape, texture, and dimensions of the object. Unlike standard projection, which works best on flat screens, mapping uses software to warp and blend visuals so they align perfectly with architectural features like windows, doors, or textured walls.
In the context of holiday displays, this means turning a brick exterior into a snowy village, making a garage door appear to open into Santa’s workshop, or animating a simple fence into a twinkling forest path. The illusion is powerful because it integrates seamlessly with the existing environment, creating depth and movement where none existed before.
“Projection mapping turns static architecture into living storytelling canvases. During the holidays, it transforms familiar spaces into emotional experiences.” — Daniel Reyes, Immersive Media Designer
Essential Equipment and Setup Requirements
To successfully execute a mapped Christmas scene, you need more than just a projector. The right combination of hardware and software ensures crisp, synchronized visuals that remain stable throughout the night.
Core Components
- High-Lumen Projector: Choose a projector with at least 3,000 lumens for outdoor use. Brighter models (5,000+ lumens) perform better in ambient light or large-scale applications.
- Mapping Software: Programs like MadMapper, Resolume Arena, or HeavyM allow you to align projections precisely to your wall’s contours.
- Media Source: A laptop or media server to run animations. Pre-made Christmas-themed videos are widely available, or you can commission custom content.
- Extension Cords & Power Protection: Outdoor setups require weather-resistant power solutions and surge protectors.
- Mounting Hardware: Tripods, ceiling mounts, or secure brackets to position the projector at the optimal angle.
Environmental Considerations
Outdoor walls vary significantly in material and reflectivity. Light-colored, smooth surfaces (like stucco or painted siding) reflect better than dark brick or rough stone. If your wall is dark, increase projector brightness or adjust animation contrast to maintain visibility. Wind, rain, and temperature fluctuations also affect equipment stability—use protective enclosures if necessary.
Step-by-Step Guide to Creating Your Mapped Christmas Display
Follow this structured approach to bring your vision to life efficiently and effectively.
- Choose Your Wall and Scene Theme
Select a wall with minimal obstruction and good viewing angles. Decide on a theme—such as a North Pole village, enchanted forest, or classic carolers—to guide your content selection. - Measure and Map the Surface
Take precise measurements of the wall’s height, width, and any protrusions (vents, pipes, etc.). Use these dimensions in your mapping software to create a virtual model. - Position the Projector
Place the projector on a stable surface at a distance calculated by its throw ratio. For most residential projects, 10–20 feet from the wall works well. Avoid placing it where foot traffic could disturb alignment. - Calibrate the Projection
Using your software, project a grid pattern and adjust keystone, zoom, and pan settings until it fits the wall exactly. Then, mask out areas you don’t want illuminated (e.g., windows, doors). - Load and Sync Animated Content
Import your Christmas animations. Layer multiple clips—for example, a background of falling snow with foreground characters walking across the wall. Sync audio if using sound. - Test at Night
Run a full test after dusk. Adjust brightness, contrast, and timing based on real-world conditions. Make sure transitions are smooth and visuals are sharp from common viewing distances. - Automate Playback
Set up a schedule using media player software or a smart plug to start the show at sunset and end at bedtime (e.g., 5 PM to 10 PM).
Do’s and Don’ts of Holiday Projector Mapping
| Do | Don’t |
|---|---|
| Use high-contrast animations optimized for low-light visibility | Use low-resolution videos that appear pixelated on large surfaces |
| Check local noise and light ordinances before installing | Ignore neighbors—inform them of your display schedule to avoid complaints |
| Secure all cables to prevent tripping hazards | Leave equipment unattended without weather protection |
| Incorporate subtle motion, like drifting snow or flickering lights, for realism | Overload the scene with chaotic movement that distracts from the theme |
| Rehearse alignment and playback the day before launch | Wait until opening night to troubleshoot technical issues |
Real Example: Transforming a Suburban Home into Santa’s Village
The Thompson family in Portland, Oregon, wanted to elevate their annual Christmas light display without adding more physical decorations. They invested in a 4,500-lumen projector and used MadMapper to project a custom animated scene across their two-story home. The animation featured a cozy North Pole village emerging at twilight: chimneys puffed smoke, elves scurried between workshops, and Santa waved from the rooftop.
They mapped the projection to avoid windows and used the gables to create the illusion of sloped roofs within the scene. By syncing the animation with soft holiday music played through outdoor speakers, they created an immersive experience. Neighbors began referring to it as “The Living House,” and local news covered the display, praising its creativity and energy efficiency compared to traditional light-heavy installations.
The entire setup took one weekend to complete, and the family now reuses the same system each year with updated themes. Their electricity cost for the projector runs about $3 per night—far less than their previous LED display.
Cost-Effective Tips for First-Time Users
You don’t need a professional budget to achieve impressive results. Start small and scale up as you gain confidence.
- Borrow or rent a projector for your first attempt instead of buying one outright.
- Use free or low-cost animation packs from platforms like Pond5 or Envato Elements.
- Leverage smartphone apps like “Projection Mapper” for basic indoor tests before moving outdoors.
- Collaborate with local schools or theaters—they often have projectors and technical expertise available.
Frequently Asked Questions
Can I use projector mapping indoors?
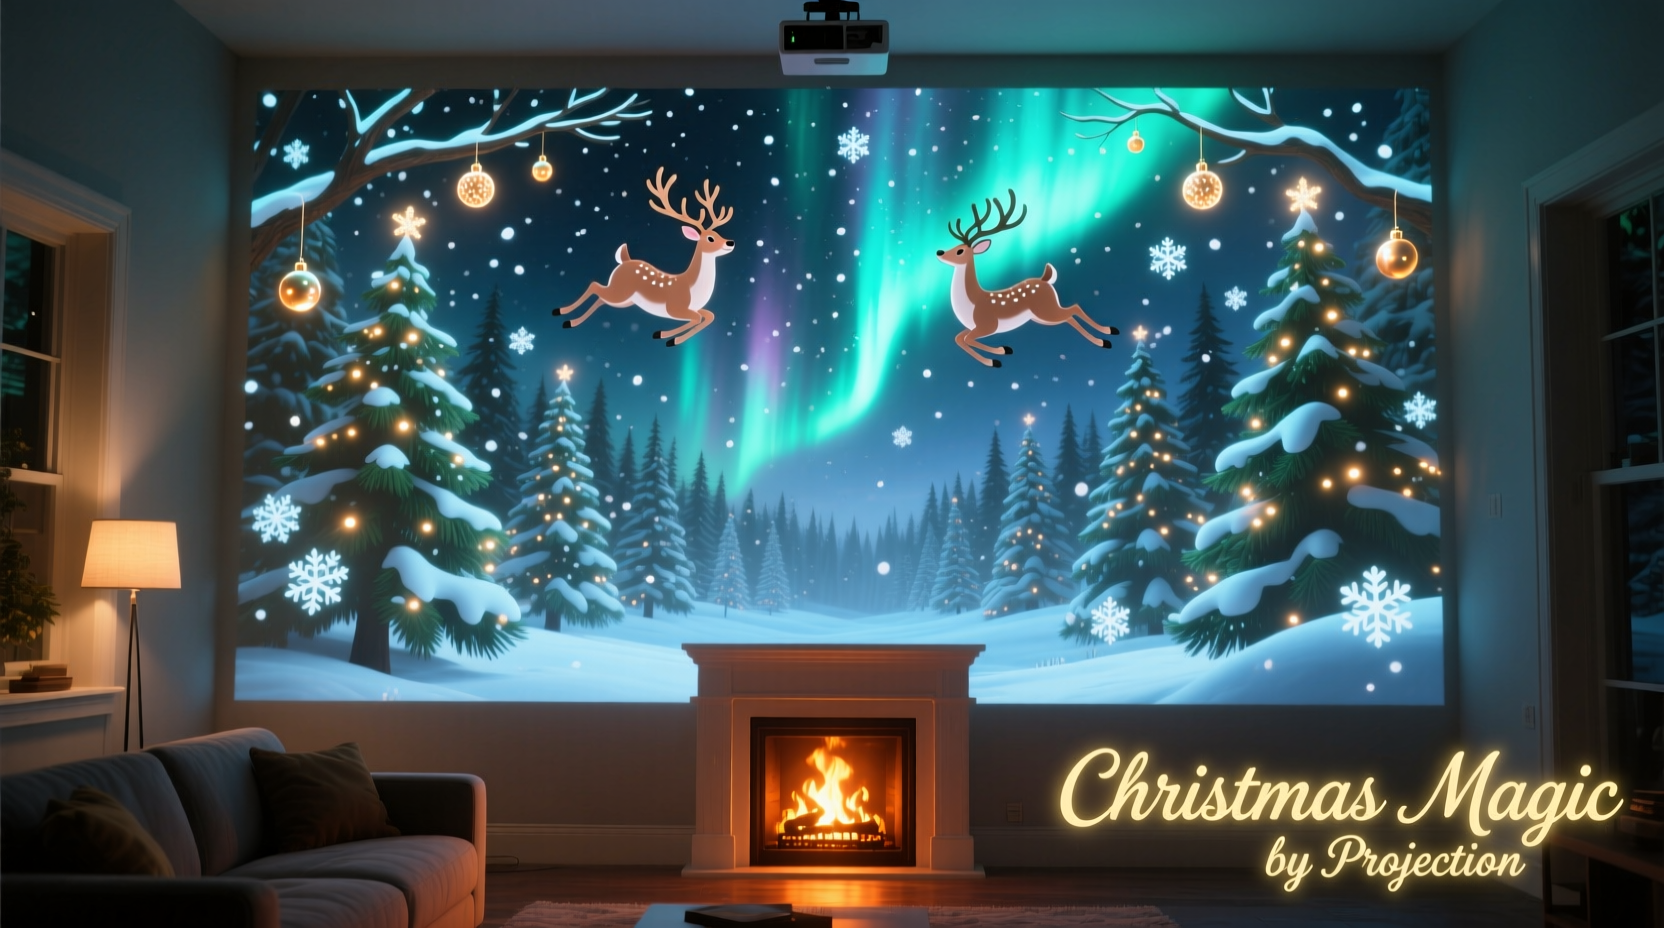
Absolutely. Indoor spaces like living rooms, lobbies, or gymnasiums work exceptionally well due to controlled lighting. You can project a fireplace onto a blank wall, animate a Christmas tree on a plain surface, or create a snow globe effect on a ceiling.
How long does it take to set up a mapped display?
For a typical single-wall residential setup, expect 4–6 hours spread over two days: one for planning and calibration, another for final testing and optimization. Complex multi-surface installations may take several days.
Is projector mapping safe for my wall?
Yes. Projector mapping uses only light—there’s no physical contact, heat damage (from modern LED/Laser projectors), or residue. It’s one of the safest decorative methods for historic or rented buildings.
Checklist: Launch Your Projector-Mapped Christmas Scene
- ☐ Select a suitable wall with good visibility and structural stability
- ☐ Acquire a bright, reliable projector (minimum 3,000 lumens)
- ☐ Download or create Christmas-themed animated content
- ☐ Install mapping software and calibrate the projection grid
- ☐ Conduct a daytime dry run to confirm positioning
- ☐ Perform a nighttime test to adjust brightness and focus
- ☐ Set automated playback schedule via timer or smart plug
- ☐ Inform neighbors and comply with local regulations
- ☐ Monitor performance during the first few nights
- ☐ Save settings and content for reuse next season
Conclusion: Bring Magic to Life with Light and Motion
Projector mapping is not just a technological novelty—it’s a creative tool that redefines how we celebrate the holidays. With careful planning and attention to detail, you can turn an ordinary wall into a breathtaking canvas of seasonal joy. The benefits extend beyond aesthetics: reduced installation time, lower energy consumption, and the ability to refresh your display annually without new purchases.
As communities increasingly value sustainability and innovation, projector-based displays offer a responsible yet dazzling alternative to plastic-heavy decorations. Whether you’re entertaining family, delighting neighbors, or supporting a public event, this method brings people together through shared wonder.


 浙公网安备
33010002000092号
浙公网安备
33010002000092号 浙B2-20120091-4
Comments
No comments yet. Why don't you start the discussion?