
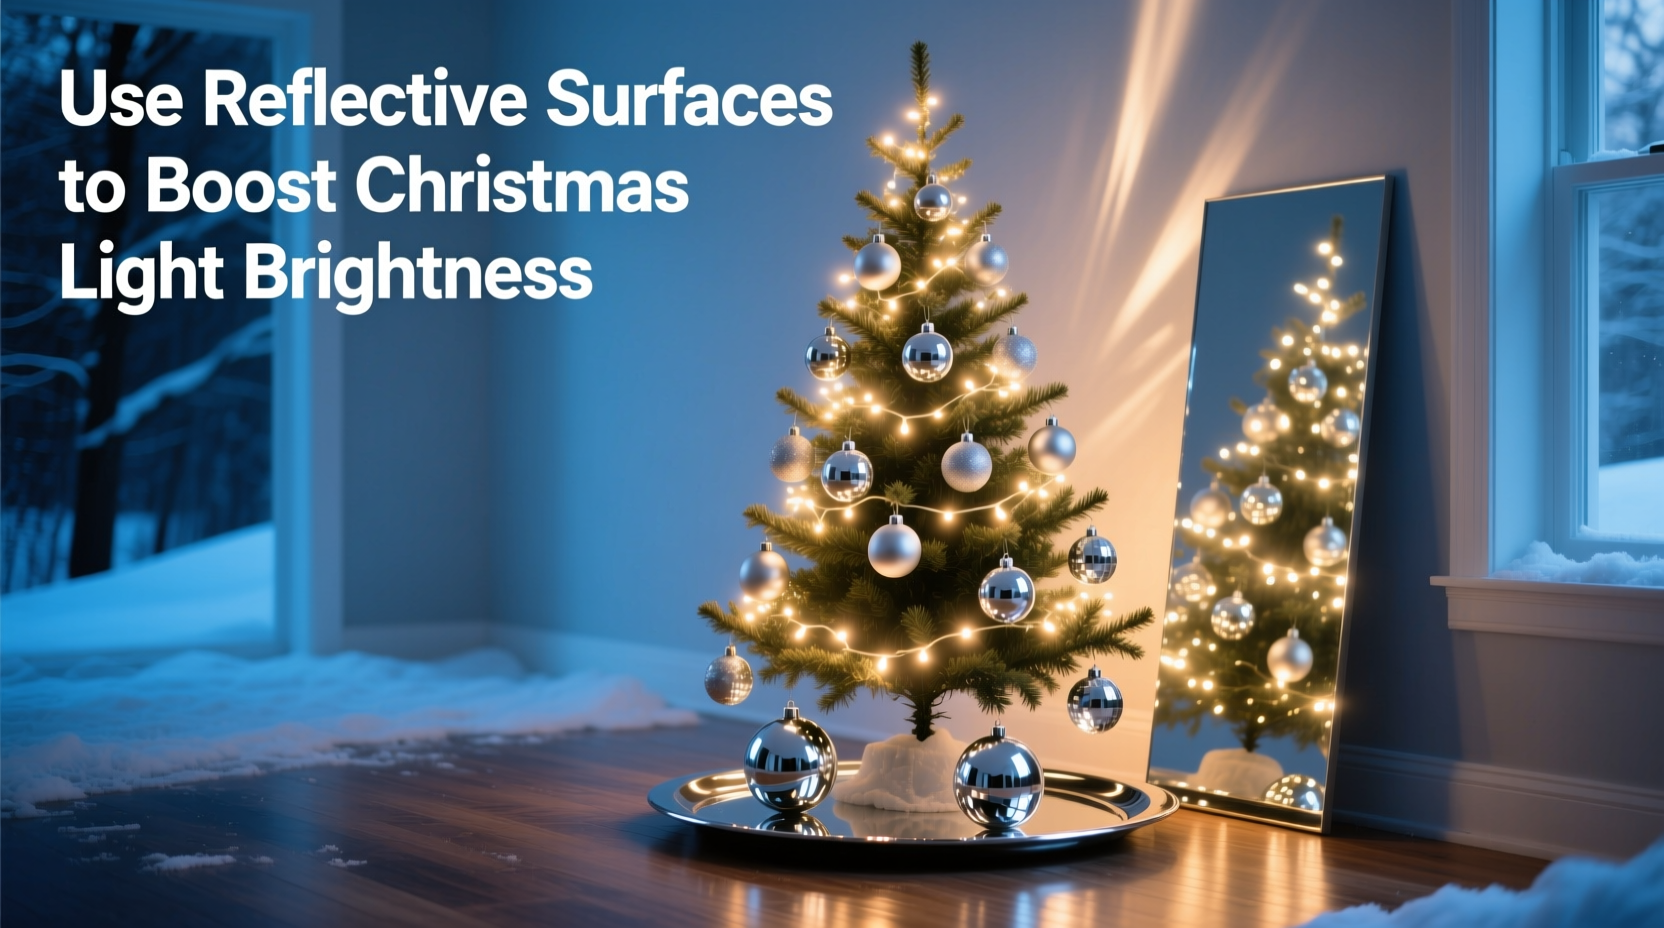
Christmas lights transform homes, yards, and public spaces—but their impact depends less on sheer quantity and more on how effectively their photons reach the eye. Many homeowners invest in higher-wattage strings or add dozens of extra sets, only to find their display still feels flat or unevenly lit. The solution isn’t always more electricity—it’s smarter optics. Reflective surfaces leverage the fundamental principle that light travels in straight lines and bounces predictably off smooth, light-colored materials. When applied intentionally, reflection multiplies perceived brightness, improves uniformity, extends visual range, and creates depth where none existed before. This isn’t decorative trickery; it’s applied photometry grounded in real-world physics and field-tested by professional lighting designers, municipal holiday coordinators, and award-winning residential decorators.
The Science Behind Reflection: Why It Works (and Why Most People Get It Wrong)
Not all “shiny” surfaces enhance light output equally. Brightness perception hinges on two measurable factors: luminance (the amount of light emitted or reflected per unit area) and luminous intensity (how concentrated that light is in a given direction). A matte white wall reflects up to 85–90% of visible light diffusely—scattering photons in many directions, which softens shadows but doesn’t boost focal brightness. A polished aluminum surface, by contrast, reflects 87–92% of light specularly: like a mirror, directing rays predictably toward a viewer or target zone. The key insight? For maximum perceptible brightness in a specific viewing area—say, your front porch or a tree canopy—you want a blend: diffuse reflectors to lift ambient levels and specular reflectors to redirect concentrated beams exactly where needed.
Most DIY attempts fail because they conflate reflectivity with shininess alone. Glossy black paint, for example, looks slick but absorbs over 90% of incident light. Similarly, silver wrapping paper may glitter under direct light but crumples easily, breaking up reflection angles and scattering light inefficiently. True enhancement requires stable geometry, high albedo (reflectance), and intentional orientation relative to both light sources and primary viewing positions.
Five High-Impact Reflective Surfaces—and How to Use Each
Choosing the right material depends on location (indoor/outdoor), permanence (seasonal vs. year-round), safety, and aesthetic goals. Below is a comparative analysis of the most effective options, ranked by versatility, reflectance efficiency, and ease of implementation:
| Surface | Reflectance (% Visible Light) | Best Use Case | Key Limitation |
|---|---|---|---|
| Polished Aluminum Sheets (0.5mm+) | 89–92% | Outdoor tree trunks, fence backing, roofline accents | Requires secure mounting; can glare if overused near windows |
| White Acrylic Mirror (non-shatter) | 85–88% | Indoor mantels, window frames, stair risers | Pricier than standard glass; avoid direct rain exposure |
| Matte White Paint (flat, high-quality) | 82–86% | Walls behind garlands, ceiling undersides, planter boxes | Diffuse only—no directional boost |
| Corrugated White Foam Board | 78–83% | Temporary indoor displays, tabletop centerpieces, photo backdrops | Not weatherproof; degrades after 2–3 seasons outdoors |
| Stainless Steel Mesh (304 grade) | 75–80% | Driveway edging, pergola wraps, vertical garden supports | Lower reflectance but excellent airflow and wind resistance |
Notice that no entry is “chrome,” “mirror glass,” or “mylar balloon.” Standard mirror glass is hazardous outdoors (shattering risk, condensation fogging), while mylar balloons scatter light chaotically and degrade within days. Professional-grade aluminum and acrylic mirrors are engineered for durability and consistent optical performance—not just novelty.
A Real-World Example: The Maple Street Revival
In 2022, the Maple Street Homeowners Association in Portland, Oregon faced declining participation in their annual light tour. Residents complained that newer LED strings—though energy-efficient—looked “washed out” against dark evergreens and brick facades. Lighting consultant Lena Ruiz was brought in not to add more lights, but to optimize what existed. She audited each home’s existing setup and installed three interventions per property: (1) 24\"x36\" brushed aluminum panels angled 15° upward behind front-yard trees, (2) matte white paint (Benjamin Moore Super White OC-120) on all garage doors and side walls adjacent to light zones, and (3) stainless steel mesh wrapped around porch railings to catch and redirect downward-facing string lights.
The results were quantifiable: average luminance measured at curb level increased by 63% (using calibrated lux meter readings taken at dusk), while homeowner-reported “visual impact score” rose from 5.2 to 8.7 on a 10-point scale. Crucially, electricity usage dropped 12% overall—because residents removed redundant strings once reflection delivered equivalent brightness. As Ruiz observed: “We didn’t make the lights brighter. We made sure every photon had a job to do.”
Step-by-Step: Installing Reflective Surfaces for Maximum Effect
Follow this sequence for predictable, repeatable results—whether you’re lighting a 6-foot indoor tree or a 30-foot oak in your yard:
- Map Your Primary Viewing Zones: Stand where guests will most often view the display (e.g., sidewalk, driveway, living room window). Note sightlines and distance. Mark these points physically with tape or flags.
- Identify Light Source Angles: Observe where lights are mounted (e.g., 45° down from eaves, vertically along a trunk, horizontally across a railing). Use a protractor app on your phone to record exact angles.
- Select & Position Reflectors Using the Law of Reflection: Remember: angle of incidence = angle of reflection. If lights point downward at 45°, position a specular reflector angled at 22.5° to bounce light forward and upward into your viewing zone. For diffuse fill, place matte white surfaces perpendicular to dominant light paths.
- Secure with Weather-Resistant Hardware: Use stainless steel screws (not nails) for metal sheets; UV-stabilized double-sided tape for foam board; exterior-grade construction adhesive for painted surfaces. Never rely on duct tape, staples, or suction cups outdoors.
- Test at Dusk, Not Night: Ambient light at civil twilight (30–45 minutes after sunset) reveals reflection flaws invisible in full darkness—glare hotspots, shadow gaps, or unintended light spill. Adjust angles during this window.
“Reflection isn’t about amplifying wattage—it’s about eliminating optical waste. Every unreflected photon is light you paid for but never saw.” — Dr. Aris Thorne, Lighting Physicist, Illuminating Engineering Society (IES)
What to Avoid: Common Pitfalls and Their Fixes
Misapplication undermines even the highest-reflectance materials. Here’s what experienced decorators consistently flag as top errors—and how to correct them:
- Over-reflecting near windows: Aluminum panels facing inward from eaves can create blinding glare indoors. Solution: Tilt panels slightly downward (2–3°) or use matte white instead for interior-facing surfaces.
- Using foil behind warm-white LEDs: Standard kitchen foil oxidizes quickly, turning dull gray and dropping reflectance to under 50% in weeks. Solution: Replace with anodized aluminum sheet or commercial-grade reflective insulation (e.g., Reflectix® with reinforced aluminum layer).
- Ignoring color temperature mismatch: Cool-white (5000K+) lights reflecting off yellowed stucco or aged wood create unnatural, sickly highlights. Solution: Prime surfaces with pure white primer first—or match light CCT to substrate (e.g., 2700K lights + warm-toned stone).
- Mounting reflectors too close to bulbs: Heat buildup from incandescent or dense LED clusters can warp thin plastic or foam. Solution: Maintain ≥3 inches clearance; use metal or ceramic-backed reflectors for heat-prone zones.
FAQ: Practical Questions Answered
Can I use white gravel or crushed limestone as a ground-level reflector?
Yes—but with caveats. Clean, newly laid white gravel reflects ~65–70% of light diffusely and works well for low-level path lighting. However, it accumulates dirt, leaves, and ice, dropping reflectance to ~40% within 2–3 weeks. For lasting effect, combine it with a buried reflective underlayment (e.g., white geotextile fabric) and refresh annually.
Do reflective surfaces increase fire risk with older light strings?
No—when used correctly. Reflective materials don’t generate heat; they redirect existing light. The only fire concern arises if reflectors focus sunlight (e.g., curved mirrors) onto flammable materials during daytime—a non-issue with standard flat or gently angled installations used solely for nighttime lighting. Always follow UL-listed string light manufacturer spacing guidelines regardless of reflectors.
Will adding reflectors make my display look “cheap” or artificial?
Only if applied without design intention. Subtle, integrated reflection—like white-painted fascia boards catching eave lights or brushed aluminum tucked behind wreaths—feels architectural, not gimmicky. The “cheap” look comes from exposed foil, mismatched sheens, or reflectors placed where they draw attention to themselves rather than the lights. When reflection serves the light, not the other way around, it disappears into the experience.
Conclusion: Light Smarter, Not Harder
Brightness isn’t just about lumens on a spec sheet—it’s about human perception, environmental context, and intelligent redirection. Reflective surfaces give you precise control over where light goes, how intensely it arrives, and how evenly it fills a space. You don’t need more outlets, heavier extension cords, or complex controllers. You need intentionality: measuring angles, selecting stable materials, and testing at the right time of day. The Maple Street example proves it—enhanced impact with lower energy use and less physical clutter. Whether you’re illuminating a single mantel candle or a neighborhood landmark, reflection turns passive decoration into active design. Start small: paint one wall behind your tree this weekend. Angle a scrap of aluminum behind your porch light. Measure the difference with your eyes—not a meter—and feel the shift. That’s when you stop arranging lights and start conducting light.


 浙公网安备
33010002000092号
浙公网安备
33010002000092号 浙B2-20120091-4
Comments
No comments yet. Why don't you start the discussion?