
Winter charm doesn’t have to fade when the weather turns damp. Paper snowflakes are a timeless decoration, evoking nostalgia and seasonal magic. But their delicate nature makes them vulnerable to moisture, especially in semi-outdoor spaces like covered porches where humidity, wind-driven rain, or condensation can damage them. The solution? Effective waterproofing. With the right materials and methods, you can preserve the intricate beauty of handmade snowflakes while ensuring they withstand less-than-ideal conditions. This guide walks you through practical, tested approaches to make your paper snowflakes resilient without sacrificing their elegance.
Why Waterproof Paper Snowflakes for Porch Display?
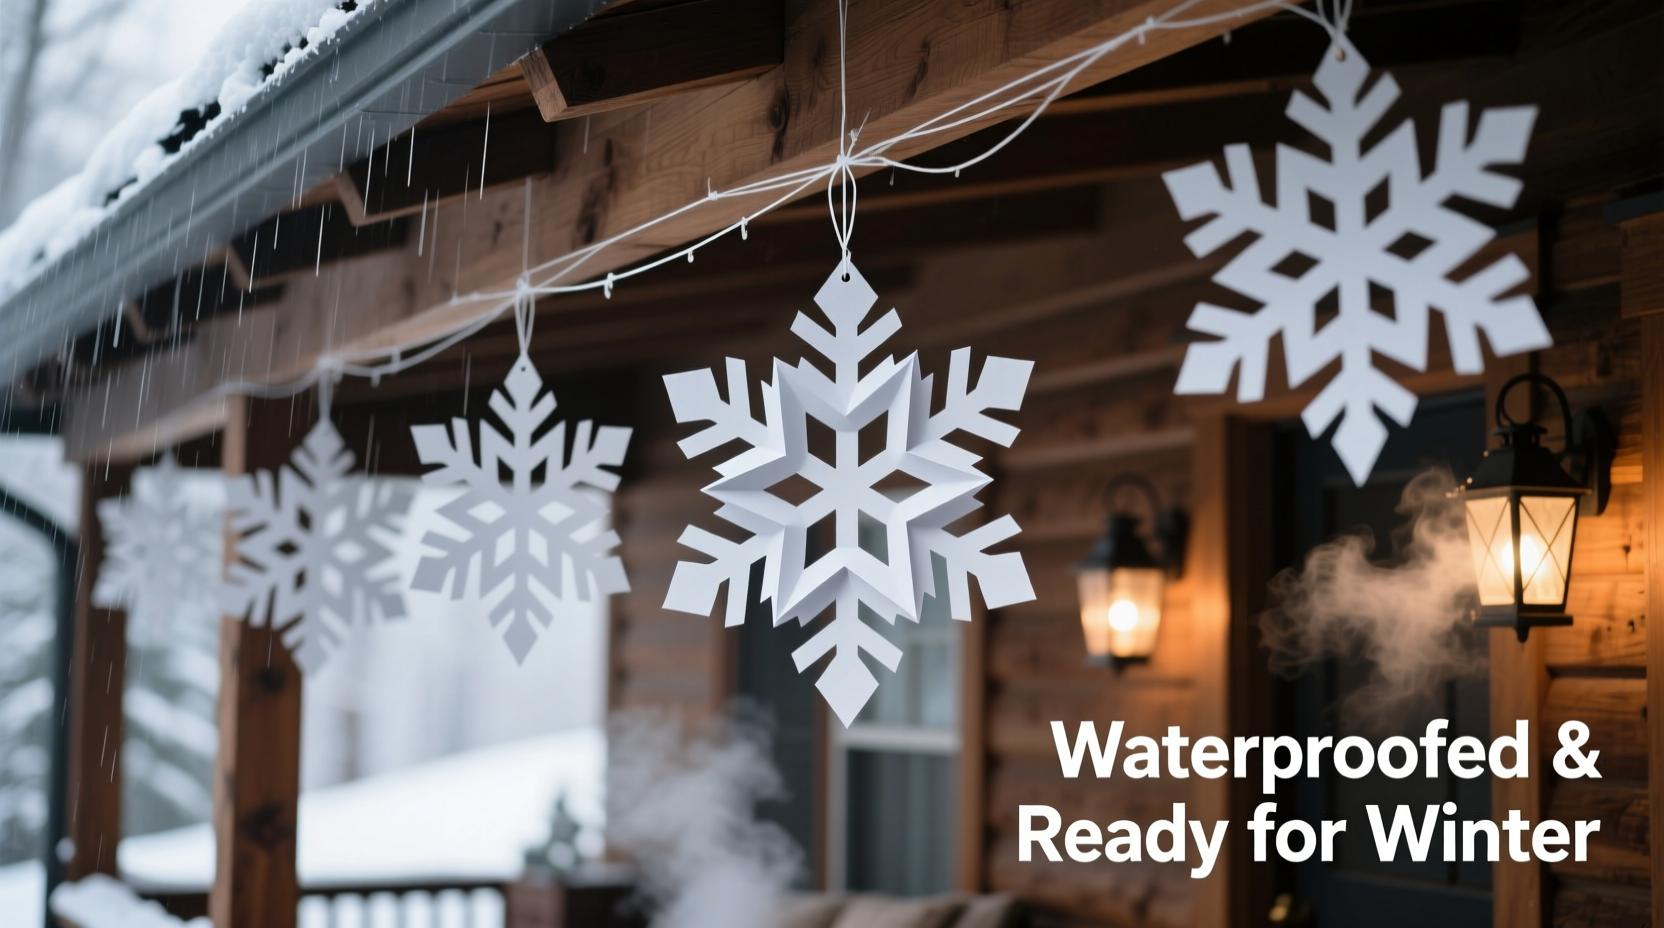
A covered porch offers protection from direct rainfall, but it’s not a sealed environment. Morning dew, high humidity, temperature fluctuations, and occasional wind-blown mist can all compromise untreated paper. Over time, moisture causes paper to warp, discolor, weaken, and eventually disintegrate. For seasonal displays meant to last weeks or even months, this degradation undermines both aesthetics and effort.
Waterproofing transforms fragile creations into durable decor. It seals the fibers, resists moisture absorption, and enhances longevity. More importantly, it allows homeowners to enjoy handcrafted charm in transitional outdoor areas—spaces that bridge indoor comfort with outdoor ambiance. Whether you're decorating for a holiday party or creating a winter wonderland vibe, waterproofed snowflakes maintain their crisp lines and visual impact far longer than unprotected versions.
Best Materials for Waterproofing Paper Crafts
Not all sealants are created equal. Choosing the wrong product can yellow paper, obscure fine details, or add unwanted stiffness. The ideal waterproofing agent preserves delicacy while offering real protection. Below is a comparison of commonly used options and their suitability for paper snowflakes.
| Material | Pros | Cons | Best For |
|---|---|---|---|
| Clear Mod Podge (Matte Finish) | Inexpensive, widely available, easy to apply, non-yellowing variants exist | Slightly stiffens paper; multiple coats needed | Indoor/outdoor hybrid use with light moisture exposure |
| Acrylic Spray Sealant (UV-Resistant) | Lightweight, even coverage, fast drying, flexible finish | Requires ventilation; overspray risk; may dull in prolonged sun | Porch displays with moderate airflow and indirect light |
| Paraffin Wax Dipping | Excellent water resistance, adds subtle sheen | Heat-sensitive; can distort thin paper; not repositionable | Short-term seasonal use; not recommended for intricate designs |
| Self-Laminating Sheets (Cut-to-Size) | Complete moisture barrier, professional look | Bulky edges, limits hanging options, expensive at scale | Single, standout pieces rather than clusters |
| Clear Packing Tape (Backed Application) | Immediate protection, no drying time | Uneven appearance, difficult on detailed cuts, adhesive creep over time | Emergency fixes or temporary solutions only |
For most porch applications, a combination of acrylic spray sealant and Mod Podge offers the best balance of durability, clarity, and ease. These products penetrate minimally while forming a protective film that repels moisture without overwhelming the paper’s texture.
“Paper crafts displayed in semi-exposed areas need a breathable yet resilient barrier. A flexible polymer sealant outperforms rigid coatings because it moves with the paper as humidity shifts.” — Dr. Lila Tran, Conservation Specialist, National Craft Preservation Institute
Step-by-Step Guide to Waterproofing Paper Snowflakes
Successfully sealing paper snowflakes requires patience and precision. Follow this timeline-based process to ensure long-lasting results.
- Prepare Your Workspace (Day 1 – 30 minutes)
Create a clean, dust-free area with good ventilation. Lay down wax paper or silicone baking mats to prevent sticking. Ensure snowflakes are fully dried if recently crafted. - Pre-Treat Delicate Areas (Optional – 10 minutes)
If using very thin tissue paper or complex designs with narrow bridges between cuts, lightly brush a diluted white glue solution (1 part PVA glue to 3 parts water) onto high-stress points. Let dry completely (1–2 hours). - First Coat: Acrylic Spray Sealant (15 minutes + drying)
Holding the can 10–12 inches away, apply a light, even mist to one side of each snowflake. Use sweeping motions to avoid pooling. Allow 20–30 minutes to dry. Flip and repeat on the reverse side. - Second Layer: Mod Podge Brush-On Seal (10 minutes per side + drying)
Using a soft foam brush, apply a thin layer of matte-finish Mod Podge to the front. Work from center outward to avoid tearing. Let dry for 1 hour. Repeat on the back. Add a third coat if desired, especially in high-humidity zones. - Cure Time (Overnight – 12 hours)
Allow sealed snowflakes to rest undisturbed on a flat surface. Avoid stacking or touching until fully cured. Humidity below 50% speeds drying. - Final Inspection and Hanging Prep (Next Day – 20 minutes)
Check for missed spots or tackiness. Attach fishing line or nylon thread using a small dot of clear-drying craft glue at attachment points. Avoid piercing holes after sealing to prevent cracks in the coating.
Real Example: Preserving a Winter Porch Display in Upstate New York
Jessica M., a homeowner in Ithaca, NY, wanted to decorate her screened-in porch for a December open house. She had crafted over 50 paper snowflakes with her children, intending to hang them in layered tiers from the ceiling beams. Concerned about lake-effect humidity and frequent freeze-thaw cycles, she experimented with three methods across batches:
- Batch A: Unsealed (control group)
- Batch B: Double-coated with acrylic spray only
- Batch C: Sprayed then brushed with Mod Podge
After four weeks, Batch A showed visible warping and edge browning by Week 2. Batch B held up better but began flaking at stress points by Week 3. Batch C remained intact, with no discoloration or structural failure throughout the display period. Jessica noted that the double-method approach required more labor but delivered professional-grade resilience. She now uses this technique annually, storing the snowflakes carefully for reuse.
Common Mistakes to Avoid
Even well-intentioned efforts can backfire if basic errors aren't recognized. Here are key pitfalls and how to sidestep them:
- Applying too much sealant at once: Thick layers crack as they dry and obscure fine cutouts. Always opt for multiple thin coats.
- Ignoring curing time: Handling snowflakes too soon breaks the seal. Wait at least 12 hours before packaging or hanging.
- Using glossy finishes unintentionally: High-gloss products create glare, especially under porch lighting. Choose matte or satin for a natural look.
- Sealing before final assembly: If adding ribbons, beads, or connectors, attach them after sealing to avoid damaging the finish.
- Storing improperly post-use: Even sealed snowflakes degrade if packed in plastic or damp basements. Store flat in acid-free boxes with silica gel packets.
“Craft longevity starts with finishing, not just construction. A beautifully cut snowflake loses its value if the protection ruins its form.” — Marcus Bell, Paper Art Conservator
Checklist: Waterproofing Success in 7 Steps
Follow this concise checklist to ensure every detail is covered:
- ☐ Select high-quality, acid-free paper for initial crafting
- ☐ Cut snowflakes and let sit overnight to release paper tension
- ☐ Set up ventilated workspace with protective covering
- ☐ Apply first coat of acrylic spray sealant (both sides)
- ☐ After drying, apply 1–2 thin layers of matte Mod Podge
- ☐ Cure for 12+ hours in low-humidity environment
- ☐ Attach hanging lines with minimal punctures; store extras safely
Frequently Asked Questions
Can I reuse waterproofed snowflakes next year?
Yes, if stored properly. Keep them in a flat, dry container away from sunlight and pests. Avoid folding or stacking under weight. Inspect before reuse for any peeling sealant, and touch up if needed with a light spray coat.
Will waterproofing change the way snowflakes flutter in the breeze?
Slightly. Sealed paper becomes marginally stiffer, reducing delicate movement. However, the difference is often imperceptible in gentle air currents. For maximum motion, use the lightest effective sealant—acrylic spray alone may suffice in low-moisture areas.
Are there eco-friendly waterproofing options?
Yes. Some artisans use natural rice starch paste followed by a beeswax-melt spray (cooled quickly). While less durable than synthetic options, these biodegradable methods work for short-term displays. Alternatively, look for water-based, VOC-free sealants labeled as environmentally safe.
Conclusion: Bring Winter Magic Outside—Safely
There’s no reason handmade beauty should be confined indoors. By taking a few deliberate steps to waterproof paper snowflake decorations, you extend their life, enhance their resilience, and expand where they can shine. A covered porch becomes a gallery for winter artistry when snowflakes are treated with the right sealants and care. Whether you’re preparing for a holiday event or simply elevating seasonal curb appeal, these techniques ensure your creations endure beyond a single snowfall.
The effort invested in sealing pays off in lasting impressions—guests admire the detail, and you enjoy peace of mind knowing your work won’t dissolve with the morning frost. Start small, test your methods, refine your process, and soon you’ll have a collection of weather-ready decor ready for years of use.


 浙公网安备
33010002000092号
浙公网安备
33010002000092号 浙B2-20120091-4
Comments
No comments yet. Why don't you start the discussion?