
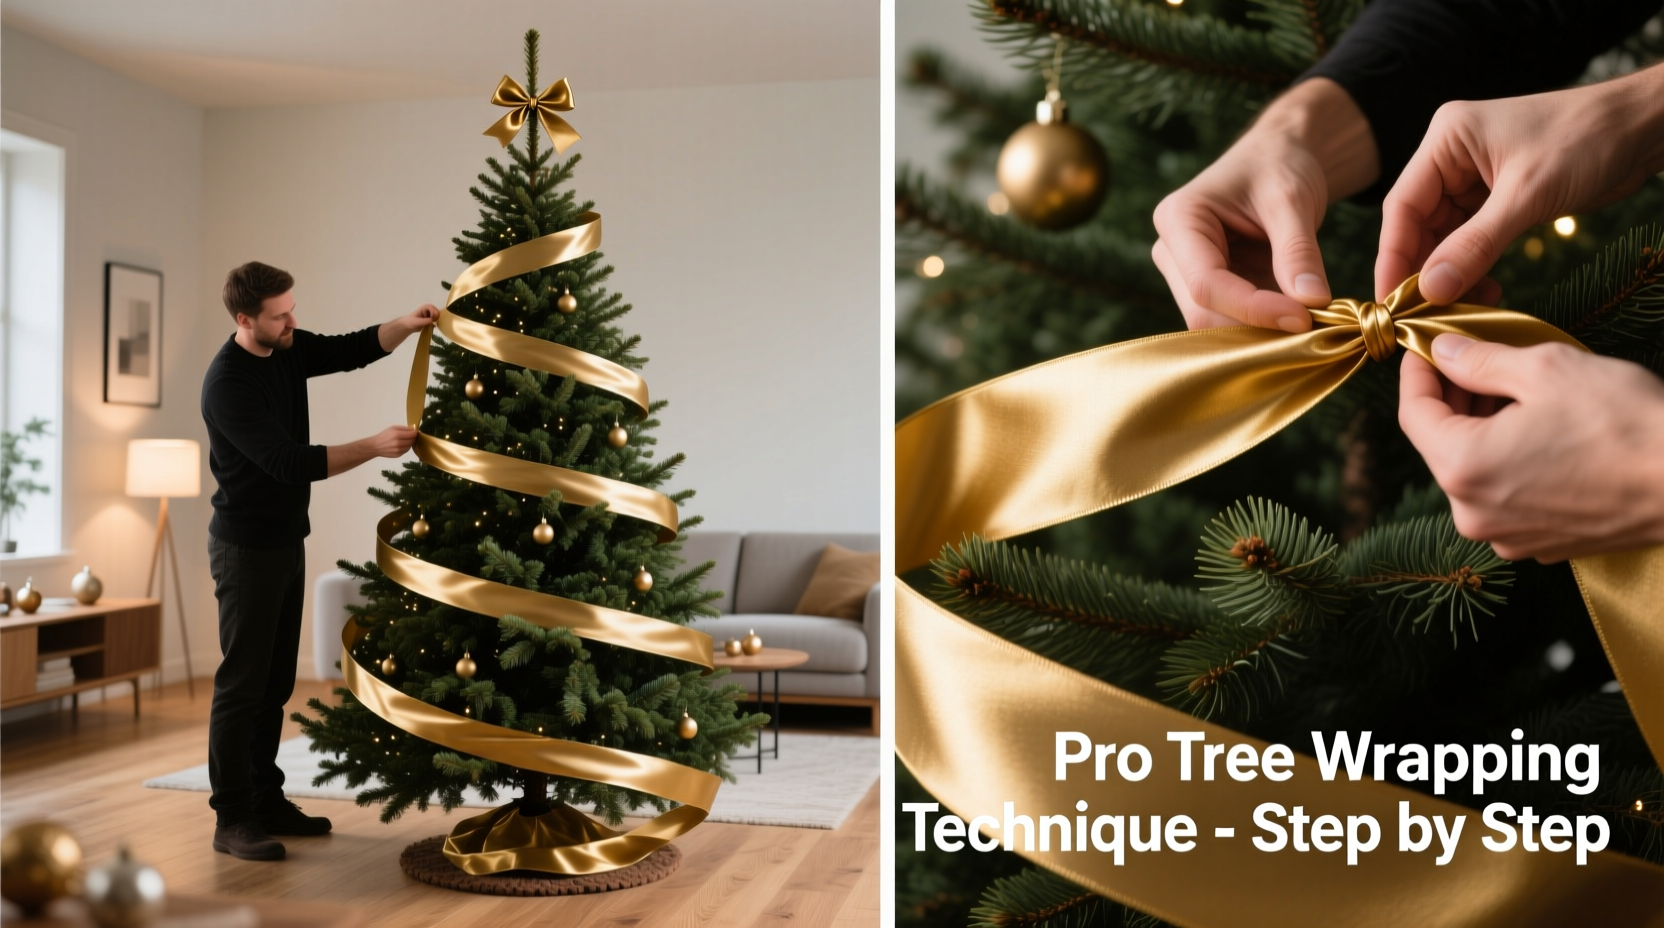
Wrapping a Christmas tree with lights and decorations may seem straightforward, but achieving that professional, magazine-worthy look requires more than random draping. The key lies in method, rhythm, and attention to detail—especially when wrapping from the bottom up. Done correctly, your tree will glow with balanced brilliance, drawing the eye upward in a seamless cascade of light and color. Whether you're using classic white mini-lights or bold multicolored strands, this guide walks you through the precise technique used by professional decorators to ensure even coverage, minimal tangling, and maximum visual impact.
Why Wrapping Technique Matters
A poorly wrapped tree can disrupt the entire holiday aesthetic. Clumps of lights on one side, dark voids on another, or visible cords snaking down the trunk are all signs of haphazard application. In contrast, a professionally wrapped tree enhances depth, symmetry, and dimension. The bottom-to-top approach is particularly effective because it mimics natural growth patterns—like vines climbing a trellis—and allows for better weight distribution of heavier ornaments later on.
Interior designers and event stylists often emphasize that lighting forms the foundation of any decorated tree. “If the lights aren’t applied with intention,” says Brooklyn-based holiday decorator Marcus Tran, “nothing else will sit right.” Proper wrapping ensures every branch catches the glow, creating a warm, inviting centerpiece for your home.
“Lighting is the skeleton of the tree’s design. Wrap it well, and the rest falls into place.” — Marcus Tran, Professional Holiday Decorator
Step-by-Step: The Pro Method for Bottom-to-Top Wrapping
Follow this structured sequence to achieve consistent, even coverage across your tree. This method works for both real and artificial trees, regardless of size or fullness.
- Start with a prepped tree: Fluff each branch layer thoroughly. Begin at the base and work upward, ensuring no flat or compressed sections remain. A full tree reflects light more effectively.
- Choose the right lights: Use string lights of uniform length and bulb spacing (typically 4–6 inches apart). For an 8-foot tree, plan on using 100 bulbs per foot of height—so about 800 bulbs minimum.
- Anchor the first strand: Tape the end of the light string securely to the trunk just above the stand. Keep excess cord hidden behind lower branches.
- Begin at the base: Start wrapping at the lowest outside edge of the tree. Hold the first bulb against the outermost tip of a bottom branch.
- Spiral inward and upward: Move clockwise (or counterclockwise, if preferred) around the tree, guiding the strand along the natural curve of the branches. Insert the wire gently into the foliage—not over the surface—to hide the cord.
- Layer as you rise: After completing one horizontal revolution, tilt the path slightly upward before starting the next loop. Think of ascending a spiral staircase.
- Maintain consistent density: Ensure there’s roughly the same distance between each pass of lights. Avoid skipping large gaps or doubling back.
- Connect multiple strands: When one string ends, plug in the next and continue the spiral without breaking rhythm. Conceal connection points within dense foliage.
- Finish at the top: As you near the apex, reduce the diameter of your spiral until you reach the top tip. Secure the final segment with a twist tie or floral wire inside the highest branch.
- Test before decorating: Turn on the lights to check for dark spots or flickering bulbs. Adjust or replace as needed before adding ornaments.
Essential Tools and Materials Checklist
Having the right supplies on hand streamlines the process and prevents frustration mid-project. Here's what you’ll need before you begin:
- Pre-fluffed artificial or freshly cut real Christmas tree
- String lights (LED recommended for cooler operation and energy efficiency)
- Extension cords rated for indoor use
- Zip ties or floral wire for securing strands
- Scissors or wire cutters
- Step stool or ladder (for taller trees)
- Masking or painter’s tape (for anchoring ends)
- Extra replacement bulbs and fuses (if applicable)
- Gloves (to protect hands and preserve bulb finish)
- Assistant (optional but highly recommended for trees over 6 feet)
Avoid These Common Wrapping Mistakes
Even experienced decorators occasionally fall into predictable traps. Recognizing these pitfalls ahead of time can save hours of rework.
| Mistake | Why It’s a Problem | How to Fix It |
|---|---|---|
| Wrapping horizontally only (like stripes) | Creates banding effect; leaves vertical gaps | Add diagonal lift with each loop to build dimension |
| Draping lights over branch tips | Bulbs become exposed and glare harshly | Weave lights into the inner canopy, pointing slightly outward |
| Starting from the top | Harder to maintain tension; leads to sagging below | Always anchor at the base and move upward |
| Using mismatched light colors or sizes | Breaks visual flow; looks uncoordinated | Stick to one color temperature and bulb style per tree |
| Overloading outlets | Fire hazard; tripped breakers | Follow manufacturer limits; daisy-chain no more than three strands |
Real Example: From Lopsided to Luxe in One Evening
Sarah Kim, a teacher in Portland, Oregon, had struggled for years with her family’s annual tree ritual. “We’d always throw the lights on quickly the night before Christmas Eve dinner,” she recalls. “Every year, one side looked great, and the other was either too bright or completely dark.”
Last November, Sarah decided to try the bottom-to-top spiral method after watching a tutorial online. She measured her 7.5-foot Fraser fir, calculated she’d need about 750 bulbs, and purchased three identical sets of warm-white LED micro-lights. With her daughter steadying the ladder, Sarah began at the southwest corner of the base, spiraling upward with deliberate, steady passes.
It took nearly 45 minutes—but the result stunned her family. “The whole room lit up evenly. No hotspots, no shadows. My mom said it looked like something from a department store window.” The transformation wasn’t magic—it was method.
Advanced Tips for Different Tree Types
Not all trees are created equal. Adjust your wrapping strategy based on shape and density.
Narrow or Slim Trees
These require tighter spirals. Reduce the vertical rise between loops to maintain brightness. Wrap every 4–6 inches vertically instead of 8–10 to compensate for less surface area.
Fully Flocked or Snow-Flocked Trees
Be gentle when inserting lights to avoid dislodging the flocking. Use thinner-gauge wires and insert bulbs between clusters rather than pushing through them. Test lights before flocking if applying yourself.
Pencil Trees or Sparse Varieties
With fewer branches to conceal wiring, focus on strategic placement. Prioritize outer edges and front-facing areas. Consider using smaller bulbs or fairy lights for a subtler effect.
Outdoor or Covered Porch Trees
Use weatherproof-rated lights only. Wrap with extra zip ties to resist wind movement. Always elevate the base off wet surfaces and route cords safely away from walkways.
FAQ: Common Questions About Tree Wrapping
How many strings of lights do I need for my tree?
A general rule is 100 bulbs per foot of tree height. For example, a 6-foot tree needs about 600 bulbs. If using 100-bulb strands, that’s six sets. For fuller coverage or commercial displays, increase to 150 bulbs per foot.
Should I wrap the tree before or after adding ornaments?
Always wrap the tree with lights before hanging ornaments. Placing ornaments first makes it difficult to maneuver through the branches without knocking them loose. Lights form the base layer—ornaments are the finishing touch.
Can I mix colored and white lights on the same tree?
You can, but do so intentionally. A popular pro technique is to use white lights as the base layer for illumination and add colored strands sparingly as accent features. Unplanned mixing often results in visual clutter.
Final Touches and Long-Term Care
Once your tree is evenly wrapped and glowing beautifully, take a moment to assess it from multiple angles. Sit in your most-used seating position and view it from afar. Walk around it slowly. Look for inconsistencies in brightness or rhythm.
If adjustments are needed, don’t hesitate to reposition a few bulbs or add a supplemental strand. Remember, perfection isn’t instant—it’s refined.
After the holidays, remove lights carefully. Starting from the top, unwind in reverse order, coiling gently around your hand or a cardboard spool. Store each strand separately in labeled containers to prevent tangles next year.
“The best-decorated trees aren’t the biggest or most expensive—they’re the ones where care was taken at every level, especially the foundation.” — Elena Rodriguez, Seasonal Stylist & Author of *Holiday Home Harmony*
Conclusion: Shine Like a Pro This Season
Wrapping a Christmas tree evenly from bottom to top isn’t reserved for experts with decades of experience. It’s a repeatable skill grounded in structure, patience, and a clear plan. By anchoring at the base, spiraling upward with intention, and avoiding common missteps, you can transform your holiday centerpiece into a radiant focal point that draws admiration year after year.
The difference between an ordinary tree and an extraordinary one often comes down to a single detail: how the light moves through it. This season, take the extra time. Follow the steps. Involve your family. Make it a ritual worth remembering. Your perfectly wrapped tree won’t just illuminate your living room—it will set the tone for the entire holiday spirit.


 浙公网安备
33010002000092号
浙公网安备
33010002000092号 浙B2-20120091-4
Comments
No comments yet. Why don't you start the discussion?