
Every holiday season, millions of homes come alive with the warm glow of Christmas trees adorned in twinkling lights. Yet, despite best intentions, many end up with uneven clusters, dark gaps, or tangled strands that disrupt the magic. Achieving an even, balanced light wrap isn’t luck—it’s technique. With the right approach, anyone can wrap a Christmas tree like a professional decorator, ensuring consistent brightness from every angle and eliminating dead zones. This guide breaks down the process into actionable steps, shares insider strategies, and helps you avoid common pitfalls so your tree shines flawlessly year after year.
Why Even Light Distribution Matters
An unevenly lit tree can throw off the entire aesthetic of your holiday decor. Dark patches make branches look sparse, while over-lit areas create visual noise. The goal is harmony—lights should enhance the tree’s natural shape, not compete with it. Even distribution ensures:
- Consistent illumination from all viewing angles
- Improved visibility of ornaments and garlands
- A professional, polished appearance
- Efficient use of light strands (fewer extras needed)
More than just aesthetics, proper lighting enhances safety. Overloaded branches or poorly secured cords increase fire risk and strain outlets. A well-wrapped tree uses strands efficiently, reducing electrical load and minimizing wear on bulbs.
Step-by-Step Guide to Wrapping Lights Evenly
The key to perfect coverage lies in preparation, pattern, and patience. Follow this proven sequence to achieve uniform results every time.
- Choose the Right Lights: For most standard trees (6–7 feet), use LED mini lights with 100 bulbs per strand. Aim for 100 lights per vertical foot of tree height. For a 6-foot tree, that’s about six strands. Warm white provides a classic glow; cool white enhances modern themes.
- Start at the Base: Plug the strand into an outlet near the tree stand. Begin wrapping from the bottom third of the trunk, securing the male end inside the base with a twist tie or clip. This keeps cords hidden and prevents tugging later.
- Work Inward First: Feed the strand deep into the inner branches, not just along the surface. This creates depth and prevents a “shell” effect where only the outer layer glows.
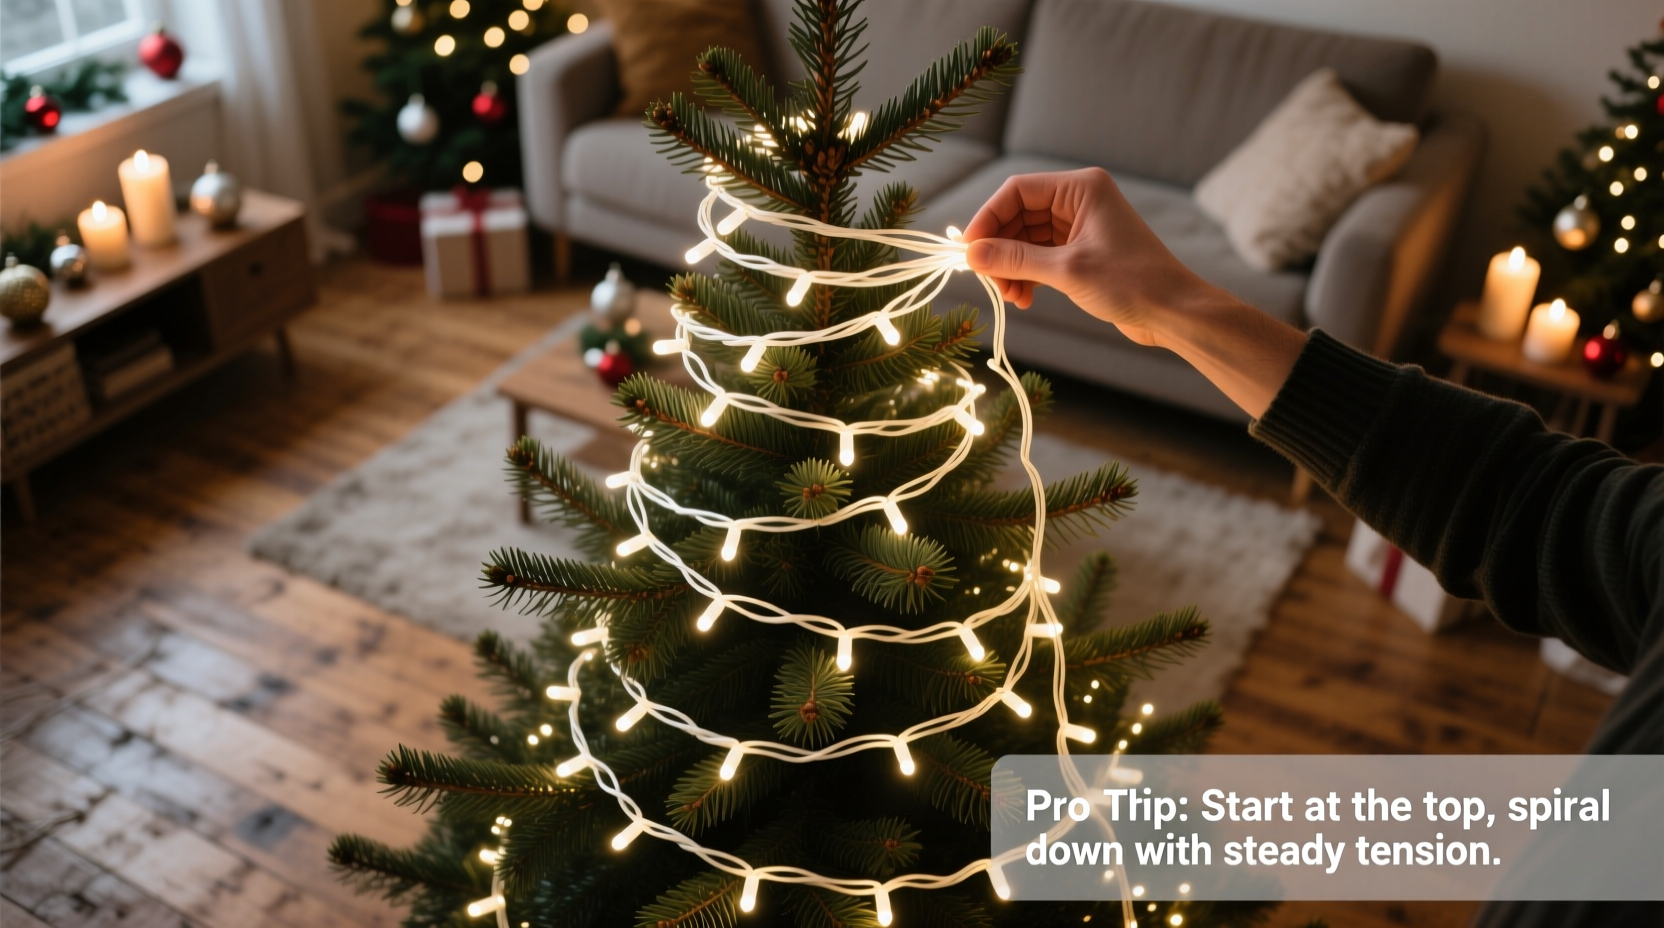
- Spiral Upward: Move in a continuous spiral from bottom to top. Maintain consistent spacing—about 4 to 6 inches between loops. Use your hand as a ruler: place each new loop at the width of an open palm.
- Vary Depth and Direction: Alternate between left and right-facing spirals every few rows. This crisscross pattern fills shadow zones and balances light density across the tree’s silhouette.
- Layer Strategically: If using multiple strands, stagger their starting points. Don’t stack them directly on top of each other. Offset by 90 degrees (e.g., first strand starts at 6 o’clock, second at 3 o’clock) to avoid clustering.
- Check Frequently: Step back every 2–3 feet of wrapping. View the tree from multiple angles—front, sides, corners. Adjust spacing or add micro-loops in thin areas.
- Finish at the Top: End near the apex. Tuck the female plug into the topmost branches to hide it. Never drape excess cord over the tip—it creates a lopsided crown.
Pro Technique: The Cone Method
Imagine your tree as a series of stacked cones. Wrap each “cone” individually, moving upward. This mental model ensures even horizontal bands of light. It also makes it easier to spot missed sections before advancing.
Common Mistakes and How to Avoid Them
Even experienced decorators fall into predictable traps. Recognizing these errors is half the battle.
| Mistake | Why It’s a Problem | Solution |
|---|---|---|
| Wrapping only the outer edges | Creates a flat, two-dimensional look with dark centers | Insert lights 6–8 inches into the canopy on each branch |
| Overlapping strands too closely | Causes glare and hotspots; wastes energy | Stagger start points and maintain 4–6 inch spacing |
| Starting from the top | Leads to sagging, uneven tension, and exposed plugs | Always begin at the base with the plug secured low |
| Ignoring branch direction | Misses natural shadow pockets behind dense limbs | Angle lights to follow branch growth outward |
| Using mismatched bulb colors or sizes | Distracts the eye and breaks visual flow | Stick to one bulb type and color temperature per tree |
Expert Insight: What Professional Decorators Know
Interior stylists and event designers have refined tree lighting over decades. Their methods prioritize longevity, scalability, and viewer experience. One such expert is Marcus Bellweather, lead designer at Evergreen Holiday Studios, who has dressed trees for luxury hotels and public displays for over 15 years.
“Most people treat lights like wallpaper—they slap them on and walk away. But lighting is sculptural. You’re shaping light through three-dimensional space. The best results come when you move slowly, think in layers, and respect the tree’s form.” — Marcus Bellweather, Holiday Lighting Designer
Bellweather emphasizes rhythm over speed: “One loop per second is ideal. Faster, and you lose consistency. Slower, and you overthink. Find a cadence that lets your hands work intuitively.”
Real Example: From Lopsided to Luxe in One Evening
Sarah Thompson, a teacher from Portland, had struggled for years with her family tree. “Every year, one side was bright, the other looked like a cave,” she recalls. After watching a tutorial based on the spiral method, she decided to try a structured approach.
She measured her 6.5-foot fir, calculated seven 100-bulb strands, and marked her trunk quarters with tape. Starting at the base, she fed each strand inward, spiraling upward with deliberate 5-inch spacing. She stepped back every two rows, adjusting as needed. The result? Her husband didn’t recognize the tree. “It looked like it belonged in a magazine,” she says. “And it only took 40 minutes—less time than my old haphazard method.”
Now, Sarah wraps her tree the same way every year and has taught the technique to her sister and neighbors.
Checklist: Your Tree Lighting Success Plan
Before you begin, gather your tools and confirm your plan. Use this checklist to stay on track:
- ☐ Calculate number of light strands (100 lights per foot of tree height)
- ☐ Test all strands for function and color consistency
- ☐ Choose a stable outlet location near the tree base
- ☐ Prepare clips or twist ties for securing plugs and cords
- ☐ Mark trunk quadrants with tape for alignment reference
- ☐ Start wrapping from the bottom, working inward and upward
- ☐ Maintain 4–6 inch spacing between loops
- ☐ Stagger multiple strands to avoid overlapping paths
- ☐ Step back frequently to assess balance and coverage
- ☐ Conceal all plugs and excess cord within the trunk
Frequently Asked Questions
How many strings of lights do I need for a 7-foot tree?
Aim for 700–800 bulbs for a 7-foot tree. This typically means seven to eight strands of 100-light mini lights. Fuller trees may require up to 1,000 bulbs for dense coverage.
Should I wrap clockwise or counterclockwise?
Direction doesn’t matter as long as you’re consistent within each strand. However, alternating directions between strands (e.g., first clockwise, next counterclockwise) improves evenness by distributing light across different planes.
Can I use different colored lights on the same tree?
You can, but for even distribution, stick to one color temperature. Mixing warm white and cool white creates visual inconsistency. If using multicolor strands, ensure they are uniformly spaced and blended throughout the tree—not grouped in sections.
Final Tips for Long-Term Success
Once your tree is perfectly lit, preserve the method for future years. Take notes on what worked: number of strands, spacing, starting points. Consider labeling your light boxes by tree size (“For 6-Foot Trees – 6 Strands”). Store strands on cardboard reels or spools to prevent tangling—never toss them loosely into a bin.
At the end of the season, remove lights in reverse order: top to bottom, unspooling carefully. Inspect each strand before storage and replace any with broken sockets or frayed wires.
“The secret to a great-looking tree isn’t expensive lights—it’s repetition and refinement. Do it the same way every year, and you’ll get better with each try.” — Marcus Bellweather
Conclusion: Shine Bright This Season
Wrapping a Christmas tree evenly with lights is a skill that transforms holiday prep from chaotic to satisfying. By following a structured spiral method, avoiding common errors, and applying professional insights, you can achieve a radiant, balanced display that becomes the centerpiece of your home. It’s not about perfection—it’s about intention. Each loop placed with care adds warmth, depth, and joy to the season.
Whether you’re decorating solo, with kids, or prepping for guests, take the time to wrap with purpose. Your future self will thank you when next December rolls around and you already know the secret to a flawless glow.


 浙公网安备
33010002000092号
浙公网安备
33010002000092号 浙B2-20120091-4
Comments
No comments yet. Why don't you start the discussion?