
Every holiday season, one of the most anticipated traditions is decorating the Christmas tree. While ornaments and tinsel add charm, it’s the lights that truly bring the tree to life. Yet many people struggle with achieving an even, balanced glow—especially when starting out. Wrapping a Christmas tree with lights may seem intuitive, but doing it well requires strategy, patience, and technique.
When done correctly, string lights enhance depth, highlight branches, and create a warm, inviting centerpiece for your home. When done poorly, they can result in dark spots, clumping, or a lopsided appearance. This guide walks you through a reliable, beginner-friendly method for wrapping your tree evenly—ensuring every angle sparkles without gaps or glare.
Why Even Light Distribution Matters
The goal isn’t just to cover the tree with lights—it’s to illuminate it thoughtfully. A professionally decorated tree doesn’t look “lit”; it looks naturally radiant. This effect comes from consistent spacing and strategic layering.
Uneven lighting leads to visual imbalances. Some areas may appear too bright while others remain shadowed, making ornaments hard to see and diminishing the tree’s overall impact. Moreover, clustered bulbs can create hotspots that draw attention away from the tree’s shape and decoration.
Professional decorators often follow a \"rule of thirds\" when placing lights: one-third near the trunk, one-third mid-branch, and one-third on outer tips. This layered approach mimics natural light diffusion and prevents flatness.
“Lighting is the foundation of tree design. If the lights aren’t balanced, nothing else will shine as it should.” — Daniel Reeves, Professional Holiday Decorator
What You’ll Need Before You Begin
Before climbing the ladder or uncoiling the first strand, gather your materials. Being prepared saves time and reduces frustration during the process.
Essential Supplies
- Christmas tree lights (LED recommended for safety and efficiency)
- Extension cords rated for indoor use
- Ladder or step stool (for taller trees)
- Scissors or wire cutters (for zip ties if needed)
- Optional: Zip ties, floral wire, or twist ties for securing strands
- Tree skirt (to conceal base connections)
Determining How Many Lights You Need
A common rule of thumb is **100 lights per foot of tree height**. For example, a 6-foot tree needs about 600 lights. However, this varies based on tree fullness and personal preference. Fuller trees may require more to penetrate inner branches.
| Tree Height | Recommended Lights (Mini Bulbs) | Average Strand Count* |
|---|---|---|
| 4 feet | 400 bulbs | 4 strands (100/bulb) |
| 6 feet | 600 bulbs | 6 strands |
| 7.5 feet | 750–1000 bulbs | 8–10 strands |
| 9 feet | 900–1200 bulbs | 10–12 strands |
*Assumes standard 100-bulb strands; adjust based on actual bulb count per strand.
Step-by-Step Guide to Wrapping Your Tree Evenly
Follow this sequence to achieve uniform coverage from base to tip. The method focuses on vertical layering rather than horizontal spiraling, which prevents clustering at certain levels.
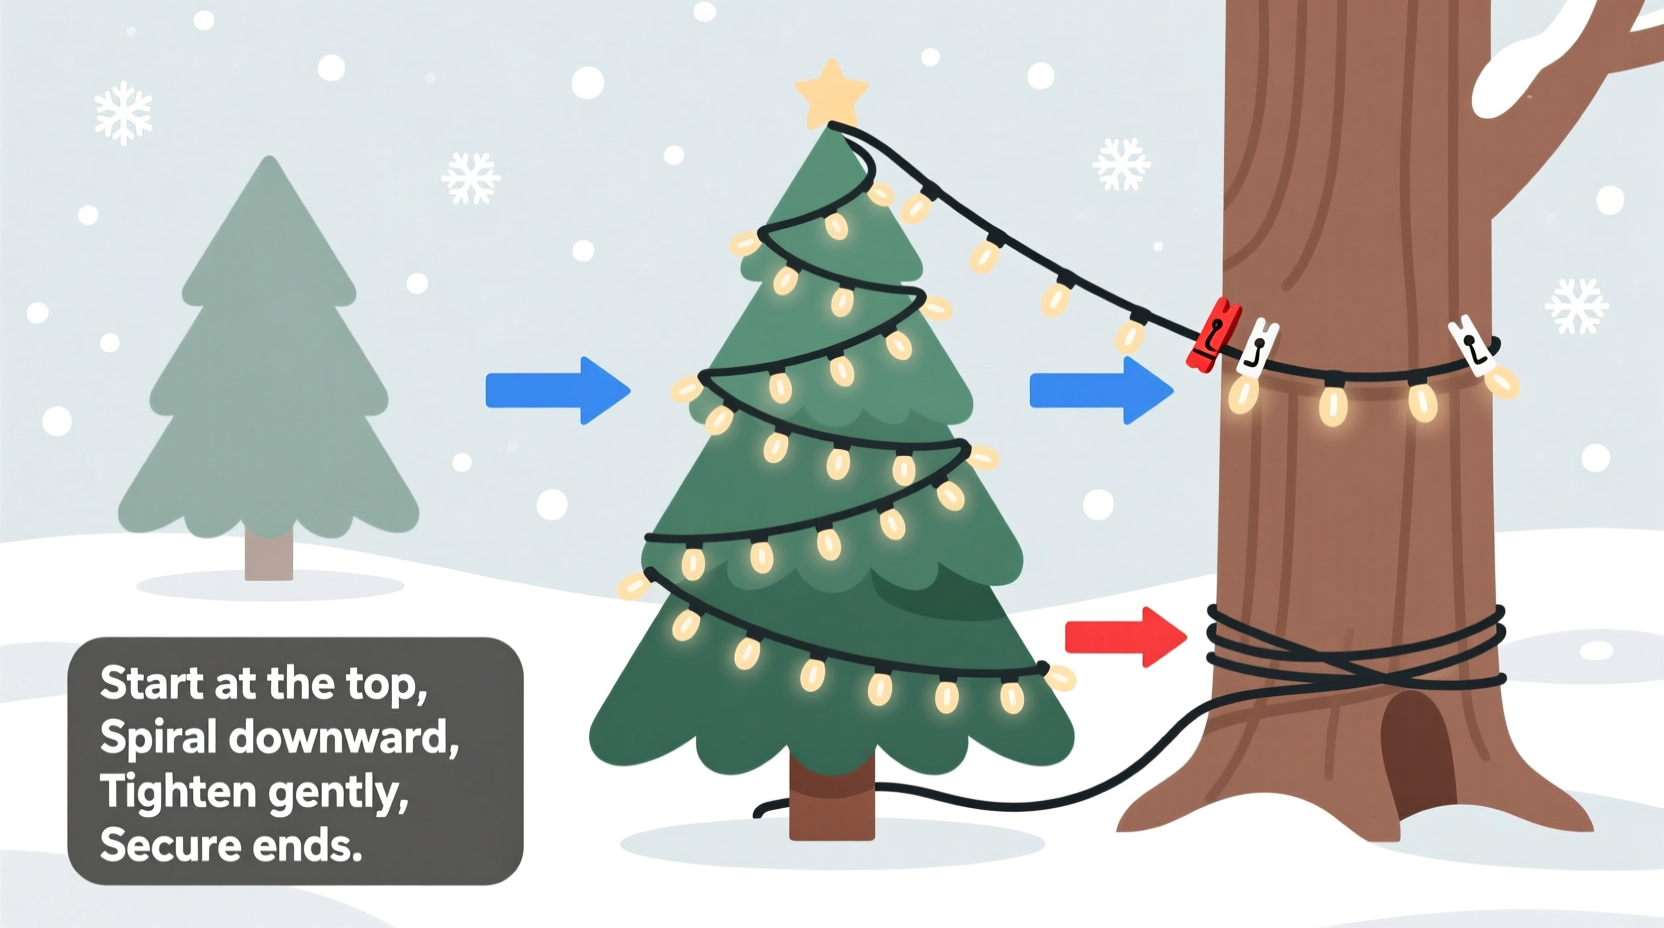
- Start at the Top (Plug End Down): Begin with the end of the strand that has the plug. Place this at the bottom of the tree near the trunk so all connectors and excess cord are hidden once complete. Run the first few inches up the trunk to the top.
- Anchor the First Bulb: Secure the first bulb near the top center using a gentle twist around a sturdy branch. Avoid bending wires sharply. This anchor point sets the tone for even distribution.
- Work Downward in a Spiral: Move down and outward in a continuous spiral pattern. Hold about 6–8 inches between each pass, angling slightly inward toward the trunk every few wraps. Imagine drawing diagonal lines from top to base.
- Vary Depth Placement: Don’t stay only on the surface. Gently tuck some bulbs deeper into the branches to light the interior. Aim for at least one-third of the bulbs to be placed within the tree’s body, not just on the outside.
- Overlap Slightly Between Rows: Allow each new loop to overlap the previous one by about 1–2 inches. This ensures no large gaps form and creates a seamless glow.
- Focus on Problem Areas: Pay extra attention to bare spots, especially near the back or lower sections where branches may be sparser. Add supplemental strands if needed, connecting them discreetly at the base.
- Check Continuity Frequently: Every few minutes, step back and view the tree from multiple angles. Rotate around it to spot dark zones or clusters. Adjust as necessary before continuing.
- End Near the Base: Finish wrapping near the bottom, leaving enough cord to reach the outlet. Tuck the final section under the tree skirt. Never stretch or pull wires tightly—allow slight slack to prevent strain.
Connecting Multiple Strands
If using more than one set of lights, connect them end-to-end only if they’re designed for series connection (check manufacturer guidelines). Overloading circuits is a fire hazard. Use separate outlets or power strips with surge protection when possible.
Common Mistakes and How to Avoid Them
Even experienced decorators make errors. Recognizing these pitfalls early improves results significantly.
| Mistake | Why It’s a Problem | Solution |
|---|---|---|
| Horizontal wrapping only | Creates visible bands of light; leaves vertical gaps | Use diagonal or vertical weaving patterns instead |
| Placing all lights on the exterior | Tree looks flat; inner structure remains dark | Insert bulbs deep into branches for dimension |
| Skipping the test phase | Dead bulbs discovered too late; difficult to fix | Test every strand before installation |
| Overloading outlets | Fire risk; tripped breakers | Limit to 3–4 strands per outlet (check wattage limits) |
| Rushing the process | Leads to uneven spacing and missed spots | Take your time; assess from multiple angles |
Real Example: Sarah’s First Successful Tree
Sarah, a first-time homeowner, had always avoided putting up her own tree, fearing she’d ruin it. Her previous attempts resulted in tangled wires and glaring patches. This year, she decided to follow a structured approach.
She measured her 7-foot pre-lit artificial tree and realized the built-in lights were sparse on the backside. She purchased four additional warm-white LED strands. Instead of looping horizontally, she followed the diagonal spiral method described above. Every 15 minutes, she stepped back to evaluate the balance.
The result? A fully illuminated tree with no dark corners. Her guests assumed she hired a decorator. More importantly, Sarah felt proud—and ready to do it again next year.
Frequently Asked Questions
Should I wrap the tree before or after adding ornaments?
Always wrap the tree with lights before hanging ornaments. Placing lights afterward risks damaging both the bulbs and decorations. Plus, you’ll get a clearer sense of illumination before committing to ornament placement.
Can I mix different types of lights on the same tree?
You can, but with caution. Mixing bulb sizes (e.g., mini and C7) or colors can look chaotic unless intentionally styled. For a cohesive look, stick to one color temperature (like warm white) and similar bulb styles. If combining, place specialty lights (like twinkle or icicle) as accents, not primary sources.
How do I hide the cords and plugs?
Route all cords down the back of the tree and under the skirt. Use zip ties to secure strands to the central pole (on artificial trees) or to sturdy branches (on real trees), keeping connections tucked out of sight. Position the tree close enough to an outlet to avoid exposed extension cords across the floor.
Final Tips for a Polished Finish
Once the lights are installed, do a final walk-around evaluation. View the tree from your most common seating positions—living room couch, dining area, hallway. Turn off other lights to see how it glows in darkness.
If using a timer, set it to turn on in the early evening. Most LED strings last 40,000+ hours, so daily use throughout December won’t degrade them quickly.
After the holidays, remove lights carefully. Wind each strand individually around a cardboard template or plastic spool to prevent tangling. Store in labeled containers, separated by size and color.
“The best-lit trees don’t scream for attention—they invite you in with warmth and balance.” — Lena Torres, Interior Stylist & Holiday Designer
Conclusion: Shine With Confidence This Season
Wrapping a Christmas tree evenly with lights isn’t magic—it’s method. By following a deliberate, layered approach, even beginners can achieve results that rival professional displays. Start at the top, work diagonally, vary depth, and check often. Equip yourself with the right number of strands, avoid common mistakes, and take pride in the process.
This holiday season, let your tree be more than decoration. Let it be a symbol of care, intention, and joy. With these steps, you’re not just lighting a tree—you’re creating an atmosphere.


 浙公网安备
33010002000092号
浙公网安备
33010002000092号 浙B2-20120091-4
Comments
No comments yet. Why don't you start the discussion?