
Wrapping a Christmas tree with lights is one of the most anticipated holiday traditions—but it can also be one of the most frustrating. A poorly lit tree often shows glaring gaps, dark zones, or uneven clusters of brightness that ruin the magical effect. The difference between an amateur and a professionally lit tree isn’t more lights; it’s technique. With the right approach, even a modest string of bulbs can create a warm, continuous glow from base to tip. This guide breaks down the exact methods used by decorators and lighting specialists to achieve seamless, gap-free illumination—no matter your tree size or light type.
The Foundation: Choosing the Right Lights and Tools
Before you touch the tree, success begins with preparation. Not all lights are created equal, and mismatched strands or poor planning lead to frustration mid-process. Opt for LED mini-lights in warm white or soft white—they consume less power, generate minimal heat, and offer consistent brightness. For best results, use multiple identical strands rather than one long chain. Most professionals recommend 100 bulbs per foot of tree height as a baseline. For example, a 6-foot tree needs at least 600 bulbs, ideally spread across three 25-light strands (750 total) to allow overlap and redundancy.
Beyond bulbs, gather these essentials:
- Scissors or wire cutters (for trimming zip ties)
- Soft plant ties or twist ties (avoid metal wire that can damage cords)
- A sturdy step stool
- Assistant (optional but highly recommended)
- Measuring tape (to track vertical spacing)
Step-by-Step Guide: Wrapping Technique for Even Coverage
The key to eliminating gaps lies in methodical placement. Random wrapping creates hotspots and shadows. Instead, follow this spiral-down technique used by professional decorators:
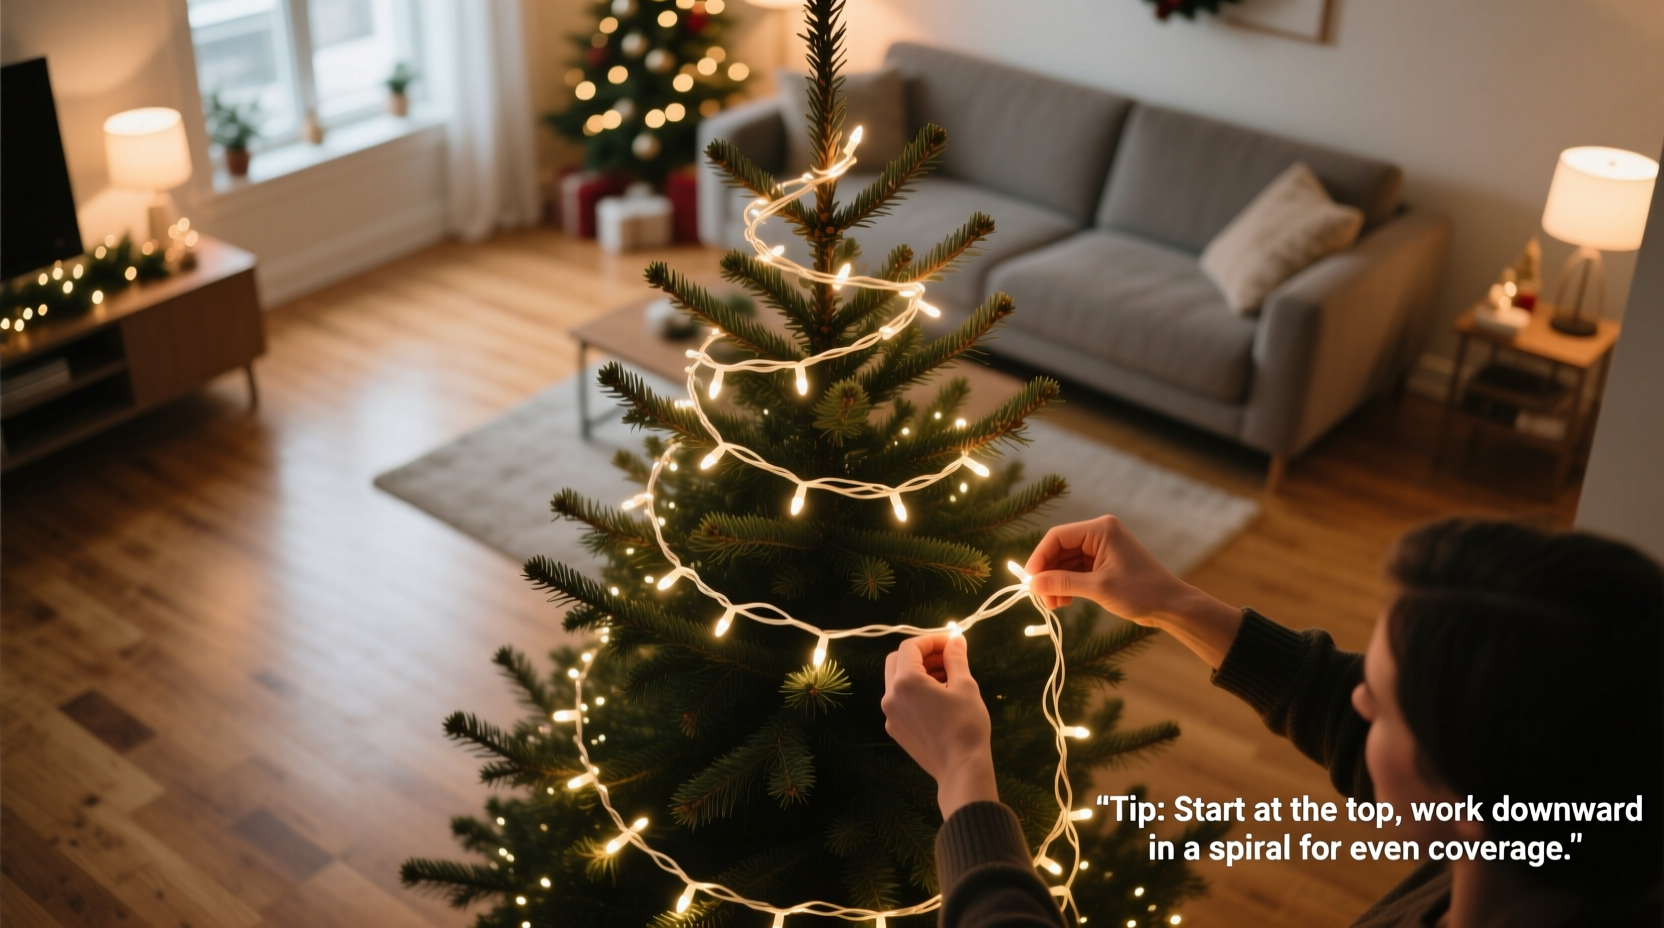
- Start at the top. Anchor the first strand’s plug near the base of the trunk, hidden from view. Run the cord up the inside of the central pole or trunk to the very top. Secure lightly with a plant tie if needed.
- Begin the spiral. From the peak, guide the first bulb outward onto a sturdy upper branch. Begin wrapping clockwise (or counterclockwise, but stay consistent) around the tree, moving downward in a steady helix.
- Maintain vertical spacing. Drop approximately 6–8 inches vertically with each full rotation. Use your handspan or a marked stick as a guide. This ensures rows don’t bunch at the bottom or leave bare zones on the sides.
- Weave inward and outward. For each bulb, gently tuck it slightly toward the trunk, then place the next further out. This “zigzag depth” illuminates inner branches and prevents flat, two-dimensional lighting.
- Layer strands. When one strand ends, begin the next immediately above its endpoint, overlapping by at least 6 inches. Never leave a blank row between strands. Continue the spiral pattern seamlessly.
- Fill the base. Wrap the final rotations tightly around the lower third, flaring slightly outward to highlight the tree skirt. Conceal the plug behind the stand or under the skirt.
This method mimics the way sunlight filters through a pine canopy—layered, dimensional, and natural. Avoid the common mistake of only placing lights on outer tips; those bulbs become blinding while the interior stays dark.
Common Mistakes That Create Gaps
Even experienced decorators fall into traps that compromise evenness. Recognizing these pitfalls helps prevent rework:
| Mistake | Why It Causes Gaps | Solution |
|---|---|---|
| Starting from the middle | Leaves top and bottom sparse due to uneven tension and reach | Always start at the top, work down in controlled spirals |
| Using inconsistent spacing | Creates visual bands of light separated by darkness | Use a physical guide (e.g., hand width) for uniform descent |
| Skipping inner branches | Results in a hollow look when viewed from angles | Alternate bulb depth: one deep, one shallow per turn |
| Overloading one side | Causes lopsided brightness, especially in corners | Rotate position every few turns; check from multiple viewpoints |
Expert Insight: What the Pros Know
Professional lighting designer Marcus Bell, who has styled trees for luxury hotels in New York and Chicago, emphasizes rhythm over speed.
“Most people treat light-wrapping like mowing the lawn—just go around until it’s done. But a Christmas tree is a 3D sculpture. You have to think in volume, not circles. The secret? One bulb at a time, placed with intention. If you rush, you’ll see the mistakes when the room goes dark.” — Marcus Bell, Lighting Designer & Holiday Stylist
Bell recommends a “three-pass” strategy for premium results: the first pass establishes structure with widely spaced guide lights, the second fills gaps with attention to shadow zones, and the third fine-tunes individual bulb positions. While this may seem excessive for home use, even a single deliberate pass yields better results than hasty wrapping.
Mini Case Study: Transforming a Problem Tree
Sarah Thompson, a homeowner in Portland, struggled for years with her pre-lit artificial tree. Despite having 700 built-in LEDs, guests always remarked that the left side looked “patchy.” After consulting a local decorator, she discovered the factory wiring followed wide, irregular loops with no depth variation. She removed the original lights and rewired it manually using the spiral-down method.
She divided the tree into four vertical quadrants and treated each as a separate zone, ensuring no strand skipped a section. By adding two extra 100-bulb strands and weaving them deeper into shadowed areas—particularly behind dense pine clusters—she achieved uniform radiance. The transformation was immediate: “It finally looks like the trees in department store windows,” she said. “No more flashlight effect.”
Checklist: Ensure Gap-Free Lighting in 8 Steps
Follow this checklist before, during, and after wrapping to guarantee even coverage:
- ☐ Measure tree height and calculate minimum bulb count (100 per foot)
- ☐ Test all light strands for continuity and brightness match
- ☐ Begin at the top with the plug secured at the base
- ☐ Maintain 6–8 inch vertical drop per full rotation
- ☐ Alternate bulb depth—toward trunk, then outward—to create dimension
- ☐ Overlap strand endpoints by 6+ inches to avoid dead rows
- ☐ Step back frequently to assess from multiple angles
- ☐ Do a final walkaround in dimmed lighting to spot and fix weak zones
Frequently Asked Questions
How many strings of lights do I need for a 7-foot tree?
A 7-foot tree should have at least 700 bulbs for adequate coverage. Using standard 100-bulb strands, that’s seven strands. However, for richer, gap-free illumination, aim for 900–1000 bulbs (9–10 strands), allowing for overlap and depth layering.
Should I wrap clockwise or counterclockwise?
Direction doesn’t matter as long as you’re consistent. Choose one and stick with it throughout. Some find clockwise more natural when working alone, but either works. The critical factor is maintaining even vertical spacing, not rotation direction.
Can I mix different types of lights on the same tree?
While possible, mixing bulb sizes, colors, or temperatures increases the risk of uneven appearance. If combining, group similar types in distinct zones (e.g., warm white on lower half, cool white on top). For seamless blending, use identical strands from the same manufacturer batch.
Advanced Tip: Layering for Maximum Fullness
For a truly luxurious look, consider double-layering. This involves wrapping the tree once with a base layer of warm white LEDs, then adding a second set of lights—possibly with a subtle twinkle or color variation—woven in the opposite spiral direction. This cross-hatch pattern eliminates any straight-line visibility and creates a shimmering, immersive effect. It requires more time and lights, but the result mimics the density of high-end retail displays. Just ensure your outlet circuits can handle the load—use surge protectors and avoid daisy-chaining more than three strands per outlet.
Conclusion: Illuminate with Confidence
Wrapping a Christmas tree evenly with lights isn’t about luck or artistic flair—it’s about system and patience. By following a structured spiral technique, maintaining consistent spacing, and checking progress from multiple angles, anyone can achieve professional-grade results. The glow of a perfectly lit tree does more than decorate a room; it sets the tone for warmth, celebration, and shared memories. This holiday season, skip the guesswork. Apply these proven methods, and enjoy a tree that shines uniformly from every angle—no dark spots, no compromises.


 浙公网安备
33010002000092号
浙公网安备
33010002000092号 浙B2-20120091-4
Comments
No comments yet. Why don't you start the discussion?