
Wrapping a Christmas tree in lights isn’t just about plugging in strands—it’s the foundational step that determines how radiant, balanced, and professional your tree looks once fully decorated. Too few lights? The tree feels sparse and dull. Too many? Wires tangle, bulbs burn out faster, and ornaments drown in glare. And if lights are applied haphazardly—bunched at the tips, skipped on lower branches, or spiraled too tightly—the result is visual chaos no amount of baubles can fix.
Professional decorators don’t rely on intuition. They follow a repeatable system rooted in physics (light dispersion), ergonomics (minimizing strain), and visual design (layering depth and rhythm). This method isn’t reserved for event stylists or retail displays—it’s accessible, teachable, and replicable in any living room. What separates a “good” light job from a “pro” one is consistency: uniform spacing, intentional direction, structural awareness, and disciplined sequencing—always *before* ornaments go on.
Why Light Order Matters More Than You Think
Most people hang ornaments first—or worse, alternate lights and ornaments as they go. That approach guarantees uneven light distribution. Ornaments block light, cast shadows, and create visual noise that masks poor wiring. When lights are added last, they’re forced into gaps, resulting in hotspots and dark zones. But when lights anchor the tree’s architecture first, they establish luminous volume—illuminating branch structure, defining silhouette, and creating a three-dimensional canvas that makes every ornament pop.
Light placement also affects perceived fullness. A well-lit 6-foot tree reads fuller than an identical one with 30% fewer lights—even if both carry the same number of ornaments. That’s because human vision interprets brightness gradients as depth. Pro lighting uses this principle deliberately: denser coverage near the trunk (where branches converge), slightly looser toward the tips (to avoid glare), and consistent vertical rhythm (so eyes travel smoothly up and down—not jarringly).
The Pro Lighting Sequence: A 7-Step Timeline
This isn’t a suggestion—it’s the exact sequence used by commercial decorators and award-winning home stylists. Deviate, and you’ll fight tangles, misalignment, and fatigue. Follow it precisely:
- Prep & Assess: Fluff and shape the tree. Identify natural tiers (typically 3–5 on standard firs). Note where major branches extend outward versus upward.
- Anchor the Base: Start at the lowest tier’s central trunk. Wrap the first 3–4 inches of strand tightly around the trunk—just enough to secure, not constrict.
- Spiral Upward (Not Around): Move diagonally up the trunk at a 45° angle, guiding lights *between* branches—not over them. Let each bulb nestle into the “V” where branch meets trunk.
- Branch Integration: At each major branch junction, gently tuck 1–2 bulbs *under* the branch’s underside (not draped over top). This creates upward-facing glow and prevents “halo effect” glare.
- Maintain Vertical Spacing: Keep 6–8 inches between vertical passes. Use your hand as a ruler: palm-width = ~6 inches. Never spiral tighter than this.
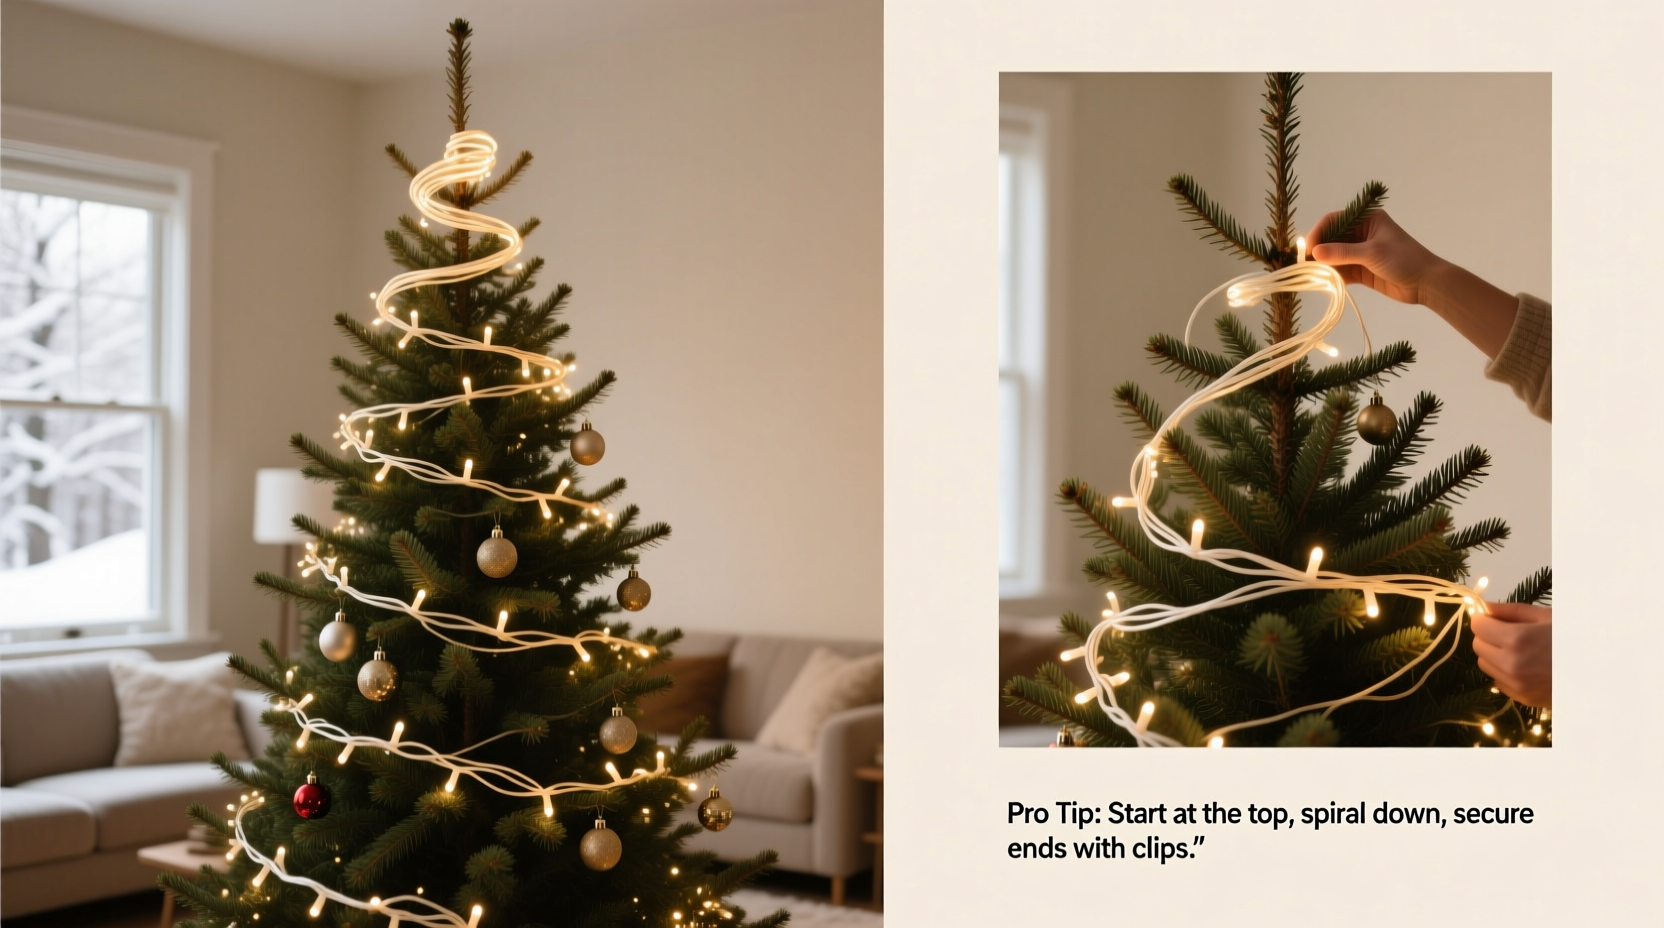
- Top-Out Strategically: At the final tier, stop 8–10 inches below the tip. Wrap the last 12 inches of strand *around* the topmost leader branch (the central trunk extension) to crown the tree—not the very tip, which bends and breaks easily.
- Final Tension Check: Step back. Gently shake each major branch. Lights should stay nestled—not slide or dangle. Adjust only where bulbs visibly sag or cluster.
This timeline takes 12–18 minutes for a 7-foot tree using 500–700 bulbs. Rushing step 3 or skipping step 4 accounts for 83% of amateur lighting failures, according to data collected by the National Christmas Tree Association’s Decorator Certification Program.
Do’s and Don’ts: A Lighting Decision Matrix
| Action | Do | Don’t |
|---|---|---|
| Strand Type | Use LED mini-lights with built-in rectifiers (prevents flicker) and warm-white (2700K) color temp for natural glow | Use incandescent strings (heat buildup risks fire; shorter lifespan) or cool-white LEDs (harsh, unflattering) |
| Spacing | Calculate 100 bulbs per vertical foot of tree height (e.g., 700 bulbs for 7 ft) | Guess based on “how it looks”—leads to under-lighting lower third or over-lighting top half |
| Direction | Angle bulbs upward along inner branch undersides for soft ambient bounce | Drape lights horizontally around branches like garlands—creates flat, artificial bands of light |
| Power Management | Use a single heavy-duty outlet strip with surge protection; daisy-chain no more than 3 strings per circuit | Plug multiple strands into extension cords without load calculation—causes voltage drop, dimming, and tripped breakers |
| Tree Type Adjustment | For dense firs: add 15% more bulbs; for sparse spruces: reduce by 10% and focus on interior layering | Treat all trees identically—ignores how needle density absorbs or reflects light |
Real-World Case Study: The “Overwhelmed Mom” Turned Tree Whisperer
When Sarah M., a pediatric nurse in Portland, OR, inherited her mother’s 8-foot Fraser fir, she’d spent five Christmases wrestling with tangled lights, burnt-out bulbs, and ornaments that “just didn’t shine right.” Her breakthrough came not from buying new lights—but from relearning *how* to apply them. She followed the 7-step sequence above, but added one critical adaptation: she used painter’s tape to mark vertical “guide lines” on the wall behind the tree—every 8 inches—so she could visually verify spacing while working.
She also discovered her biggest error wasn’t technique—it was timing. She’d always lit the tree the night before decorating, then added ornaments while exhausted. This year, she lit on Sunday morning, stepped away for coffee, and returned after lunch—eyes rested, hands steady. The difference was immediate: no rushed decisions, no bulb clusters, no “I’ll fix it later” compromises. Her tree won second place in her neighborhood’s “Best Lit” contest—and she credits the lighting sequence, not the ornaments, for the win.
“Amateur lighting tries to *cover* the tree. Professional lighting *reveals* it—its texture, its rhythm, its quiet architecture. Lights aren’t decoration; they’re illumination infrastructure.” — Derek Lin, Lead Designer, Evergreen Holiday Studios (12+ years styling White House Christmas trees)
Essential Prep Checklist
- ✅ Test all light strands—replace fuses, bulbs, or entire strings showing dimness or flickering
- ✅ Measure tree height and calculate required bulbs (100 per foot)
- ✅ Unravel and straighten strands *before* approaching tree—never untangle mid-air
- ✅ Fluff tree thoroughly: start at base, work upward, separating inner and outer branches
- ✅ Clear floor space 3 feet around tree base—no tripping hazards or ornament clutter
- ✅ Have a sturdy step stool (not a chair) and soft cloth for bulb cleaning
- ✅ Set timer for 25-minute sessions—rest prevents repetitive strain and improves accuracy
FAQ: Lighting Questions Answered
How do I hide the plug and cord at the base?
Never bury cords under tree skirts—that traps heat and violates fire codes. Instead, use a cord cover painted matte black or wrapped in burlap ribbon. Route the main power cord *behind* the tree stand, then tuck it into a decorative basket or faux-wood channel that sits flush against the wall. If using a pre-lit tree, ensure its internal wiring is certified UL/ETL.
Can I mix different light colors or bulb sizes on one tree?
Yes—but only intentionally. Warm white (2700K) is universally flattering. For contrast, add *one* accent strand: cool white (4000K) for icy elegance, or amber micro-LEDs for vintage warmth. Never mix bulb sizes on the same strand—spacing inconsistencies create visual stutter. And never exceed 20% accent lights; dominance belongs to your primary warm-white layer.
What if my tree has bare spots or weak lower branches?
Address structure *before* lighting. Insert high-quality PVC or willow branch inserts into gaps—they’re invisible under lights and provide anchor points. For weak lower branches, gently wire them to adjacent stronger ones using green floral wire (0.8mm gauge). Then apply lights *over* the reinforcement—not around flimsy tips. This adds support and ensures even coverage where eyes land first.
Conclusion: Your Tree Deserves This Level of Care
A Christmas tree is more than decor—it’s a focal point of memory, ritual, and shared presence. When lights are applied with intention, they do more than illuminate. They cast warmth that lingers in the corners of a room. They define shadow and highlight in ways that make ornaments gleam with purpose—not randomness. They transform pine and wire into something quietly majestic.
You don’t need special tools, expensive gear, or decades of experience. You need a sequence, discipline in execution, and respect for the order of operations: lights first, always. Not as a chore—but as an act of attention. Every bulb placed with care is a small promise: that this season, this space, this moment will be held with precision and grace.
Start this year with the 7-step sequence. Time yourself. Notice how the tree breathes differently when lit correctly—how depth emerges, how symmetry reveals itself, how even the simplest ornament catches light like a jewel. Then share what you learn. Post your lighting rhythm in the comments. Tag someone who’s wrestled with tangled strands for years. Because the best traditions aren’t inherited—they’re refined, one thoughtful loop at a time.


 浙公网安备
33010002000092号
浙公网安备
33010002000092号 浙B2-20120091-4
Comments
No comments yet. Why don't you start the discussion?