
Wrapping a Christmas tree in lights is one of the most anticipated parts of holiday decorating. When done well, it transforms your tree into a glowing centerpiece that radiates warmth and cheer. But when lights are uneven, clumped, or sparse in places, the effect can fall flat. Achieving that perfectly even glow isn’t magic—it’s method. With the right approach, tools, and attention to detail, you can wrap any tree—real or artificial—with professional-level precision, year after year.
The key lies not just in starting at the right spot or using enough bulbs, but in understanding how light interacts with depth, branch density, and tree shape. Whether you’re working with a towering 9-foot spruce or a compact tabletop fir, consistency in spacing, direction, and layering makes all the difference.
Start with the Right Tools and Preparation
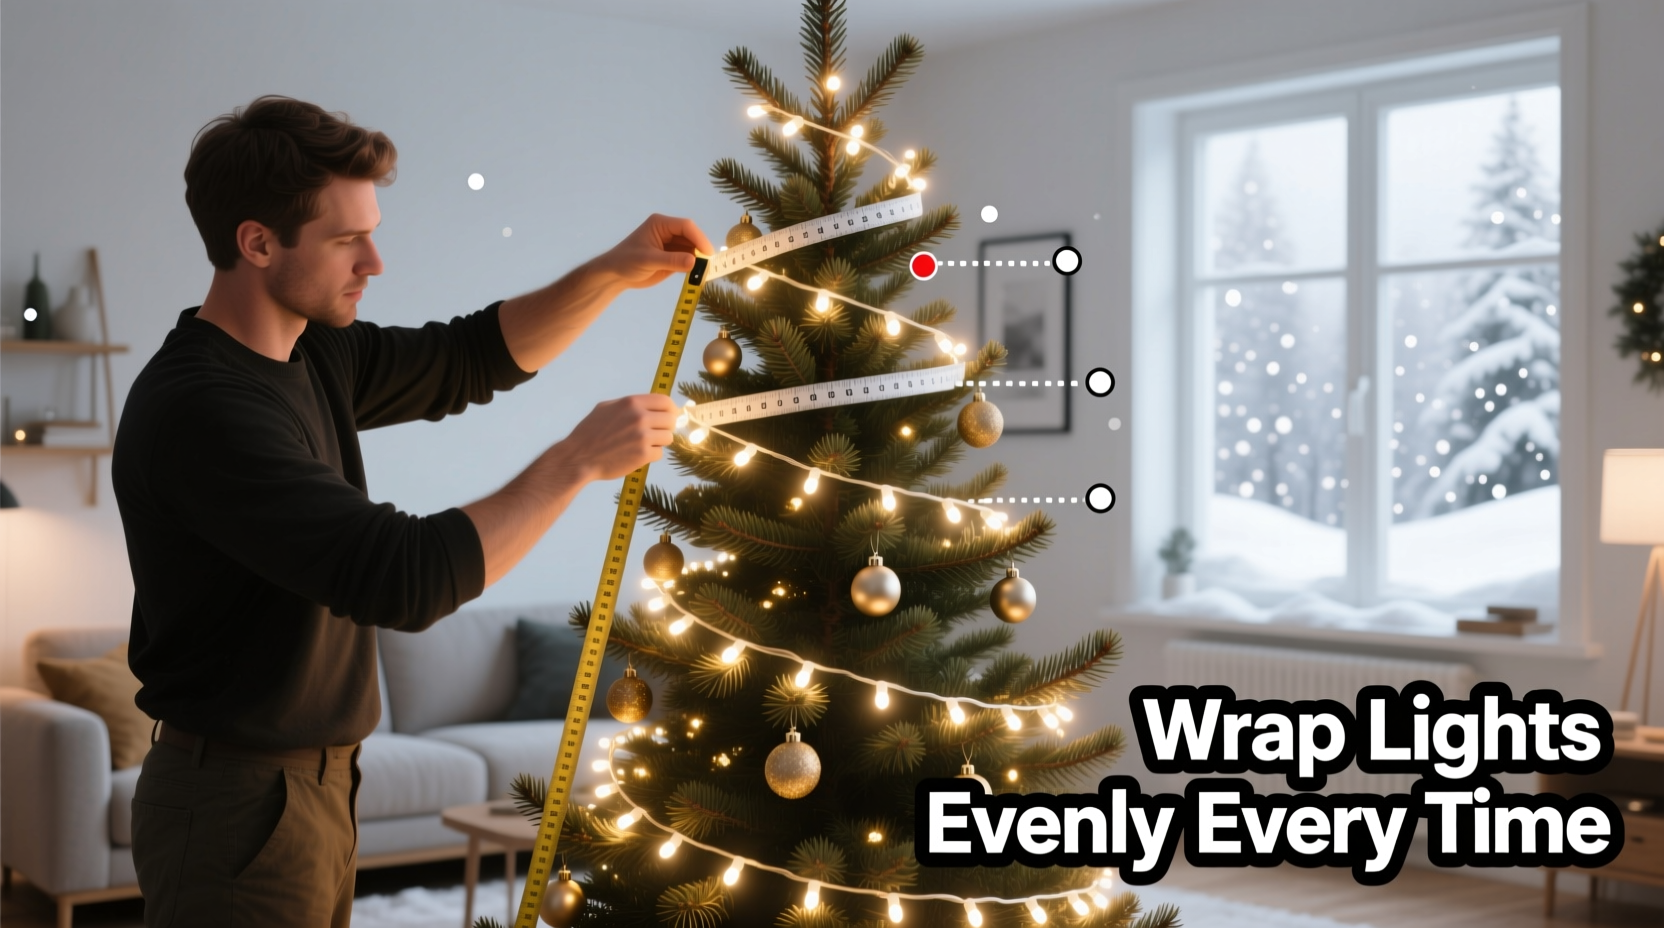
Before you plug in a single strand, ensure you have everything ready. Rushing into the process without preparation leads to tangled wires, inconsistent coverage, and frustration. Begin by assessing your tree’s height, fullness, and branch structure. This will determine how many strings of lights you need and how to distribute them.
A general rule of thumb is **100 lights per foot of tree height**. For example, a 6-foot tree typically requires around 600 lights. However, fuller trees may benefit from 150 lights per foot to ensure inner branches aren’t left in shadow. Always use LED lights—they run cooler, consume less energy, and last longer, making them ideal for extended seasonal displays.
- Light strands (preferably pre-lit with connectors for easy linking)
- Scissors or wire cutters (for zip ties, if needed)
- Ladder or step stool (for taller trees)
- Measuring tape (to estimate light needs)
- Gloves (optional, for handling prickly real trees)
Unpack your tree fully and allow it to settle for 24 hours if artificial. Fluff branches outward to create volume and reveal hidden gaps. For real trees, make a fresh cut at the base and place it in water immediately to keep needles fresh.
Step-by-Step Guide to Even Light Distribution
Even lighting depends on technique, not just quantity. Follow this systematic approach to ensure every inch of your tree glows uniformly.
- Begin at the Base, Work Upward
Start with the bottom row of branches. Plug the first strand into a power source near the floor, then secure the male end with a twist tie or discreet clip to prevent tugging. Wrap clockwise or counterclockwise consistently—pick one direction and stick to it. - Weave Inward, Not Just Around
Don’t simply circle the outer edge. Gently weave each bulb into the branch structure, moving toward the trunk about halfway through each revolution. This creates depth and prevents a “halo” effect where only the silhouette is lit. - Maintain Consistent Spacing
Keep approximately 3–4 inches between each loop around the tree. Use your hand as a guide—one hand’s width is roughly 4 inches. Avoid bunching lights at branch tips or leaving large dark zones between rows. - Layer Vertically and Horizontally
After completing a horizontal wrap, occasionally angle the strand slightly upward or downward to cover vertical gaps. Think of it like mowing a lawn—you want overlapping passes, not isolated stripes. - Fill the Center
For dense trees, route some strands deep into the core. Tuck individual bulbs along central branches to illuminate shadows and give the tree a luminous, three-dimensional glow. - Move to the Next Level
Rise gradually up the tree, maintaining even vertical spacing between rows. On average, space horizontal wraps 6–8 inches apart depending on tree size. Smaller trees may need tighter spacing; larger ones can go slightly wider. - Finish at the Top
When nearing the top, reduce loop size to match the narrowing cone shape. The final few rows should be snug but not overcrowded. Cap it with a star or topper that integrates with the lighting scheme—some come with built-in LEDs.
Once the main wrapping is complete, step back frequently to assess coverage. Look for dark patches, especially on the back or sides facing walls. Add supplemental strands if needed, routing them discreetly through existing branches.
Pro Techniques for Flawless Results
Seasoned decorators know a few tricks that elevate their work from good to exceptional. These methods address common pitfalls and enhance visual harmony.
Use the “S-Wrap” Method
Rather than wrapping lights in simple circles, many professionals use the S-wrap technique. This involves looping the strand in an S-shaped pattern down and across branches, allowing bulbs to face outward on both sides of the curve. It increases visible brightness and reduces blind spots.
Combine Warm and Cool White Lights (Optional)
For added dimension, mix warm white (yellowish) and cool white (bluish) LEDs. Warm white enhances a cozy ambiance, while cool white adds sparkle. Use them in a 2:1 ratio—two warm strands for every cool one—to avoid a clinical look.
Hide Cords Strategically
Never let cords dangle visibly. Route excess wiring behind trunks or along dark inner branches. Use plastic hooks or adhesive clips to secure strands without damaging branches. If using multiple strands, connect them end-to-end rather than running parallel cords.
Consider Pre-Lit Trees with Supplemental Lighting
If your tree comes pre-lit, don’t assume it’s sufficient. Factory lighting often prioritizes cost over coverage. Use supplemental strands to fill gaps, especially in the lower third and center core. Layer your own lights over the factory ones using the same wrapping principles.
“Most people underestimate how much light a tree actually needs. The goal isn’t just visibility—it’s creating ambient glow. Depth matters more than density.” — Marcus Reed, Professional Holiday Lighting Designer
Common Mistakes and How to Avoid Them
Even experienced decorators make errors that compromise results. Recognizing these pitfalls helps you correct course before the tree goes live.
| Mistake | Why It’s a Problem | How to Fix It |
|---|---|---|
| Starting at the top | Increases risk of sagging, uneven tension, and tripping hazards at the base | Always start at the bottom near the outlet |
| Only wrapping the outer edge | Creates a flat, two-dimensional look with dark interiors | Weave lights inward toward the trunk on each pass |
| Using mismatched bulb sizes or colors | Distracts the eye and breaks visual continuity | Stick to one bulb type and color temperature per tree |
| Overloading outlets | Trips breakers or causes overheating | Follow manufacturer limits—usually 3–5 strands daisy-chained |
| Ignoring the back of the tree | Visible gaps when viewed from angles | Treat all sides equally, especially in open rooms |
Real Example: Transforming a Sparse Artificial Tree
Sarah, a homeowner in Vermont, struggled for years with her 7-foot artificial pine. Despite using 800 lights, the tree always looked patchy, especially from a distance. She followed the standard “wrap around” method but never ventured inward.
Last season, she applied the S-wrap technique, starting at the base and weaving each strand halfway to the trunk. She increased her total to 1,050 bulbs (150 per foot), focusing extra coverage on the lower half, which tends to get overlooked. She also added a second outlet strip to avoid daisy-chain overload.
The result? A rich, even glow that made the tree appear fuller and more vibrant. Neighbors commented that it looked professionally decorated. Sarah now dedicates two focused hours to lighting—slower than before, but the outcome speaks for itself.
Checklist: Ensure Perfect Light Wrapping Every Time
Use this checklist before, during, and after wrapping to guarantee consistent results:
- ☐ Measure tree height and calculate required number of lights (100–150 per foot)
- ☐ Test all strands and replace faulty ones
- ☐ Fluff tree branches fully to expose gaps
- ☐ Start wrapping at the base, near the power source
- ☐ Weave lights inward, not just around the perimeter
- ☐ Maintain 3–4 inch horizontal spacing and 6–8 inch vertical spacing
- ☐ Fill the center and lower third with extra attention
- ☐ Step back frequently to check for dark spots
- ☐ Hide cords and secure connections discreetly
- ☐ Plug in and do a final walkaround inspection from multiple angles
Frequently Asked Questions
How many strings of lights do I need for a 6-foot tree?
A 6-foot tree typically requires 600 to 900 lights, depending on fullness. If the tree is slim or has wide branch spacing, aim for the higher end. Most string lights come in 50- or 100-bulb sets, so plan accordingly—6 to 9 strands should suffice.
Should I wrap lights before or after ornaments?
Always wrap lights before hanging ornaments. This allows you to see exactly where light falls and place decorations in illuminated areas. Ornaments hung over lights can block glow and create shadows. Plus, maneuvering around fragile ornaments while threading wires increases the risk of breakage.
Can I use different colored lights on the same tree?
You can, but for an even, cohesive look, it’s best to stick to one color temperature—such as warm white or cool white. Multicolored lights work well for festive themes, but they draw attention to individual bulbs rather than creating a unified glow. If mixing colors, limit it to themed sections or use them sparingly as accents.
Final Tips for Long-Term Success
Once your tree is beautifully lit, preserve the setup for future seasons. After the holidays, remove lights carefully—avoid yanking. Coil each strand neatly around a cardboard spool or plastic reel to prevent tangles. Label them by length and color for quick identification next year.
Store lights in breathable containers, not sealed plastic bins, which can trap moisture and degrade wires. Keep them in a cool, dry place away from rodents. Inspect them again before next use, even if stored perfectly—components can degrade over time.
“The perfect tree isn’t about the most expensive lights or tallest evergreen. It’s about intentionality. One careful pass beats ten rushed ones.” — Lena Choi, Interior Stylist & Seasonal Decor Consultant
Conclusion: Shine Bright This Holiday Season
Wrapping a Christmas tree in lights evenly isn’t reserved for professionals or perfectionists. It’s a skill built on patience, repetition, and a few smart strategies. By starting at the base, weaving inward, maintaining consistent spacing, and avoiding common mistakes, you can achieve a display that feels lush, balanced, and radiant.
This holiday season, take your time. Let the process be part of the joy. Turn on some music, pour a warm drink, and treat light-wrapping as a meditative ritual rather than a chore. When you step back and see that even, shimmering glow, you’ll know every careful loop was worth it.


 浙公网安备
33010002000092号
浙公网安备
33010002000092号 浙B2-20120091-4
Comments
No comments yet. Why don't you start the discussion?