
Every holiday season, thousands of households wrestle with the same frustrating problem: a Christmas tree that looks patchy, uneven, or dim in certain spots after being wrapped in lights. The culprit? Inconsistent wrapping technique. While it may seem simple—just drape some strands around the branches—achieving a full, radiant glow without dark zones requires strategy, patience, and the right method. The most effective approach is wrapping from the top down in a consistent spiral pattern, ensuring even coverage across every inch of your tree.
This guide breaks down the proven process used by professional decorators to achieve seamless illumination. From selecting the right lights and calculating quantities, to executing a gap-free spiral wrap and troubleshooting common mistakes, you’ll learn everything needed to create a dazzling centerpiece for your home.
Why Top-to-Bottom Wrapping Prevents Gaps
Wrapping a Christmas tree from the top down follows a logical vertical path that mimics natural eye movement when viewing the tree. Starting at the apex ensures that the first and most visible section—the crown—is properly lit before working downward. This method also allows for better depth penetration, as each loop can be guided deep into the interior branches before surfacing outward.
Unlike haphazard draping or bottom-up approaches, which often result in overcrowded lower sections and neglected upper limbs, a top-down spiral distributes light evenly. It creates a continuous flow that avoids clustering and maintains consistent spacing between rows.
“Consistency in spacing and direction is what separates amateur lighting jobs from professional ones.” — Daniel Reyes, Lead Holiday Decorator, Evergreen Displays Inc.
Step-by-Step: How to Wrap Your Tree Without Gaps
The key to a flawless wrap lies not just in where you start, but in how systematically you proceed. Follow this detailed timeline to ensure complete coverage:
- Prepare the Tree: Fluff all branches symmetrically, starting from the bottom and working upward. Ensure inner layers are spread so lights can reach deeper into the core.
- Test Lights First: Plug in each strand before use to confirm all bulbs work. Replace dead bulbs or entire sets if necessary.
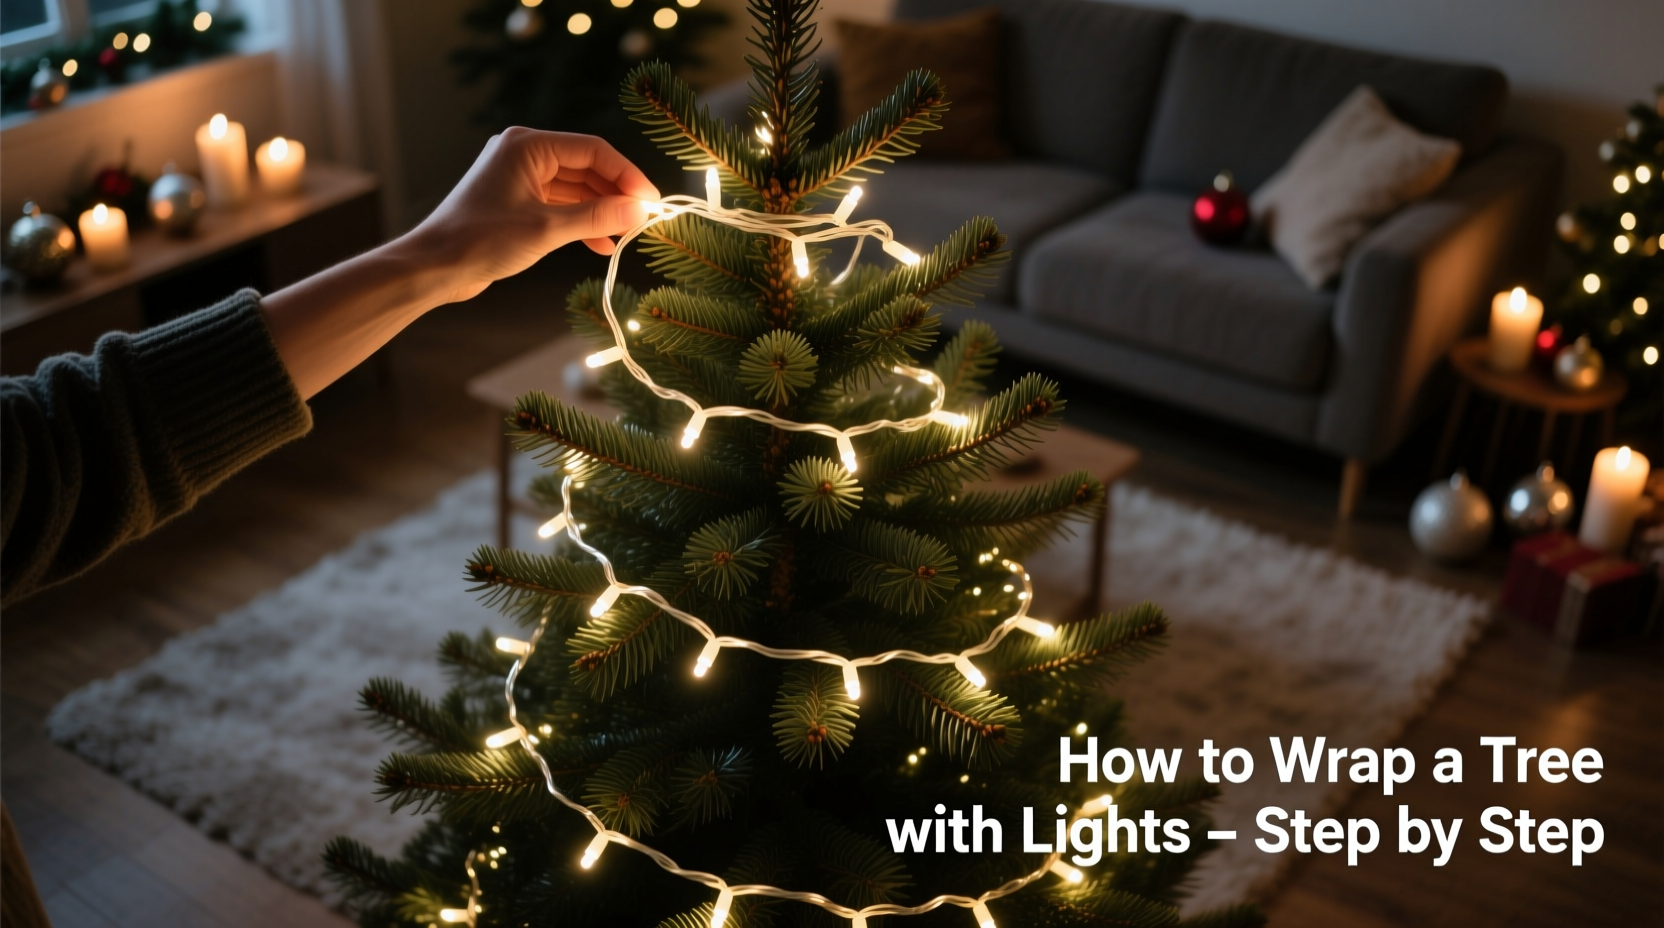
- Anchor the First Strand: Begin at the topmost tip of the tree. Secure the male plug end (the one with the prongs) inside the central trunk using a twist tie or floral wire—never tape directly to branches.
- Start the Spiral: Guide the first bulb down and slightly outward, then begin moving in a clockwise or counterclockwise spiral around the tree. Wrap around the trunk and major branches, not just the tips.
- Maintain Even Spacing: Keep approximately 4–6 inches between each vertical pass. Use your hand span as a rough guide—one hand’s width between loops helps maintain consistency.
- Weave Into Depth: For every revolution, push the wire slightly inward toward the trunk, then bring it back out. This “in-and-out” motion wraps light around volume, not just surface.
- Connect Strands Strategically: When one strand ends, connect the next at the same height on an adjacent side. Avoid stacking connectors on the front face; tuck them behind foliage.
- Work Downward Layer by Layer: Treat the tree like stacked cones. Complete one level before descending to the next. Maintain the same spiral direction throughout.
- Final Inspection: Once finished, walk around the tree in low light. Look for dark spots, overly dense areas, or exposed wires. Adjust as needed.
Choosing the Right Lights and Calculating Quantity
Not all string lights are created equal. To avoid gaps due to insufficient brightness or length, choose based on tree size and desired density.
A widely accepted rule is the \"100 lights per foot of tree height\" guideline. For example:
| Tree Height | Recommended Light Count | Typical Strand Length (50-bulb strand) | Number of Strands Needed |
|---|---|---|---|
| 4 feet | 400 bulbs | 17 ft | 8 strands |
| 6 feet | 600 bulbs | 17 ft | 12 strands |
| 7.5 feet | 750 bulbs | 17 ft | 15 strands |
| 9 feet | 900+ bulbs | 17 ft | 18+ strands |
Opt for commercial-grade, UL-listed lights with shatterproof bulbs and replaceable fuses. If using multiple colors, plan transitions carefully—e.g., fade from warm white at the base to cool white near the top for a gradient effect.
Common Mistakes That Create Gaps (And How to Avoid Them)
- Starting from the middle or bottom: Leads to poor top coverage and forces awkward reaching, increasing the chance of missed sections.
- Changing spiral direction mid-tree: Creates visual disarray and inconsistent spacing. Pick clockwise or counterclockwise and stick with it.
- Draping instead of wrapping: Simply hanging strands vertically leaves large unlit spaces between drops. Always spiral horizontally.
- Overloading outlets: Connecting too many strands can trip circuits or cause flickering. Most manufacturers recommend no more than 3–5 connected sets.
- Ignoring the backside: Many people only light the front third. Walk around the tree frequently during installation to ensure 360-degree coverage.
Real Example: Transforming a Patchy Tree in One Evening
Sarah M., a homeowner in Portland, Oregon, had struggled for years with her 7-foot pre-lit artificial tree looking dull despite having hundreds of bulbs. Each year, she’d hang additional strings over dark patches, resulting in clumps of light on the front and almost none on the sides.
In December 2023, she decided to remove all existing lights and start fresh using the top-down spiral method. She calculated needing 700 bulbs and purchased 14 strands of 50-count LEDs. Over two hours, she anchored the first strand at the top, spiraled clockwise with 5-inch spacing, and wove each pass inward toward the center pole before emerging outward.
The result was transformative. Friends remarked that the tree looked “like it belonged in a department store window.” More importantly, Sarah reported spending less time adjusting lights afterward because the initial application eliminated hotspots and shadows.
Checklist: Gap-Free Tree Lighting in 10 Steps
Use this checklist before, during, and after installation to ensure success:
- ☐ Fluff all branches fully and shape the silhouette
- ☐ Test every light strand for functionality
- ☐ Calculate total number of bulbs needed (100 per foot)
- ☐ Choose uniform bulbs (color, size, warmth)
- ☐ Anchor the first strand securely at the top
- ☐ Begin spiral wrap immediately below the tip
- ☐ Maintain 4–6 inch spacing between vertical passes
- ☰ Weave lights inward and outward on each turn
- ☐ Connect new strands seamlessly at matching heights
- ☐ Inspect from multiple angles in dim lighting
Frequently Asked Questions
Can I mix different types of lights on the same tree?
You can, but it increases the risk of uneven brightness and color temperature mismatches. For a cohesive look, use identical bulbs across all strands. If mixing, limit variation to accent sections—e.g., warm white on lower half, cool white above—and ensure all are the same bulb style (C7, mini, fairy).
How do I hide cords and connectors?
Tuck connectors deep into the tree’s interior along the central pole. Use zip ties or floral wire to secure excess cord lengths against thick branches. Never leave plugs dangling visibly. For pre-lit trees, route spare wire through internal channels or conceal behind stand covers.
What should I do if I run out of lights halfway through?
Stop and reassess. Adding mismatched strands later creates inconsistency. Either purchase identical replacements (note brand, model, and bulb count) or re-wrap with wider spacing to stretch what you have. Prioritize even distribution over density.
Expert Tips for Long-Term Success
Professional decorators rely on repetition and documentation. Consider taking notes or photos each year to refine your process. Some advanced techniques include:
- Layered Lighting: Apply one layer of white lights for base coverage, then add colored or twinkle strands in a second pass for texture.
- Zoning: Divide the tree into thirds (top, middle, bottom) and assign specific strand counts to each zone for balanced energy use.
- Pre-Coiling Method: Before wrapping, loosely coil each strand around a cardboard cutout or hanger to reduce tangling and make feeding easier.
“The best-lit trees aren’t those with the most lights—they’re the ones where every bulb has purpose and placement.” — Lena Cho, Interior Stylist & Seasonal Design Consultant
Conclusion: Shine Bright This Holiday Season
Wrapping a Christmas tree in lights from top to bottom without gaps isn’t magic—it’s method. With careful planning, consistent technique, and attention to detail, anyone can achieve a professionally lit display that becomes the heart of holiday gatherings. The effort invested in proper wrapping pays off in lasting beauty, fewer repairs, and greater enjoyment throughout the season.
This year, skip the guesswork. Start at the top, follow a steady spiral, and treat each strand as part of a unified design. Your tree won’t just glow—it will command attention.


 浙公网安备
33010002000092号
浙公网安备
33010002000092号 浙B2-20120091-4
Comments
No comments yet. Why don't you start the discussion?