
Gift-giving is as much about presentation as it is about the gesture itself. While traditional wrapping often relies on adhesive tape, there’s a growing movement toward cleaner, more sustainable methods—especially when working with delicate materials like tissue paper. Wrapping a present without tape not only reduces waste but also adds an artistic flair that elevates the unboxing experience. With a few clever folds, strategic layering, and thoughtful embellishments, you can create a beautifully wrapped gift that’s both functional and visually striking—all without a single strip of tape.
Why Skip the Tape?
Tape may be convenient, but it comes with drawbacks. It can tear delicate paper, leave sticky residue, and complicate recycling efforts. Tissue paper, known for its softness and translucency, is particularly vulnerable to damage from adhesive. By eliminating tape, you preserve the integrity of the material and embrace a minimalist, eco-conscious approach to gifting.
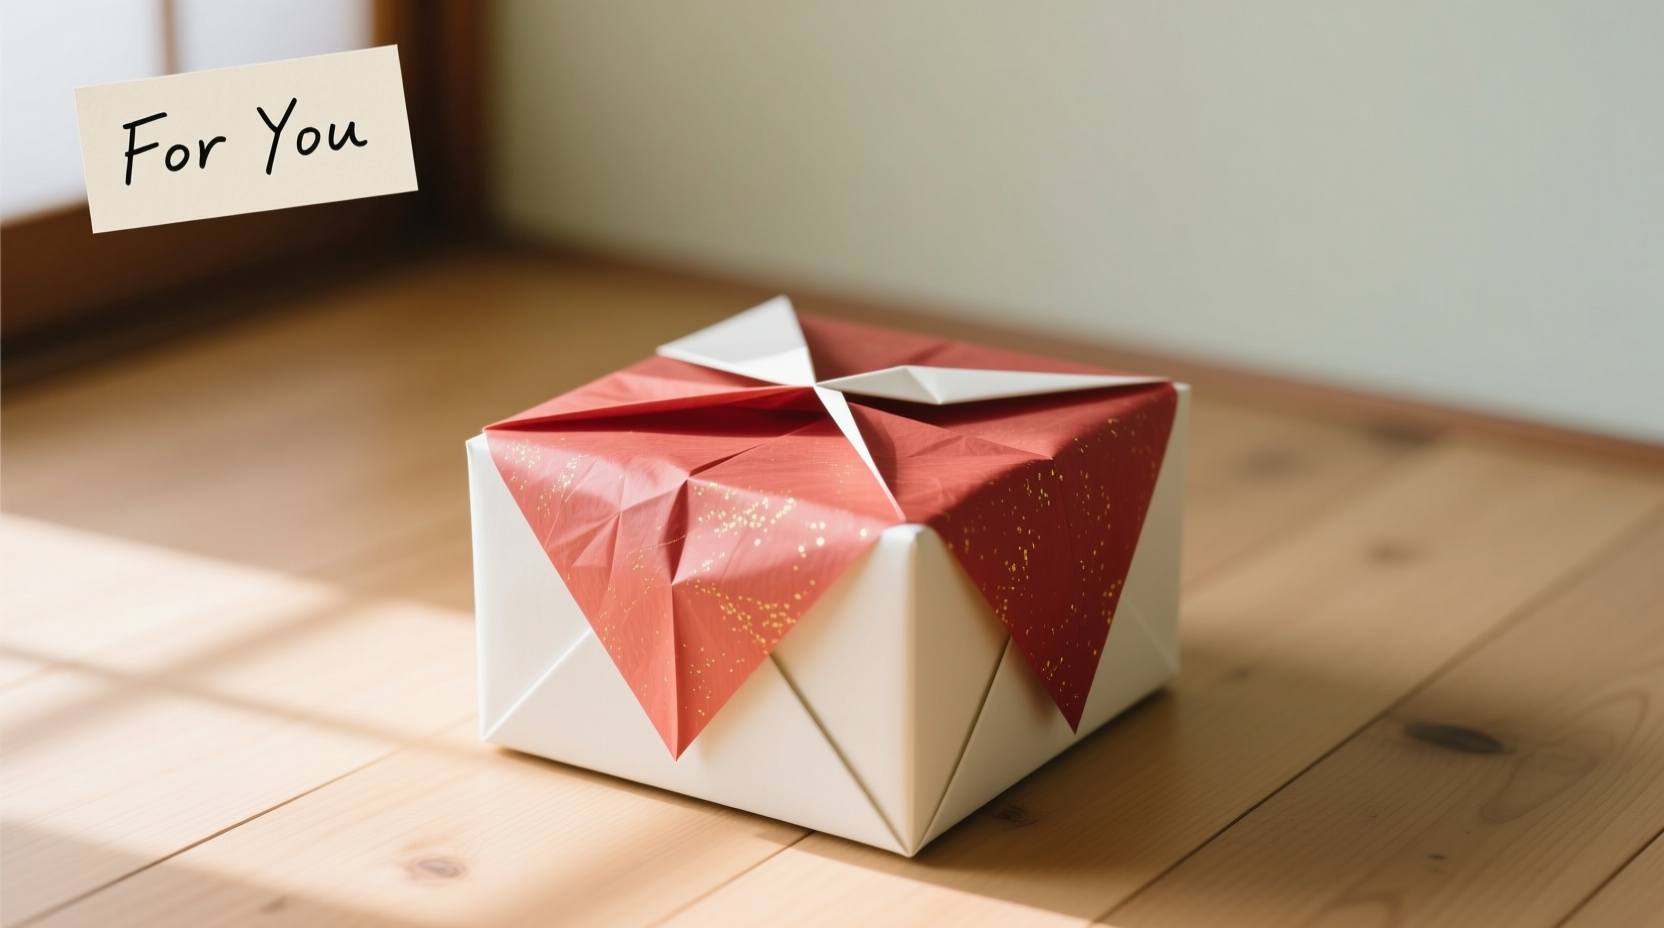
Additionally, tape-free wrapping encourages creativity. Techniques such as origami-inspired folds, knotting ribbons, or tucking flaps become part of the design. This method aligns well with Japanese furoshiki-style wrapping principles, where fabric or paper is secured through precise folding and tying—demonstrating that beauty and function can coexist without adhesives.
Materials You’ll Need
The success of a tape-free tissue paper wrap depends on choosing the right supplies. Here’s what to gather before beginning:
- Tissue paper: Opt for heavyweight or double-layered tissue for durability. Standard tissue tears easily under tension.
- Ribbon, twine, or raffia: These act as both decoration and structural support. Silk ribbon holds knots well; jute twine adds rustic charm.
- Scissors: For trimming excess paper and cutting ribbon cleanly.
- A flat surface: Essential for symmetrical folding and alignment.
- Optional embellishments: Dried flowers, sprigs of greenery, or decorative tags enhance visual appeal.
Select colors and textures that complement the occasion. Soft pastels work well for baby showers, while metallic-edged tissue adds elegance to holiday gifts.
Step-by-Step: Wrapping a Box Without Tape
This method works best for small to medium rectangular boxes—think jewelry cases, books, or cosmetic sets. Follow these steps for a clean, secure finish.
- Measure and cut the tissue paper. Lay the box in the center of the tissue and fold the sides over the top. Allow at least 4–6 inches of overhang on all sides to ensure enough material for tucking and securing.
- Fold the long sides first. Bring one side of the paper over the box and smooth it down. Repeat with the opposite side. Do not press too hard—tissue creases permanently.
- Create sealed ends. At one end, pinch the top two corners toward the center, forming a triangular flap. Fold the bottom edge up over the triangle and tuck gently into the space between the box and the tissue. Repeat on the other end.
- Secure with ribbon. Place the wrapped box vertically and slide a ribbon around the middle. Tie a firm knot or bow. The tension of the ribbon will hold the folds in place.
- Add finishing touches. Tuck a sprig of eucalyptus under the ribbon or attach a handwritten tag with a loop of string.
The key is precision. Uneven folds can cause slippage, so take time to align edges carefully. If the tissue shifts during wrapping, lift it slightly and reposition rather than forcing it into place.
“Tape-free wrapping teaches patience and attention to detail—it turns a routine task into a mindful ritual.” — Lila Chen, Sustainable Gifting Advocate
Alternative Method: The Bundle Wrap for Irregular Items
Not all gifts come in neat boxes. Clothing, toys, or oddly shaped objects require a different approach. The bundle wrap mimics the furoshiki technique and works exceptionally well with tissue paper.
Lay out a large square of tissue (at least 20x20 inches). Place the item diagonally in the center. Lift two opposite corners and tie them together in a knot at the top. Repeat with the remaining two corners. Adjust the tension so the package is snug but not strained. Trim any ragged edges if needed.
This method is ideal for scarves, stuffed animals, or multiple small items grouped together. The result is a soft, organic package that feels personal and handmade.
Do’s and Don’ts of Tape-Free Tissue Wrapping
| Do’s | Don’ts |
|---|---|
| Use high-quality, slightly textured tissue for better grip | Overstuff the paper—bulging packages resist clean folding |
| Work on a non-slip surface to prevent shifting | Pull too tightly when tying—this can tear thin tissue |
| Store wrapped gifts upright to maintain shape | Use tape as a last resort—even a small piece defeats the purpose |
| Incorporate natural elements like cinnamon sticks or lavender | Leave loose ends untied—flaps will unravel during transport |
Real Example: A Zero-Waste Birthday Gift
Sophie was preparing a birthday gift for her sister and wanted something beautiful yet sustainable. She chose a handmade ceramic mug, wrapped in blush-pink tissue paper layered with gold-dusted accents. Instead of tape, she used a satin coral ribbon to cinch the folded ends. She tucked a dried rosebud under the bow and attached a seed paper tag that could later be planted.
Her sister later shared a photo of the unboxing—the tissue was reused to wrap another gift, and the tag was planted in a windowsill pot. Sophie’s effort not only delighted the recipient but extended the life of the materials involved, embodying the spirit of mindful gifting.
Frequently Asked Questions
Can tissue paper hold up without tape during shipping?
Standard tissue alone isn’t durable enough for mailing. If sending by post, place the tissue-wrapped gift inside a rigid box or padded envelope. The outer container provides protection, while the inner wrap remains pristine for presentation.
What if my tissue keeps unfolding?
This usually happens when the paper is too small or the folds aren’t snug. Try using a larger sheet and focus on creating tight, interlocked corners. Reinforce with a double-loop ribbon tied securely around the middle.
Are there alternatives to ribbon for securing the wrap?
Yes. Consider reusable cotton cord, leather strips, or even woven fabric bands. These options are durable, eco-friendly, and add a tactile contrast to the softness of tissue paper.
Final Checklist for Perfect Tape-Free Wrapping
- Preparation:
- Choose sturdy tissue paper and a flat workspace.
- Folding:
- Align edges precisely and fold gently to avoid tears.
- Securing:
- Use ribbon or cord to hold folds in place—tighten evenly.
- Finishing:
- Add natural or reusable embellishments for personality.
- Handling:
- Transport upright and protect from moisture and crushing.
Wrap with Intention
Wrapping a present without tape is more than a craft—it’s a statement. It reflects care for the environment, respect for materials, and thoughtfulness toward the recipient. Each fold becomes a gesture of intention, each knot a symbol of connection. Whether you're celebrating a birthday, holiday, or simple act of kindness, this method transforms the ordinary into something memorable.


 浙公网安备
33010002000092号
浙公网安备
33010002000092号 浙B2-20120091-4
Comments
No comments yet. Why don't you start the discussion?