
A slim Christmas tree brings elegance and space-saving charm to modern homes, especially in apartments, foyers, or minimalist holiday setups. But its narrow profile presents a unique challenge: achieving even, radiant light coverage without creating dark zones or overwhelming the delicate silhouette. When done poorly, lighting on a slim tree can look sparse or clustered, undermining its visual impact. The key isn’t just adding more bulbs—it’s wrapping strategically to amplify sparkle from every angle. With the right approach, a slender tree can glow as brilliantly as any full-bodied evergreen.
Professional decorators know that light distribution, bulb spacing, and wrapping technique make all the difference. This guide breaks down the science and art of illuminating narrow trees, offering practical methods backed by years of seasonal design experience. Whether you’re working with a pencil pine, a pre-lit artificial spruce, or a custom tall centerpiece, these principles ensure your tree becomes a luminous focal point—visible, balanced, and captivating from floor to tip.
Why Slim Trees Need a Different Lighting Approach
Standard Christmas tree lighting techniques assume a conical shape with broad branches that naturally diffuse and reflect light. A slim tree, often less than 12 inches in diameter at its widest, lacks this depth. As a result, traditional \"spiral up the trunk\" methods lead to vertical bands of light with large unlit gaps between wraps. Light doesn’t bounce across the surface as easily, reducing perceived brightness and creating a striped effect instead of a cohesive glow.
The goal shifts from volume-based coverage to strategic placement. Instead of trying to mimic wide-tree density—which risks overcrowding and glare—you aim for intelligent spacing that maximizes visibility from multiple viewpoints. This means prioritizing front-facing coverage, layering depth through internal runs, and choosing bulbs that enhance rather than overpower.
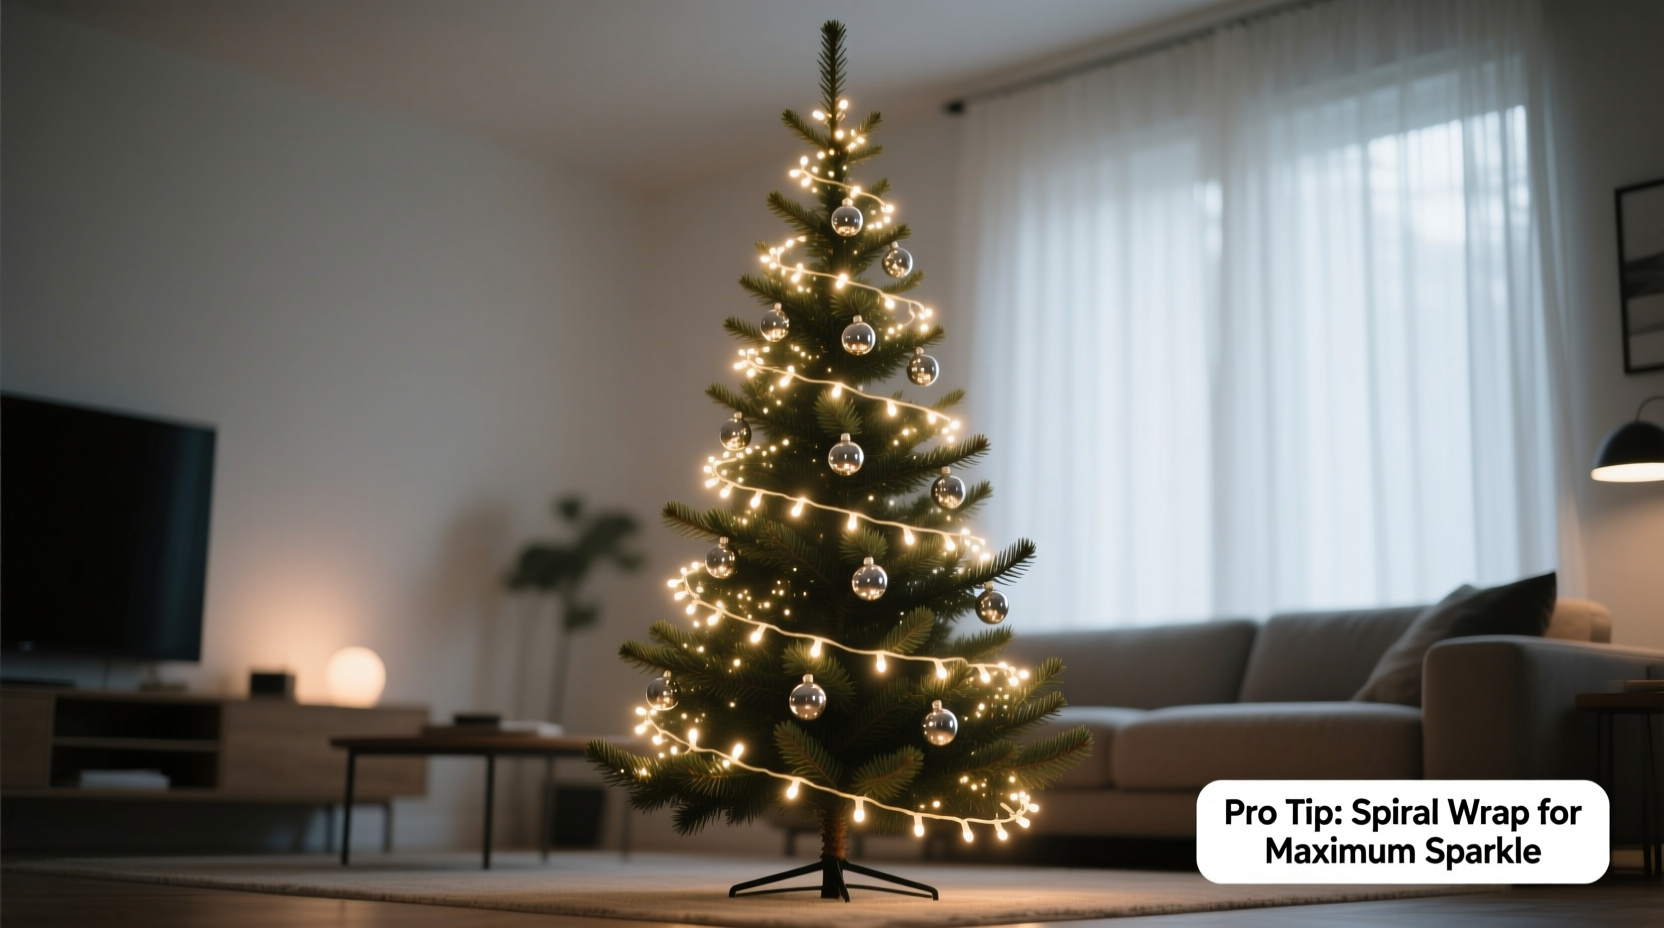
Step-by-Step: The Optimal Wrapping Technique for Maximum Sparkle
Follow this professional-grade method to achieve uniform, radiant illumination on a slim Christmas tree. Designed for trees under 14 inches in diameter, it emphasizes front visibility while maintaining balance from the sides.
- Start at the bottom back: Plug the light strand into an outlet behind the tree stand. Begin wrapping from the lowest rear branch, securing the end with a twist tie or floral pin. This hides the plug and anchors the strand.
- Move diagonally forward: Instead of circling horizontally, angle the strand from back to front as you rise. For every 6–8 inches upward, shift 2–3 inches toward the front. This creates a zigzag pattern that covers more face area per wrap.
- Layer vertically with staggered rows: Complete one diagonal pass, then start a second strand (or continue if using multiple sets) from the back, but offset by half the vertical distance. This fills gaps left by the first run and prevents alignment patterns.
- Weave inward, not just outward: On each branch, tuck a portion of the bulb into the inner layer of foliage. This creates depth and allows light to shine outward from within the tree, not just from the surface.
- Favor the front two-thirds: Allocate 60–70% of your wraps to the front-facing arc of the tree. This ensures maximum sparkle where people view it most, while still providing subtle side glow.
- Top off with a crown wrap: At the final 12 inches, circle the top vertically like a halo. Wrap once around the uppermost branches, then spiral gently down the central stem to anchor. This draws the eye upward and completes the luminous effect.
This technique uses approximately 100–150 bulbs per foot of tree height, depending on desired intensity. For a 7-foot slim tree, plan for 700–1,000 LED bulbs arranged in two or three staggered strands.
Choosing the Right Lights and Accessories
Not all lights are created equal—especially on a narrow form. Bulb size, color temperature, and wire finish influence how light reflects and where attention is drawn.
| Feature | Best Choice for Slim Trees | Avoid |
|---|---|---|
| Bulb Type | Micro LEDs (2–3mm) | Large C7 or C9 bulbs |
| Color Temperature | Warm white (2700K–3000K) | Cool blue-white (over 4000K) |
| Wire Color | Green or brown (blends with branches) | Silver or bright white wire |
| Spacing | 4–6 inches between bulbs | Over 8 inches or irregular gaps |
| Specialty Options | Twinkling or dimmable LEDs | Non-dimmable incandescent strings |
Micro LEDs are ideal because they add brilliance without visual weight. Their small size allows tighter grouping and smoother gradients, essential when working with limited surface area. Warm white mimics candlelight and complements wood tones and natural ornaments, while green-coated wires disappear into foliage, making bulbs appear to float.
“On narrow trees, light quality trumps quantity. A few well-placed micro LEDs can outshine twice as many bulky bulbs.” — Lydia Monroe, Professional Holiday Stylist & Author of *Luminous Seasons*
Pro Tips for Enhanced Visibility and Longevity
Even with perfect wrapping, small adjustments can dramatically improve how your tree sparkles in real-world conditions. These field-tested tips come from decorators who install hundreds of trees annually.
- Use a dimmer switch or smart plug to adjust brightness based on room lighting. Lower settings at night prevent glare; higher during daytime viewing boost contrast.
- Position the tree near a reflective surface—a mirror, glass table, or metallic ornament—to double the effective glow without adding bulbs.
- Test visibility from common vantage points: standing, seated, and from adjacent rooms. Adjust wraps to favor angles where people linger.
- Secure strands with clear plastic hooks or bendable floral wire instead of twisting around branches, which can damage both lights and limbs.
- For artificial trees, fluff branches outward before wiring to create more surface area and reduce shadow pockets.
Real Example: Transforming a Pencil Tree in a City Apartment
In a downtown Brooklyn loft, interior designer Marcus Tran installed a 6.5-foot pencil fir in a tight entryway between the kitchen and living area. The space received natural light from only one direction, and the tree was visible primarily from the front and left side.
Initial attempts with standard horizontal wrapping resulted in a faint, uneven glow—barely noticeable past 6 p.m. Marcus switched to the diagonal layering method, using two strands of 350-count warm white micro LEDs. He started the first strand at the back-bottom, angling forward every 7 inches upward. The second strand began 4 inches higher and shifted right-to-left, overlapping gaps.
He also added a single row of battery-powered fairy lights deep within the center core, running vertically from base to tip. Though invisible directly, this internal strand cast a soft backlight that lifted shadows. From the main living area, the tree now appeared fully illuminated—even from 15 feet away. Neighbors commented it looked “like it had its own atmosphere.”
The total project took 45 minutes and used no additional outlets—proof that technique, not technology, drove the transformation.
Checklist: Pre-Lighting Preparation
Before you begin wrapping, complete these steps to ensure efficiency and safety:
- Unpack and inspect all light strands for damage or burnt bulbs.
- Test each string by plugging it in for at least two minutes.
- Fluff and shape all artificial branches to maximize reach and surface area.
- Determine primary viewing angles and mark them mentally or with tape.
- Calculate bulb needs: 100–150 per foot of tree height.
- Gather tools: twist ties, clear hooks, spare bulbs, and a step stool.
- Confirm outlet access and use a surge-protected extension cord if needed.
Frequently Asked Questions
How many strings of lights do I need for a 6-foot slim tree?
A 6-foot slim tree typically requires 600 to 900 LED bulbs. If using strands of 100 lights, that’s 6 to 9 sets. To avoid overloading circuits, choose low-wattage LEDs (under 5 watts per strand) and distribute them across multiple staggered runs.
Can I use twinkle lights on a narrow tree without it looking messy?
Yes—but selectively. Use twinkling bulbs in just one strand, preferably layered deeper in the tree, while keeping the outer wraps steady. This adds movement without overwhelming the clean lines of a slim profile. Alternatively, opt for “slow fade” or “wave” effects instead of random blink modes.
Is it better to wrap from top to bottom or bottom to top?
Bottom to top is strongly recommended. Starting at the base prevents sagging, keeps tension consistent, and allows gravity to help position the wire snugly along branches. Top-down wrapping often results in loose coils and uneven spacing by the time you reach the lower sections.
Final Thoughts: Let Your Tree Shine Its Brightest
A slim Christmas tree doesn’t have to sacrifice radiance for silhouette. In fact, its streamlined shape offers a unique canvas for precision lighting—one where every bulb placement counts. By adopting diagonal wrapping, selecting the right bulbs, and focusing on front visibility, you transform minimalism into magnetism. The result isn’t just a lit tree, but a beacon of warmth that draws people in, even in the smallest of spaces.
Don’t settle for generic spirals or bare spots hidden by poor planning. Take the extra time to layer, test, and refine. Your effort will be rewarded with a display that feels intentional, luxurious, and alive with flickering brilliance. Whether it stands in a studio apartment or anchors a grand hallway, a properly lit slim tree proves that true sparkle comes not from size, but from strategy.


 浙公网安备
33010002000092号
浙公网安备
33010002000092号 浙B2-20120091-4
Comments
No comments yet. Why don't you start the discussion?