
A slim Christmas tree brings elegance and space-saving charm to modern homes, but its narrow profile presents a unique challenge when it comes to lighting. Without careful attention, it's easy to end up with one side of the tree glowing brightly while the other remains dark or sparse. This imbalance not only detracts from the tree’s beauty but can also create visual strain and uneven energy distribution in your holiday decor.
The goal isn’t just coverage—it’s harmony. A well-lit slim tree should appear balanced from every angle, with light threading through the branches like delicate veins, enhancing depth rather than overwhelming form. Achieving this requires strategy, patience, and a few expert-backed techniques that go beyond simply draping string after string around the trunk.
This guide walks you through a proven method for wrapping a slim Christmas tree with lights evenly, avoiding common pitfalls like clustering, tangling, and over-lighting one quadrant. Whether you're working with a pencil tree, a flocked artificial model, or a real spruce variety bred for tight spaces, these principles apply universally.
Understand the Unique Challenges of Slim Trees
Slim trees typically range from 10 to 24 inches in diameter at their widest point—less than half the width of a standard tree. This compact shape means there’s less surface area to distribute lights across, increasing the risk of overcrowding on the front-facing side. Because most people view the tree from the front, there’s a natural tendency to focus efforts there, leaving the back and sides underlit or ignored entirely.
Additionally, narrow silhouettes offer fewer branch tiers to anchor lights, which can lead to strings slipping toward the center or sagging downward. The result? Clusters of bulbs bunched near the trunk or concentrated on one side where they’re easiest to reach.
To counteract this, think in three dimensions. A successful lighting job treats the tree as a cylinder, not a flat plane. Each wrap must consider depth, rotation, and consistent spacing—not just horizontal loops.
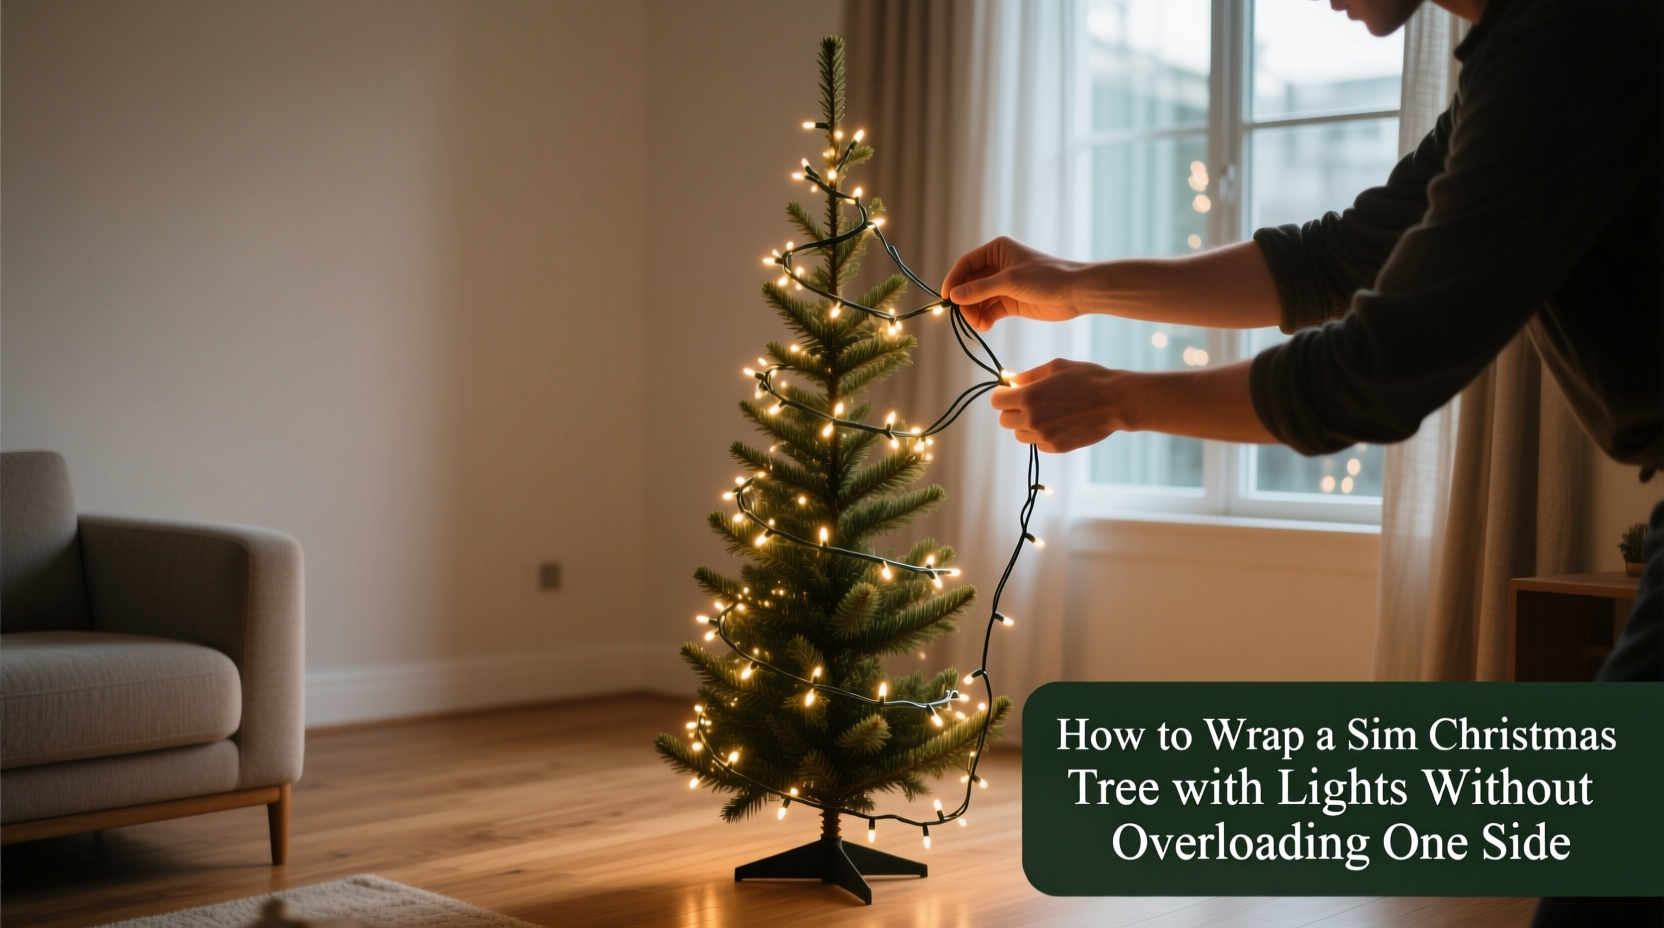
Step-by-Step Guide to Balanced Light Wrapping
Follow this detailed sequence to ensure even distribution and avoid lopsided results. This method works whether you're using incandescent or LED lights, warm white or multicolor strands.
- Start from the Bottom (Inside Out)
Plug in your first strand and begin at the base of the tree. Insert the male plug into an outlet nearby, then tuck the transformer box behind the stand if possible. Start by feeding the first bulb into the innermost layer of branches, close to the central pole or trunk. Do not wrap around the outside yet. - Move Upward in a Spiral (Not Horizontal Loops)
Instead of circling the tree horizontally like a barber pole, move diagonally upward. For every 6–8 inches you rise vertically, rotate the tree about 45 degrees and place the next bulb slightly outward. This creates a spiral path that naturally distributes light around all sides. - Alternate Sides with Every Few Bulbs
After placing three to five bulbs on one side, reach across to the opposite side and place another. This forces symmetry and prevents you from favoring your dominant hand side. Think of it as weaving rather than wrapping. - Use the “Hand-Over-Hand” Technique
Hold one hand inside the tree near the trunk and the other outside. Pass the light strand from hand to hand, guiding each bulb into position. This ensures the wire stays embedded within the foliage instead of riding along the outer edge. - Check Coverage Frequently by Rotating the Tree
After every full strand is installed, rotate the tree 90 degrees and assess the lighting from each cardinal direction. Look for gaps, clusters, or areas where wires are visible. Adjust accordingly before proceeding. - Layer Lights Strategically (If Using Multiple Strands)
If your tree needs more than one strand per vertical foot, stagger the second set between the gaps of the first. Avoid stacking two strands directly on top of each other—they’ll amplify brightness on one side and cause glare. - Finish at the Top with Subtlety
As you approach the top third of the tree, reduce the density slightly. Over-lighting the crown makes it look heavy and draws attention away from ornaments. One or two gentle spirals around the upper cone is usually sufficient.
Once all strands are in place, step back at least six feet and observe the tree from multiple angles. Turn off room lights to evaluate true illumination balance. Make micro-adjustments by repositioning stray bulbs or gently fluffing branches to cover exposed wiring.
Do’s and Don’ts of Lighting Narrow Trees
Avoid these common mistakes that sabotage even lighting and diminish your tree’s elegance.
| Do | Don’t |
|---|---|
| Use cool-white or warm-white LEDs for even glow without heat buildup | Use large C7 or C9 bulbs—they overpower slim profiles and create hotspots |
| Choose pre-lit trees with factory-installed, evenly spaced lights when possible | Add too many strands; excess lighting makes the tree look cluttered and unbalanced |
| Test each strand before installation to avoid dead sections mid-process | Drape lights loosely over the surface—they’ll slide and cluster over time |
| Use battery-operated or remote-controlled lights for easier access to rear sections | Ignore the backside—guests will see it when walking around the room |
| Fluff branches outward before lighting to create pockets for bulb placement | Pull lights too tight—they should nestle gently, not stretch the limbs |
Real Example: Fixing a Lopsided Rental Tree
When interior designer Laura Kim was hired to decorate a downtown loft for the holidays, she encountered a 7-foot pencil tree already installed in the corner—but poorly lit. The client had wrapped all four strands of lights clockwise from the front, resulting in a dense wall of bulbs on the left side and nearly bare branches on the right.
Laura didn’t remove the lights immediately. Instead, she assessed the existing layout and decided to supplement rather than replace. She added two additional strands using the spiral-up method, starting from the underlit right side and moving diagonally upward. By alternating hands and rotating the tree every few minutes, she filled the gaps without doubling up on the overloaded left.
She then dimmed the entire setup using a smart controller, bringing the brightest side down to match the softer new layers. The final effect was subtle, balanced, and visually restful—exactly what the minimalist space required.
“The key wasn’t more lights,” she later said. “It was redistributing attention. People forget that lighting is directional design.”
“The best-lit trees don’t shout—they glow. On slim profiles, restraint is more powerful than abundance.” — Marcus Tran, Professional Holiday Lighting Designer, NYC
Checklist: Pre-Lighting Preparation
Before you touch a single strand, complete this checklist to set yourself up for success.
- ✅ Measure your tree’s height and calculate recommended light count (roughly 100 bulbs per foot of height)
- ✅ Choose thin-gauge wire strands that bend easily and blend into branches
- ✅ Test all light sets for continuity and uniform brightness
- ✅ Fluff every branch section to open up space for light placement
- ✅ Position the tree so you can access all sides freely (avoid corners until final placement)
- ✅ Gather tools: gloves for grip, zip ties for securing plugs, and a small ladder if needed
- ✅ Decide on a primary viewing angle and mark it discreetly
Skipping preparation leads to improvisation—and improvisation on a slim tree almost always ends in imbalance.
Frequently Asked Questions
How many lights do I need for a slim Christmas tree?
A good rule is 100 mini lights (such as 5mm LEDs) per foot of tree height. For example, a 6-foot slim tree should have around 600 bulbs. However, because of the narrow profile, you may find that fewer high-quality, well-placed lights look better than overcrowding. Prioritize even distribution over sheer numbers.
Can I use garland or ribbon along with lights on a slim tree?
Yes, but apply them after the lights are in place and use moderation. Wide ribbons or thick garlands can obscure light output and add visual weight. Opt for thin, flexible materials like mesh ribbon or beaded chain, and weave them loosely between branches without compressing the silhouette.
Why does my tree look brighter on one side even after careful wrapping?
This often happens due to ambient room lighting. A window or lamp nearby can amplify perceived brightness on one side. To test true balance, evaluate the tree in complete darkness. If the issue persists, check for clusters of bulbs or exposed wires that reflect more light. Gently reposition problem areas inward and cover with foliage.
Final Tips for Lasting Balance
Even after perfect installation, environmental factors can shift your lighting balance over time. Temperature changes cause branches to expand or contract, especially in artificial trees with hinged arms. Wires may loosen and slip toward the front under gravity.
To maintain symmetry throughout the season:
- Inspect the tree weekly for shifting lights.
- Use twist ties or floral wire to secure loose strands to inner branches.
- Rotate the tree 180 degrees halfway through the holiday season to even out sun exposure and viewing wear.
- If using a timer or smart plug, ensure all strands are on the same circuit to prevent partial outages that disrupt balance.
Remember: a beautifully lit slim tree doesn’t happen by accident. It’s the result of intentional placement, constant reassessment, and a commitment to three-dimensional thinking. When done right, the effect is striking—not because it’s flashy, but because it feels harmonious, intentional, and alive with quiet warmth.
Conclusion
Wrapping a slim Christmas tree with lights without overloading one side is less about technique alone and more about awareness. It demands mindfulness of movement, perspective, and proportion. By treating the tree as a rotating column rather than a static facade, you unlock a more elegant, balanced result.
Apply the spiral-up method, alternate sides deliberately, and resist the urge to over-light. Let each bulb serve the whole, not just the front. With these strategies, your slim tree won’t just fit in the room—it will belong there, glowing with quiet confidence through the season.


 浙公网安备
33010002000092号
浙公网安备
33010002000092号 浙B2-20120091-4
Comments
No comments yet. Why don't you start the discussion?