
Every holiday season, millions of homes light up with the warm glow of Christmas trees adorned in strings of festive lights. Yet for many, the joy of decorating is interrupted by one persistent frustration: tangled wires and uneven spacing. The result? A lopsided, patchy display that undermines the effort put into creating a magical atmosphere. The good news is that with the right technique, tools, and mindset, you can wrap your Christmas tree in lights evenly—and avoid tangles altogether. This guide reveals time-tested methods used by professional decorators, backed by practical steps, expert insights, and real-world examples.
Why Even Lighting Matters
An evenly lit tree doesn’t just look better—it creates balance and depth. When lights are spaced too closely in some areas and missing in others, shadows form, and the tree appears unbalanced. Moreover, clumped wiring increases heat concentration, which can be a fire hazard over time. Even distribution ensures consistent illumination and reduces strain on individual bulbs and cords.
Equally important is avoiding tangles. Tangled lights not only waste time during setup but also shorten the lifespan of the strands. Each kink or twist stresses the internal wiring, increasing the risk of short circuits or broken connections. By mastering the art of smooth, even wrapping, you save time, reduce frustration, and protect your investment in quality holiday lighting.
Essential Tools and Preparation
Before touching the tree, gather the right supplies. Preparation is half the battle when it comes to tangle-free, evenly spaced lights.
- Christmas lights: Preferably pre-lit strands with consistent bulb spacing (typically 4–6 inches apart).
- Light tester: A simple plug-in device that checks continuity across all bulbs before installation.
- Measuring tape or ruler: Helps maintain consistent vertical and horizontal spacing.
- Clothespins or plastic clips: For securing lights to branches without damaging wires.
- Work gloves: Protect hands from sharp wire ends or rough branch edges.
- Step ladder: Ensures safe access to upper sections of tall trees.
Step-by-Step Guide to Wrapping Lights Evenly
The key to an evenly lit tree lies in methodical application. Follow this six-step process to achieve professional results:
- Determine total light length needed. As a rule of thumb, use 100 lights per foot of tree height. For a 6-foot tree, aim for at least 600 lights (or three 100-light strands). Measure your tree’s height and circumference at the base to estimate coverage.
- Start from the inside and work outward. Begin at the trunk and wrap lights deep into the inner branches first. This builds a foundation of illumination that prevents dark centers. Use a spiral motion moving upward, guiding the cord through primary support branches.
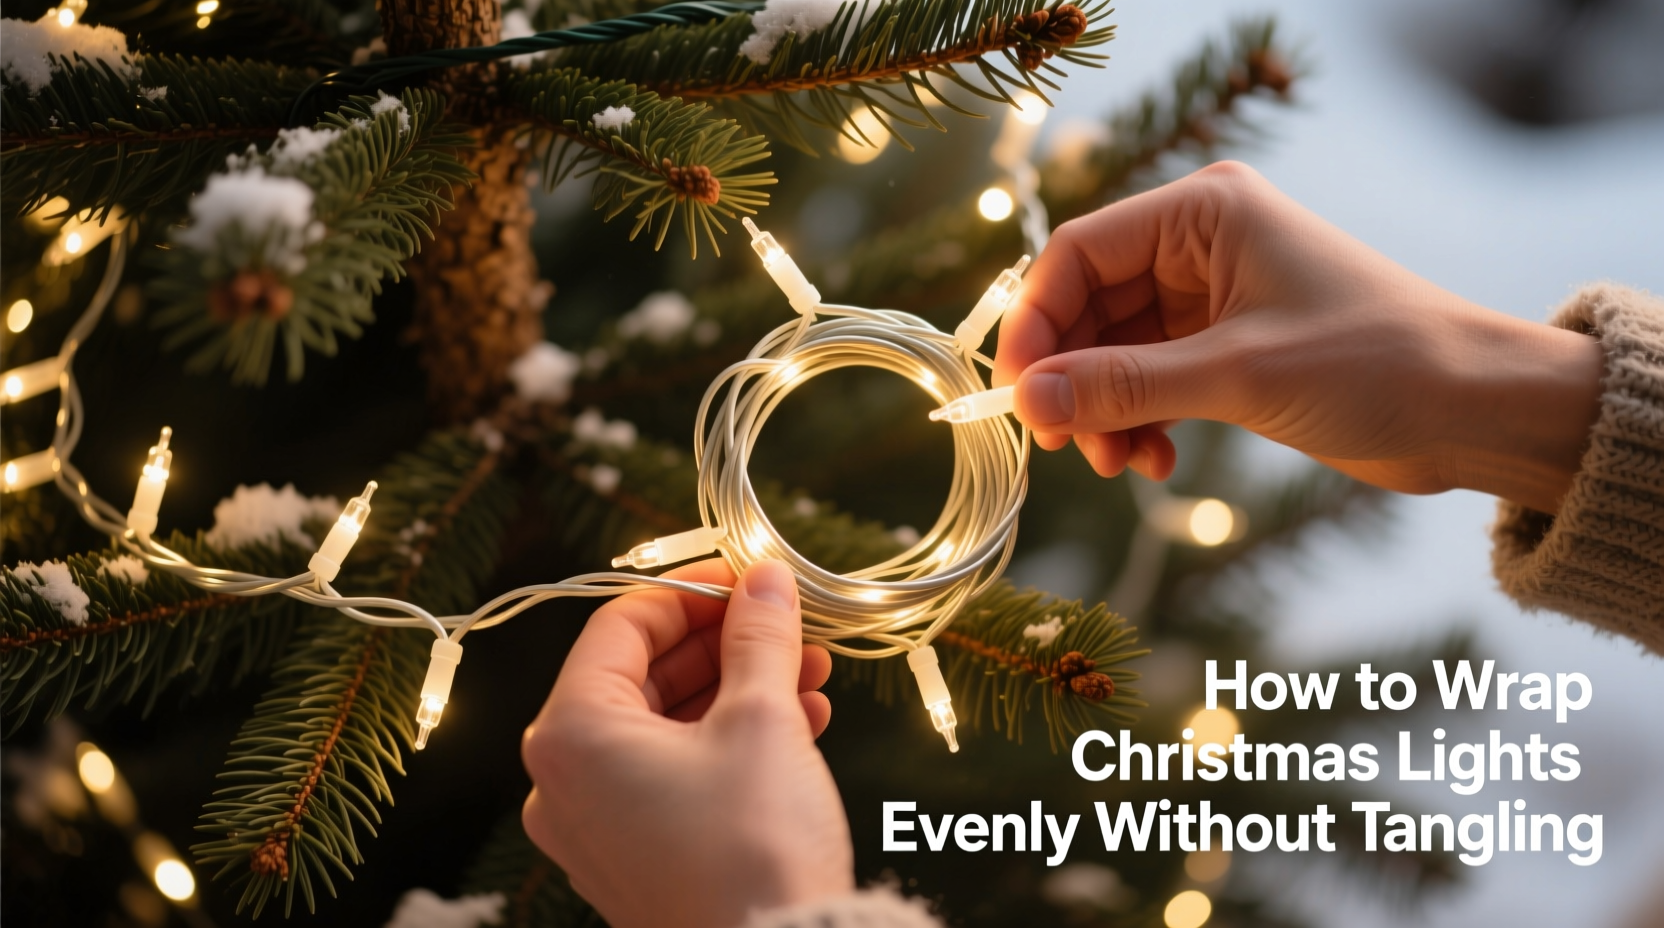
- Use the “spiral-up” technique. Hold the plug end at the bottom rear of the tree. Wrap the strand in a continuous upward spiral, maintaining about 6–8 inches between each vertical loop. Keep tension gentle—never pull tightly, as this distorts branch shape and risks wire damage.
- Layer strands strategically. If using multiple sets, stagger the starting points. For example, begin the second strand halfway up the opposite side of the tree. This avoids clustering and fills gaps naturally.
- Secure with clips, not knots. Attach lights to sturdy branches using plastic hook-and-loop clips or insulated clothespins. Never tie knots in the cord—they create weak points and encourage future tangles.
- Final inspection and adjustment. Step back and view the tree from multiple angles. Fill any dim spots with additional mini-strands or reposition existing lights. Ensure all plugs are accessible at the base for easy connection.
Avoiding Tangles During Storage and Setup
Tangles usually originate not during decoration, but in how lights are stored. A poorly wound strand becomes a knot-filled nightmare the following year. Prevent this with proper winding technique.
The most effective method is the **reel-and-wrap system**. Instead of loosely coiling lights around your hand, use a cardboard square, plastic reel, or even a dedicated light-winding tool. Secure the plug end first, then wrap the strand in parallel loops without crossing over itself. Finish with a rubber band or Velcro strap—never twist or crisscross.
| Storage Method | Effectiveness | Common Pitfall |
|---|---|---|
| Hand-coiling loosely | Poor | Creates hidden twists and snags |
| Using a cardboard reel | Excellent | Requires extra storage space |
| Plastic storage spool | Excellent | Initial cost, but reusable |
| Bundling with twist ties | Fair | Metal ties can cut insulation |
“The number one mistake people make is treating light strands like rope. They yank, twist, and toss them. Treat them like delicate electronics—because they are.” — Marcus Reed, Professional Holiday Lighting Designer
Real Example: From Chaos to Calm in One Evening
Sarah Thompson, a homeowner in Portland, Oregon, spent nearly three hours untangling lights last Christmas. Her 7-foot pre-lit tree had been stored in a compressed bin, and two of the five strands were unusable due to broken connections caused by stress fractures.
This year, she decided to change her approach. She purchased four new LED strands with uniform spacing and labeled each one after testing. Using a DIY cardboard reel cut from a shipping box, she carefully wound each strand in parallel loops, secured them with soft fabric ties, and stored them vertically in a closet drawer.
When it came time to decorate, Sarah began at the trunk and used the spiral-up method. She measured vertical spacing with a ruler taped to a wooden dowel, ensuring consistency. The entire process took 45 minutes—less than half her previous time—and the tree glowed uniformly from every angle. Neighbors stopped by to ask how she achieved such a polished look.
Checklist: Perfect Tree Lighting in 10 Steps
- ✅ Test all light strands before use
- ✅ Calculate total light needs based on tree size
- ✅ Start from the inside of the tree near the trunk
- ✅ Use a continuous upward spiral motion
- ✅ Maintain 6–8 inch spacing between loops
- ✅ Layer multiple strands with offset starting points
- ✅ Secure cords with clips, not knots or tape
- ✅ Inspect from multiple viewing angles
- ✅ Store lights on reels or spools after use
- ✅ Label strands by color, length, and location for next year
Common Mistakes and How to Avoid Them
Even experienced decorators fall into traps that compromise lighting quality. Awareness is the first step toward prevention.
- Overloading outlets: Connecting too many strands can trip breakers or overheat circuits. Check manufacturer limits—most recommend no more than 3–4 connected sets.
- Starting from the outside: Beginning at the outer tips leads to sparse inner lighting and forces awkward reach-backs.
- Ignoring wire direction: Always keep the male plug end at the bottom so it remains accessible after wrapping.
- Using damaged cords: Frayed insulation or bent prongs increase electrical hazards. Replace faulty strands immediately.
- Rushing the process: Taking shortcuts often leads to poor spacing and hidden tangles. Allocate sufficient time—ideally 30–60 minutes depending on tree size.
FAQ
How many strings of lights do I need for a 6-foot tree?
A general guideline is 100 mini lights per foot of tree height. For a 6-foot tree, that means about 600 lights, or six standard 100-light strands. If using larger C7 or C9 bulbs, adjust accordingly—fewer are needed due to higher brightness.
Can I mix different types of lights on the same tree?
Yes, but with caution. Mixing voltages or incompatible connectors can cause malfunctions. Stick to the same voltage (usually 120V) and avoid daisy-chaining LED and incandescent strands together. For aesthetic harmony, blend colors and bulb styles intentionally—e.g., white LEDs with warm fairy lights.
What’s the best way to store lights long-term?
Use a rigid spool or cardboard reel to prevent twisting. Store in a climate-controlled area away from rodents and moisture. Avoid attics or garages unless sealed in airtight containers. Label each strand clearly for faster setup next season.
Expert Insight: The Pro’s Perspective
“I’ve decorated everything from mall atriums to celebrity homes, and the secret isn’t more lights—it’s smarter placement. We always go deep first, build volume, then refine. And we never, ever coil lights by hand. That single habit saves us hundreds of service calls each January.” — Lena Cho, Lead Designer at Everlight Holiday Studios
Professional teams also use colored masking tape to mark where each strand begins and ends on large displays. This allows for rapid troubleshooting and replacement without rewiring the entire tree.
Conclusion
Wrapping Christmas lights around a tree evenly and without tangling is not a matter of luck—it’s a skill refined through preparation, technique, and attention to detail. By starting from the inside, spiraling upward with consistent spacing, and storing lights properly, you transform what was once a frustrating chore into a satisfying ritual. The result is a tree that radiates warmth and balance, becoming the centerpiece of your holiday celebrations.
Take pride in doing it right this year. Your future self—standing in front of a flawless, tangle-free display next December—will thank you.


 浙公网安备
33010002000092号
浙公网安备
33010002000092号 浙B2-20120091-4
Comments
No comments yet. Why don't you start the discussion?