
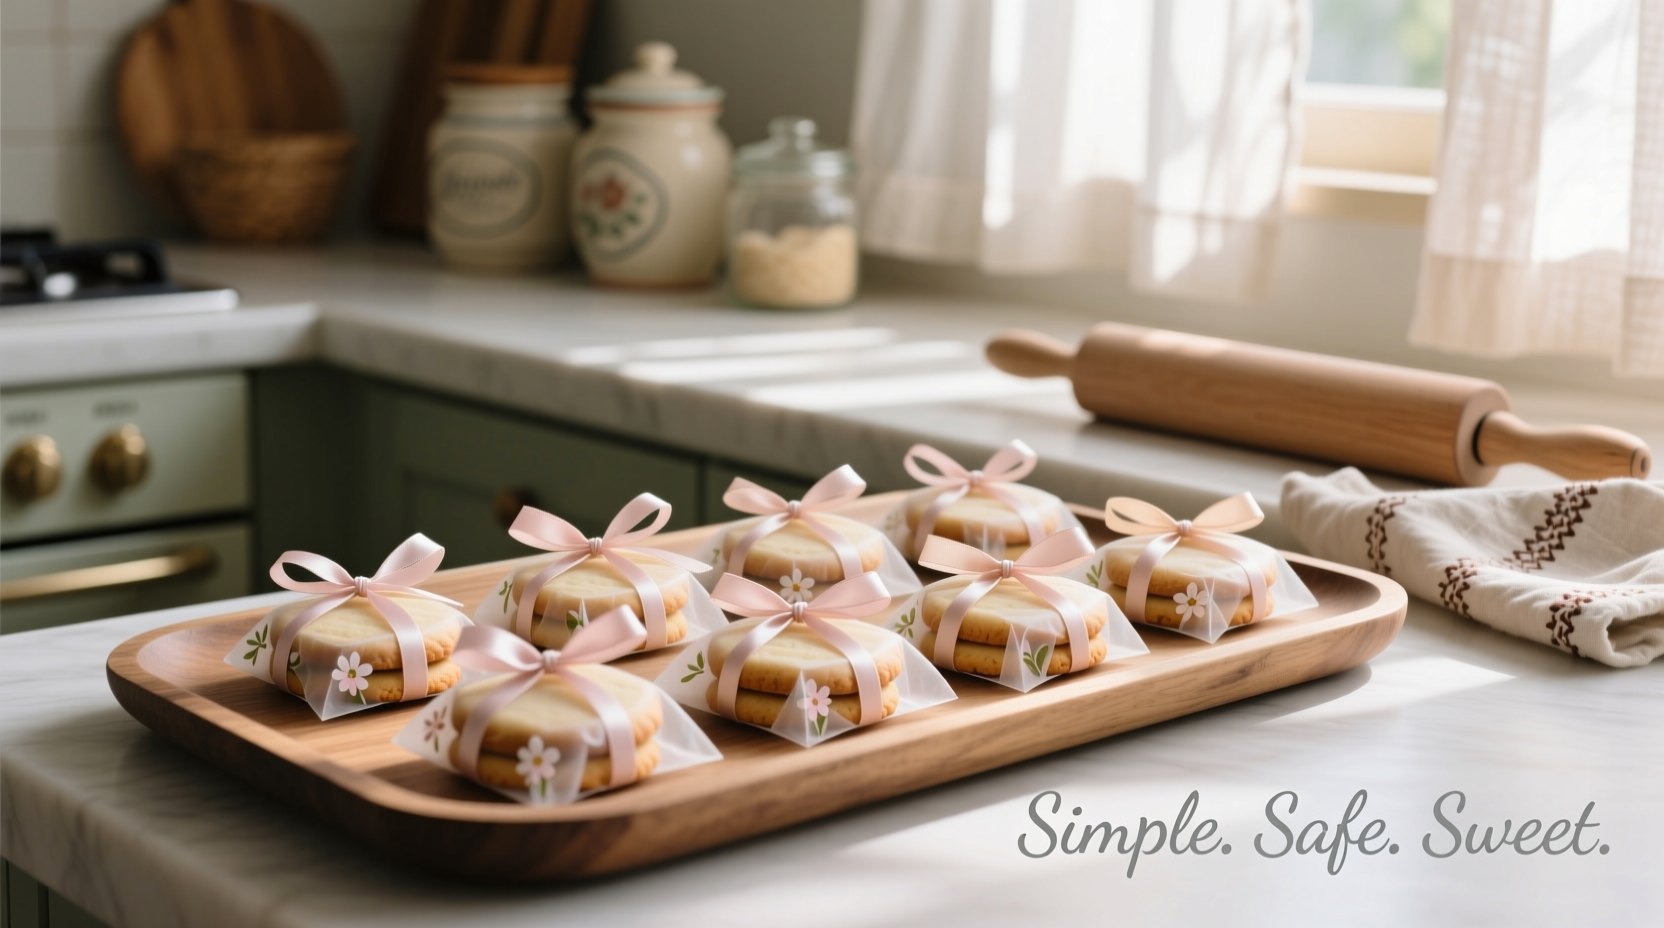
Wrapping cookies individually isn't just about presentation—it's about preserving freshness, preventing breakage, and adding a personal touch that turns homemade treats into thoughtful gifts. Whether you're preparing for a holiday, packing school snacks, or organizing favors for an event, individual wrapping ensures your cookies arrive intact, hygienic, and delightful. The right method combines simplicity, safety, and a bit of sweetness in both appearance and intention.
Why Wrap Cookies Individually?
Individually wrapped cookies serve multiple practical purposes. They extend shelf life by reducing exposure to air and moisture, minimize cross-contamination, and make portion control effortless. From a social perspective, they elevate the perceived value of your baking—something as small as a ribbon or custom tag can transform a batch of chocolate chip cookies into a cherished keepsake.
For bakers selling goods at markets or online, individual packaging is essential for compliance with food safety standards. It also allows for branding opportunities through labels, stickers, or printed bags. But even for home use, wrapping each cookie adds care and consideration that recipients notice and appreciate.
Materials You’ll Need for Safe and Attractive Wrapping
The foundation of effective cookie wrapping lies in choosing the right materials. Not all wrappers are created equal; some may impart odors, leach chemicals, or fail to protect against crushing. Below is a list of recommended supplies categorized by function.
| Material Type | Purpose | Recommended Options |
|---|---|---|
| Primary Wrap | Direct contact with cookie | Cellophane bags, wax paper, parchment squares |
| Outer Protection | Structural support | Cardboard sleeves, rigid boxes, mini gift tins |
| Sealing Method | Keep wrapper closed | Twist ties, heat sealer, washi tape, sticker seals |
| Decorative Element | Aesthetic enhancement | Ribbon, twine, custom labels, calligraphy tags |
| Food Safety Layer | Hygiene & compliance | Food-grade gloves during handling, FDA-approved films |
When sourcing materials, prioritize food-safe, non-toxic options. Avoid colored inks or recycled papers that haven’t been certified for direct food contact. For eco-conscious bakers, compostable cellophane made from wood pulp (not plastic-based) offers a sustainable alternative without sacrificing clarity or protection.
Step-by-Step Guide to Wrapping Cookies Individually
Follow this streamlined process to wrap cookies efficiently while maintaining quality and charm.
- Prepare Your Workspace: Clean all surfaces with mild soap and water. Use disposable gloves if handing cookies directly. Lay out all materials within reach—wrappers, sealing tools, and decorations.
- Select the Right Size Wrapper: Choose bags or paper cut to fit the cookie with about 1 inch of excess on each side. Oversized wraps look sloppy; too-small ones risk tearing.
- Place the Cookie Gently: Center the cookie on the bottom third of a parchment square or inside a cellophane bag. For soft cookies, add a small piece of tissue paper beneath to absorb excess oil.
- Seal Securely: Fold parchment over the cookie twice to create a clean edge, then secure with a twist tie or sticker. If using a bag, press out excess air before sealing with a heat sealer or knotting with twine.
- Add Personal Touches: Attach a label with flavor name, ingredients (especially allergens), and best-by date. Tie with ribbon or include a handwritten note for gifting.
- Store or Package Further: Place wrapped cookies in a single layer in a container or gift box. Avoid stacking unless separated by dividers.
Real Example: Holiday Cookie Exchange Success
Sarah, a home baker from Portland, prepares over 200 cookies annually for her neighborhood exchange. In past years, she bundled them loosely in tins, only to find many broken or stale upon arrival. Last season, she switched to individual cellophane bags sealed with festive stickers and tied with red-and-white twine.
Not only did every cookie arrive intact, but several neighbors commented that they felt “too pretty to eat.” Sarah included ingredient labels due to a child’s nut allergy in the group—this small act earned her gratitude and trust. Her system now takes only 45 minutes thanks to a folding template she created from cardboard, proving that consistency breeds efficiency.
“Individual wrapping isn’t extra work—it’s an investment in respect: for your craft, your recipients, and food safety.” — Chef Lena Ruiz, Pastry Instructor at Northwest Culinary Academy
Common Mistakes to Avoid
- Wrapping warm cookies: Causes steam buildup and accelerates spoilage.
- Using non-food-safe tape or ink: Labels printed with uncertified inks can leach into food.
- Overloading bags: Trying to fit two large cookies in one bag often results in breakage.
- Neglecting allergen labeling: Even natural ingredients like nuts or dairy require disclosure.
- Skipping the seal: An open flap attracts dust and pests, especially during shipping.
Checklist: Perfect Individual Cookie Wrap in 7 Steps
- ✅ Cool cookies completely on wire rack
- ✅ Wash hands and wear gloves
- ✅ Choose food-safe, appropriately sized wrapper
- ✅ Center cookie in bag or on parchment
- ✅ Seal tightly—no air pockets
- ✅ Label with flavor, date, and allergens
- ✅ Store flat in a dry, cool place
Frequently Asked Questions
Can I reuse cookie wrappers?
No—once a wrapper has been opened or handled after exposure to food, it should not be reused for hygiene reasons. However, decorative outer elements like ribbons or boxes can be saved and repurposed.
How long do individually wrapped cookies last?
Most stay fresh for 7–10 days at room temperature if sealed properly. Dry cookies like biscotti can last up to three weeks. Refrigeration extends life but may alter texture; freezing is better for long-term storage—wrap the entire sealed package in foil first.
Are plastic bags safe for cookies?
Yes, if they are food-grade and labeled as such. Look for BPA-free, phthalate-free polypropylene or compostable cellulose bags. Avoid PVC or unknown plastics, especially when storing fatty cookies like shortbread, which absorb chemicals more readily.
Final Thoughts: Wrap with Care, Share with Joy
Wrapping cookies individually is more than a packaging technique—it’s a gesture of care. Each folded corner, tied ribbon, and handwritten note communicates effort and affection. By following safe practices and using thoughtful materials, you ensure that your cookies don’t just taste good, but feel special.
Whether you're sending treats to a loved one across the country or organizing classroom snacks, the principles remain the same: simplicity in method, safety in materials, and sweetness in spirit. Start small—a dozen wrapped cookies—and refine your process with each batch. Soon, it will become second nature.


 浙公网安备
33010002000092号
浙公网安备
33010002000092号 浙B2-20120091-4
Comments
No comments yet. Why don't you start the discussion?