
Wrapping lights around curved stair railings can elevate your home’s holiday ambiance, but it’s one of the most technically challenging lighting tasks homeowners face. Unlike straight banisters, curved railings require precision, patience, and the right technique to avoid unsightly gaps, loose loops, or drooping strands. When done well, the result is a seamless cascade of light that follows the railing’s natural flow. When done poorly, it looks haphazard and risks damage from tension or weather exposure.
This guide breaks down the process into manageable steps, using proven methods from professional decorators and lighting technicians. Whether you’re preparing for the holidays or enhancing your porch year-round, these strategies ensure a polished, durable installation that lasts through seasons and celebrations.
Choose the Right Lights and Materials
The foundation of a clean wrap starts long before you touch the railing. Selecting the appropriate lights and accessories dramatically affects both ease of installation and final appearance.
For curved railings, LED string lights are ideal. They generate less heat, consume less energy, and are often more flexible than incandescent bulbs. Opt for mini or fairy lights with short lead wires (6–12 inches between bulbs) to minimize spacing issues on tight curves. Avoid net lights or icicle strands—they’re designed for flat surfaces and won’t conform smoothly to contours.
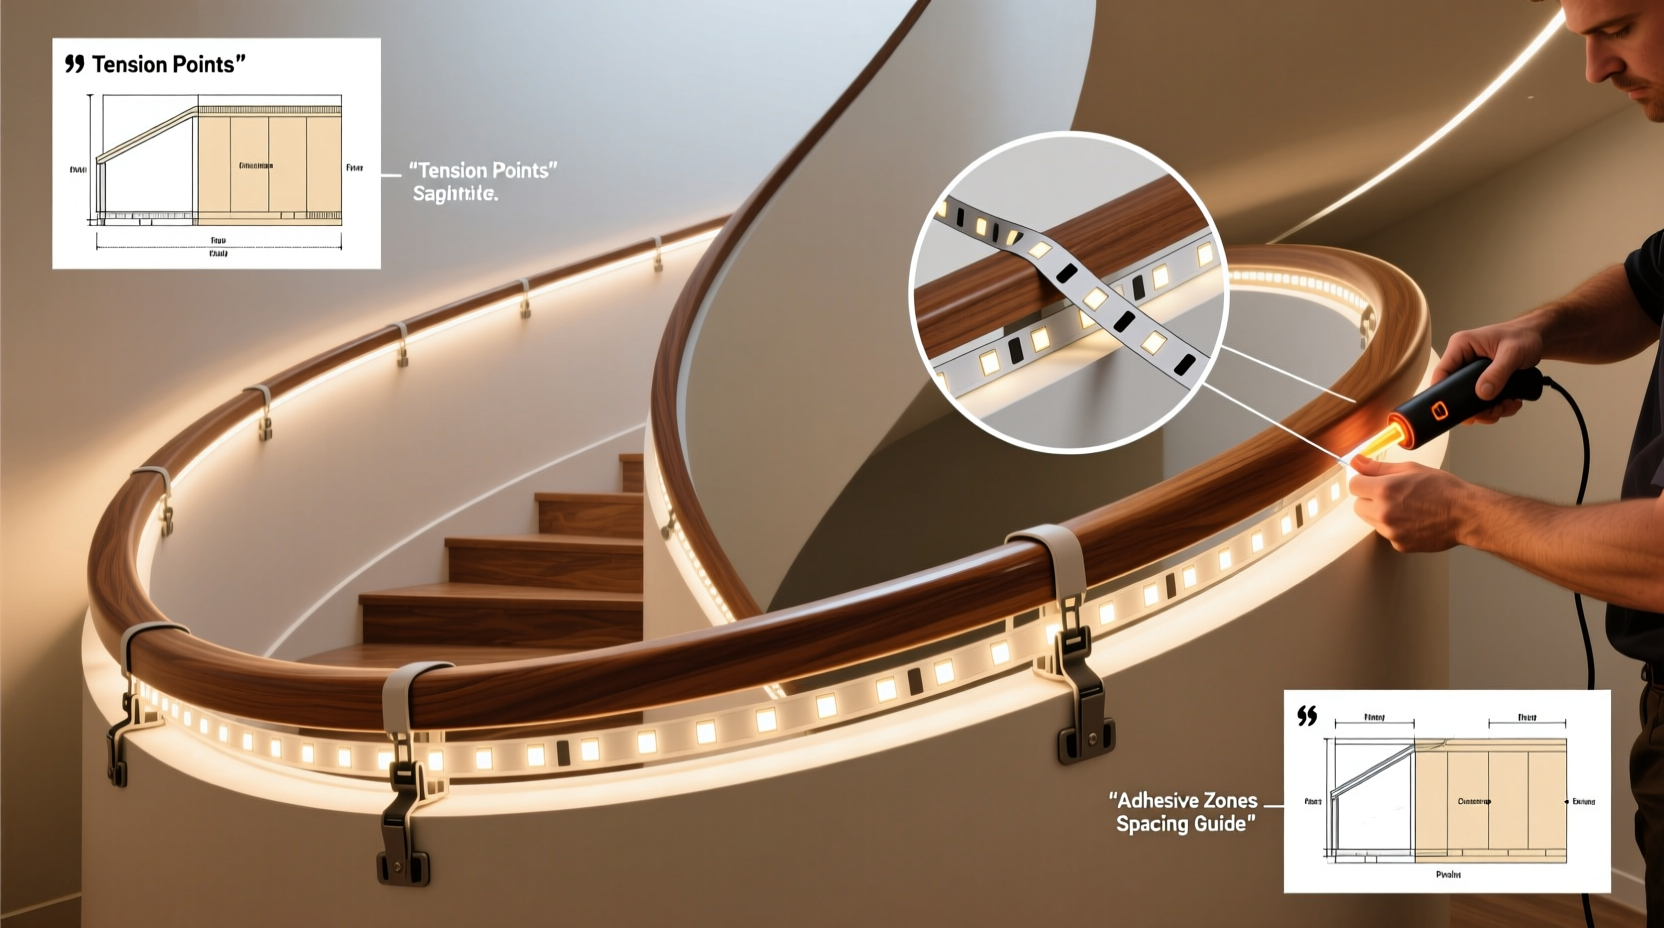
Equally important is the type of fastener. Traditional staples or nails will damage wood and offer poor grip on curves. Instead, use adhesive-backed hook clips specifically designed for outdoor lighting. These allow the cord to slide gently into place while maintaining consistent spacing. For extra security on high-traffic stairs, consider UV-resistant zip ties as a secondary support—but never rely on them alone, as they can stretch or crack over time.
Step-by-Step Installation Process
A successful wrap isn’t about speed—it’s about rhythm and consistency. Follow this timeline-tested method used by professional decorators.
- Measure the railing length: Use a flexible tape measure along the centerline of the railing. Note total feet, then divide by the light strand length to determine how many sets you’ll need. Always buy 10–15% extra for overlaps and errors.
- Dry-fit the first strand: Without attaching anything, drape one full strand along the railing. Observe where bends are tightest and identify areas where gaps might form. Adjust your starting point if needed—beginning at the bottom of the curve often provides better control.
- Install clips every 4–6 inches: Using a pencil, mark clip positions along the underside of the railing. On steep curves, reduce spacing to 3–4 inches for added support. Apply outdoor-rated adhesive hooks firmly, pressing for 30 seconds each. Allow 24 hours to cure in cold weather.
- Begin wrapping from the power source: Start near the outlet to minimize extension cord visibility. Feed the plug through the first clip, then gently guide the strand into each subsequent hook. Keep slight upward tension—enough to prevent sagging, but not so tight that it pulls the clips loose.
- Follow the spiral rule on curves: On tight turns, wrap the lights in a gradual spiral rather than looping side-to-side. This maintains even density and prevents bunching. Imagine the railing as a corkscrew—your lights should follow that same helical path.
- Connect strands and test frequently: After installing each full set, plug in and test. Address flickering or dead sections immediately. Never daisy-chain more than three strands unless labeled safe for it.
- Conceal cords and connections: Use cord covers or paintable conduit to hide extension cords along walls. Place transformers and timers in weatherproof enclosures near the base.
Allow two to four hours for an average staircase, depending on complexity. Rushing leads to misaligned clips and uneven spacing—common causes of post-installation sagging.
Common Mistakes and How to Avoid Them
Even experienced decorators make errors when working with curves. Awareness of these pitfalls prevents rework and ensures longevity.
| Mistake | Why It Happens | Solution |
|---|---|---|
| Gaps on outer curves | Lights stretch over long arcs, increasing space between bulbs | Use shorter bulb spacing (3–6\") or double-wrap the outer edge |
| Bunching on inner curves | Excess wire compresses on tight turns | Pre-bend lights slightly inward before clipping; use smaller-diameter strands |
| Sagging after rain or wind | Weak adhesives or insufficient clip density | Use commercial-grade clips; install every 4\" on curves; avoid rainy-day installation |
| Flickering or failure | Water ingress at connections or overloaded circuits | Seal connectors with silicone tape; check wattage limits |
One frequent oversight is ignoring thermal expansion. Lights installed on a warm day may contract and sag when temperatures drop. Install during moderate weather, ideally between 50°F and 70°F (10°C–21°C), for optimal material behavior.
Real Example: A Victorian Staircase Transformation
In Portland, Oregon, homeowner Maria T. attempted to decorate her 120-year-old home’s sweeping oak staircase for the first time. The railing featured a complex S-curve with balusters spaced irregularly. Her initial attempt used standard C9 lights with twist ties—resulting in wide gaps on the upper arc and tangled clusters below.
She consulted a local lighting contractor who recommended switching to 6-inch mini LED strings with adhesive micro-clips. They dry-fitted the layout, marked 4-inch intervals along the curvature, and wrapped in a continuous spiral motion. By starting at the base and maintaining gentle tension, they achieved uniform coverage. After sealing all connections and adding a timer, the display ran flawlessly for five months—even through heavy winter rains.
“It looked like a professional job,” Maria said. “The difference was in the prep. I didn’t realize how much the clip spacing mattered on curves.”
Expert Insight: What Professionals Know
Lighting design isn’t just about brightness—it’s about perception and flow. Experts emphasize rhythm over raw coverage.
“The eye notices inconsistency more than darkness. A perfectly spaced wrap with fewer lights beats a dense but uneven mess.” — Daniel Reeves, Outdoor Lighting Designer & Founder of LumenCraft Studios
Reeves recommends using a “shadow test” after dark: stand at the bottom of the stairs and observe how light falls across the wall. Gaps become visible as streaks of shadow. Adjust clips accordingly before finalizing.
“Curved railings demand respect. They’re not just shapes—they’re dynamic lines. Your lights should honor that movement, not fight it.” — Lena Cho, Architectural Lighting Consultant
Pro Tips for Long-Term Success
Checklist: Perfect Curve Wrap in 10 Steps
- ☐ Measure total railing length including curves
- ☐ Choose flexible mini LED lights with short bulb spacing
- ☐ Buy outdoor-rated adhesive clips (one per 4–6 inches)
- ☐ Dry-fit one strand to assess fit and coverage
- ☐ Mark clip positions along the railing underside
- ☐ Install clips in dry, moderate temperatures; allow curing
- ☐ Start wrapping from the power source with slight tension
- ☐ Spiral lights around tight curves instead of side-looping
- ☐ Test each strand before moving to the next section
- ☐ Seal connections and conceal cords with weatherproof solutions
Frequently Asked Questions
Can I use regular tape or glue instead of special clips?
No. Household adhesives fail under temperature changes and moisture. Only use clips rated for outdoor, vertical, and curved applications. Products like 3M Command Outdoor Hooks or Deko Light Clips are engineered for this exact purpose.
How do I prevent lights from swaying in the wind?
Ensure clips fully enclose the wire and are installed at close intervals (every 4 inches on curves). Avoid over-tightening, which can deform the wire. For extreme exposure, add a single zip tie every 24 inches as backup—but leave a small loop for expansion.
Is it okay to wrap both top and bottom rails?
Yes, but treat them as separate projects. Wrap the top rail first, then the bottom. Use different circuits or timers if possible to isolate failures. Maintain consistent direction (e.g., clockwise on both) for visual harmony.
Final Thoughts: Illuminate with Confidence
Wrapping curved stair railings doesn’t have to be frustrating. With the right materials, deliberate pacing, and attention to detail, you can achieve a display that rivals professional work. The key is preparation—measuring accurately, choosing flexible components, and respecting the railing’s geometry.
Remember, perfection lies in consistency. Even spacing, secure fasteners, and thoughtful routing matter more than sheer volume of lights. A modest, well-executed wrap leaves a stronger impression than a chaotic overload.
Now that you know the techniques, tools, and tricks used by experts, it’s time to bring your staircase to life. Gather your supplies, pick a calm weekend, and start wrapping. Your beautifully lit railing won’t just brighten the stairs—it’ll welcome everyone who ascends with warmth and craftsmanship.


 浙公网安备
33010002000092号
浙公网安备
33010002000092号 浙B2-20120091-4
Comments
No comments yet. Why don't you start the discussion?