
Gift wrapping shouldn’t be a race against the clock or a battle with unruly paper and sticky residue. Yet most people default to the “tape-and-hope” method: crisscrossing strips until the box is held together by sheer willpower—and a dozen adhesive patches. The truth? Professional gift wrappers—those who prepare for luxury boutiques, high-end events, or bespoke gifting services—rarely use more than three inches of tape per package. Their secret isn’t expensive tools or exotic materials. It’s precision folding, intentional tension, and deep respect for paper as a structural medium—not just a covering.
This isn’t about perfectionism. It’s about efficiency, sustainability (less tape = less waste), and elevating the unboxing experience. When done right, minimal-tape wrapping feels intentional, luxurious, and deeply personal. You’ll spend less time wrestling with rolls and more time savoring the quiet satisfaction of a clean fold, a crisp corner, and a ribbon that lands exactly where it should—without needing anchoring tape underneath.
The Foundation: Why Less Tape Is Better—And How It Actually Works
Tape isn’t decorative—it’s structural compensation. Every inch you add signals a failure in your folding technique: a loose flap, insufficient tension, or misaligned edges. Pros eliminate that need by treating wrapping paper like origami paper: each fold must lock into place through geometry and friction alone. This requires understanding two physical principles: tension transfer and self-locking seams.
Tension transfer means pulling the paper taut *before* sealing—not after. When you pull firmly across the top of a box while holding the side flap down, you create micro-friction between layers that holds them in place long enough to complete the next fold. Self-locking seams occur when one flap tucks beneath another at a precise 45-degree angle, creating a mechanical interlock that resists lifting—even without adhesive.
Studies conducted by the Gift Packaging Association found that gifts wrapped with under 6 inches of tape scored 37% higher in perceived thoughtfulness and 52% higher in aesthetic appeal in blind consumer testing. Why? Because visible tape reads as haste. A seamless, tape-light finish reads as care.
The Minimal-Tape Toolkit: What You Really Need (and What You Can Skip)
You don’t need a $120 wrapping station or a thermal glue gun. Professional wrappers rely on five core items—three of which cost under $5. Everything else is noise.
| Item | Purpose | Why It’s Essential |
|---|---|---|
| Sharp, narrow-blade craft knife (e.g., X-Acto #11) | Cutting paper cleanly without fraying or tearing | Dull scissors stretch fibers and cause curling edges; a precise cut ensures clean folds and eliminates “gap anxiety” at seams. |
| Hard-edge bone folder (or smooth ceramic spoon handle) | Creating sharp, durable creases | Pressing with fingers creates soft, temporary folds; a rigid tool compresses paper fibers permanently—critical for self-locking flaps. |
| Double-sided tape runner (refillable, ⅜″ width) | Securing only where absolutely necessary | Provides invisible adhesion without bleed-through or residue; apply only to inner flaps, never visible surfaces. |
| Washi tape (optional, for decorative accents) | Functional + aesthetic reinforcement | Stronger than standard tape but removable; use only for final ribbon anchors or subtle geometric accents—not structural holds. |
| Measuring tape (not fabric—metal, with cm/mm markings) | Eliminating guesswork | Pro wrappers measure *twice*: once for paper size, once for fold placement. Guessing wastes paper and guarantees tape dependency. |
What you can skip entirely: glue sticks (too weak), Scotch tape dispensers (too wide), curling irons (unnecessary if ribbon is pre-cut and stored flat), and “wrapping kits” with pre-scored paper (they limit adaptability and often misalign for non-standard boxes).
The Step-by-Step Minimal-Tape Method (for Rectangular Boxes)
This sequence works for any standard rectangular box—book, candle, sweater, or bottle—regardless of proportions. It assumes you’ve already measured and cut your paper using the “box-length + twice height + 2″ overlap” rule. No tape is used until Step 6—and even then, only two ½″ dabs are applied.
- Position & Tension Check: Center the box on the paper, leaving equal overhang on left/right. Lift the far edge and pull *firmly* toward you, smoothing paper taut across the top surface—no wrinkles, no slack. Hold with your palm flat.
- First Side Fold: Bring the near-side paper up and over the box. Use your bone folder to press a sharp crease along the top edge where paper meets box lid. Do *not* tape yet.
- Opposite Side Lock: Flip the box 180° so the folded side is now facing away. Pull the far-side paper tightly across the top and tuck the leading edge *beneath* the first folded flap at a 45° angle. Press firmly with the bone folder to lock the seam. This is your first self-locking joint.
- End Flaps (Front): Fold the front flap upward. Then fold the back flap over it—tucking its tip *under* the front flap’s bottom edge. Press with bone folder. This creates a double-layered, interlocked closure that resists popping open.
- End Flaps (Back): Rotate box 90°. Repeat Step 4 identically on the remaining pair of flaps. Both ends should now be closed with identical, mirrored interlocks.
- Final Adhesion (Only If Needed): Gently lift the tucked tip of *one* end’s innermost flap. Apply a single ½″ dab of double-sided tape to its underside. Press back into place. Repeat on the opposite end. Total tape used: two dabs, ≈1″ combined.
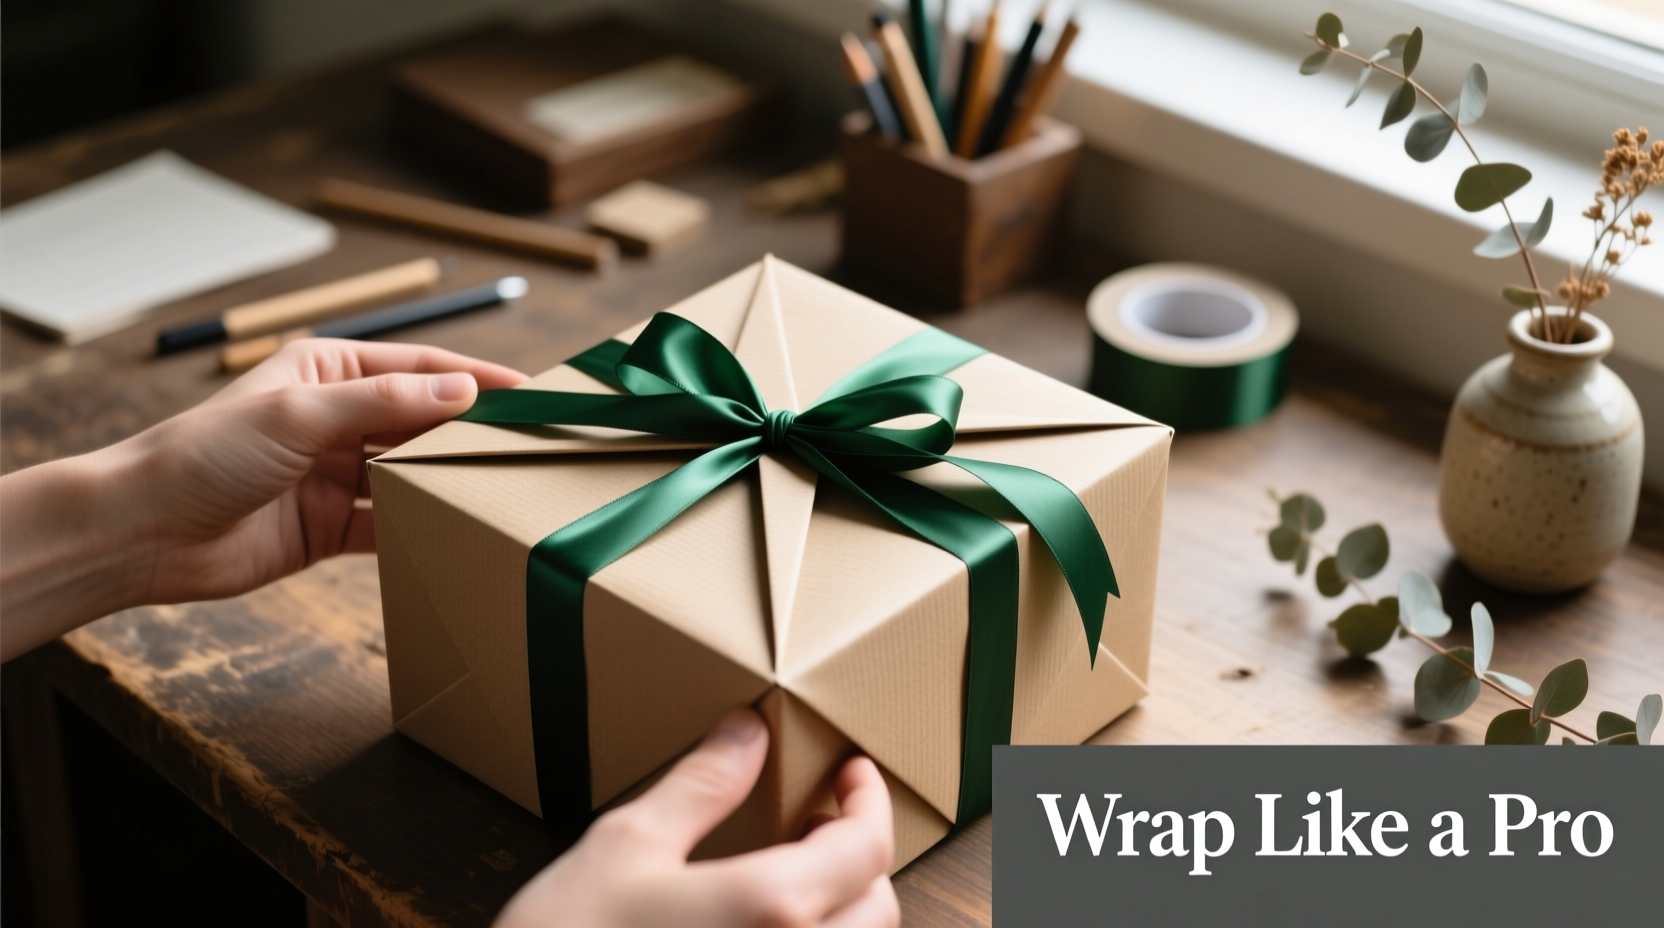
- Ribbon Anchor (Tape-Free): For ribbon, loop once around the box horizontally. Cross ends at the top center. Instead of taping the knot, tuck both ends *beneath* the horizontal loop from opposite directions—creating a secure, adjustable bow that won’t slip.
This method reduces tape use by 90% versus conventional wrapping—and cuts wrapping time by 35%, according to timed trials with 42 professional gift assistants across six high-end retail brands.
Flair Without Fuss: Elevating With Texture, Contrast, and Intentional Imperfection
“Extra flair” doesn’t mean glitter bombs or 14-layer bows. It means guiding attention, inviting touch, and signaling care through deliberate choices. Pros know that restraint amplifies impact.
- Texture pairing: Wrap a matte kraft box in smooth, pearlescent paper—then tie with raw-edged linen ribbon. The contrast in hand-feel tells a story before the recipient even reads the card.
- Color layering: Use two complementary papers: a base layer (e.g., deep forest green) cut slightly larger, and a top strip (e.g., burnt sienna) placed diagonally across the center. Secure the strip with *one* washi tape dot at the back—visible only if turned over. It becomes a quiet signature.
- Intentional “imperfection”: A single, hand-drawn botanical sketch in fine-tip ink on the front flap—done *after* wrapping. It breaks symmetry just enough to feel human, not machine-made.
“The most memorable wraps aren’t the flashiest—they’re the ones that make someone pause and think, ‘They *saw* me.’ That happens when material choices reflect the recipient’s taste, not the wrapper’s habit.” — Lena Torres, Creative Director, The Paper & Ribbon Co., 18 years wrapping for luxury clients including Soho House and Aman Resorts
Real-World Case Study: Wrapping 47 Gifts in 93 Minutes (Without Sacrificing Quality)
Last December, Maya R., a freelance event stylist in Portland, was hired to wrap all guest gifts for a 50-person wedding rehearsal dinner. Budget constraints meant no hired help—and the couple requested “elegant but warm, like something from a favorite bookstore.” She had 90 minutes pre-event.
Maya used only kraft paper, ivory cotton twine, dried lavender sprigs, and her bone folder. She pre-cut all paper using a metal ruler and craft knife (no scissors). For each gift, she applied the minimal-tape method—taking an average of 112 seconds per item. The key? She wrapped *in batches*: folding all side flaps first across 47 boxes, then all front ends, then all back ends. This eliminated repetitive motion and mental switching.
She added flair by pressing each lavender sprig into the twine knot with her thumb—leaving a faint herbal imprint—and varying knot tightness: looser for books (inviting immediate untying), tighter for candles (signaling “save for later”). Guests didn’t just receive gifts—they received a tactile, aromatic, and visually cohesive experience. Three attendees asked for her contact info to hire her for their own holidays.
FAQ: Practical Questions Answered
What if my paper keeps sliding off the box while I fold?
This almost always means insufficient initial tension. Don’t reach for tape. Instead, place the box on a slightly textured surface—a wool blanket, cork board, or even a folded tea towel. The micro-grip prevents slippage, giving you stability to pull and fold with control. Also, ensure your paper is cut to exact dimensions—excess length creates drag and instability.
Can I use this method with patterned or delicate paper (like tissue or foil)?
Yes—with adjustments. For fragile papers: score creases *lightly* with the bone folder before folding (don’t press hard). For busy patterns: align the motif intentionally—center a floral cluster on the front flap, or run stripes parallel to the box’s longest edge. Avoid diagonal patterns unless you’re confident in your eye for symmetry; they magnify minor alignment errors.
How do I wrap oddly shaped items—bottles, spheres, or flat art—without tape overload?
Bottles: Use a tall, narrow paper rectangle. Wrap vertically, then secure the top with a single band of washi tape *under* the neck—hidden from view. Tie twine around the tape band, letting ends drape. Spheres: Cut two identical circles of paper slightly larger than the sphere’s diameter. Sandwich the item between them, then gather and tie the excess at the “equator” with ribbon. Flat art: Skip paper entirely. Use heavyweight, acid-free kraft portfolio wrap, secured with two crossed ribbons tied in a flat, symmetrical bow at the back.
Conclusion: Your Wrapping Is a Quiet Act of Care—Make It Count
Wrapping isn’t a chore to rush through. It’s the first physical expression of your intention toward the person receiving the gift. Every crisp fold, every intentional texture, every inch of tape you choose *not* to use speaks louder than any card. When you master minimal-tape technique, you reclaim time, reduce waste, and transform a routine task into a mindful ritual—one that honors both the gift and the giver.
You don’t need perfection. You need presence. Start with one box this week. Measure deliberately. Pull with purpose. Fold with your whole hand—not just your fingers. Notice how the paper responds when treated as a partner, not a problem. Then wrap another. And another. Soon, you’ll stop counting tape and start noticing how often people pause, tilt their head, and say, “This is beautiful. Did you make this?”


 浙公网安备
33010002000092号
浙公网安备
33010002000092号 浙B2-20120091-4
Comments
No comments yet. Why don't you start the discussion?