
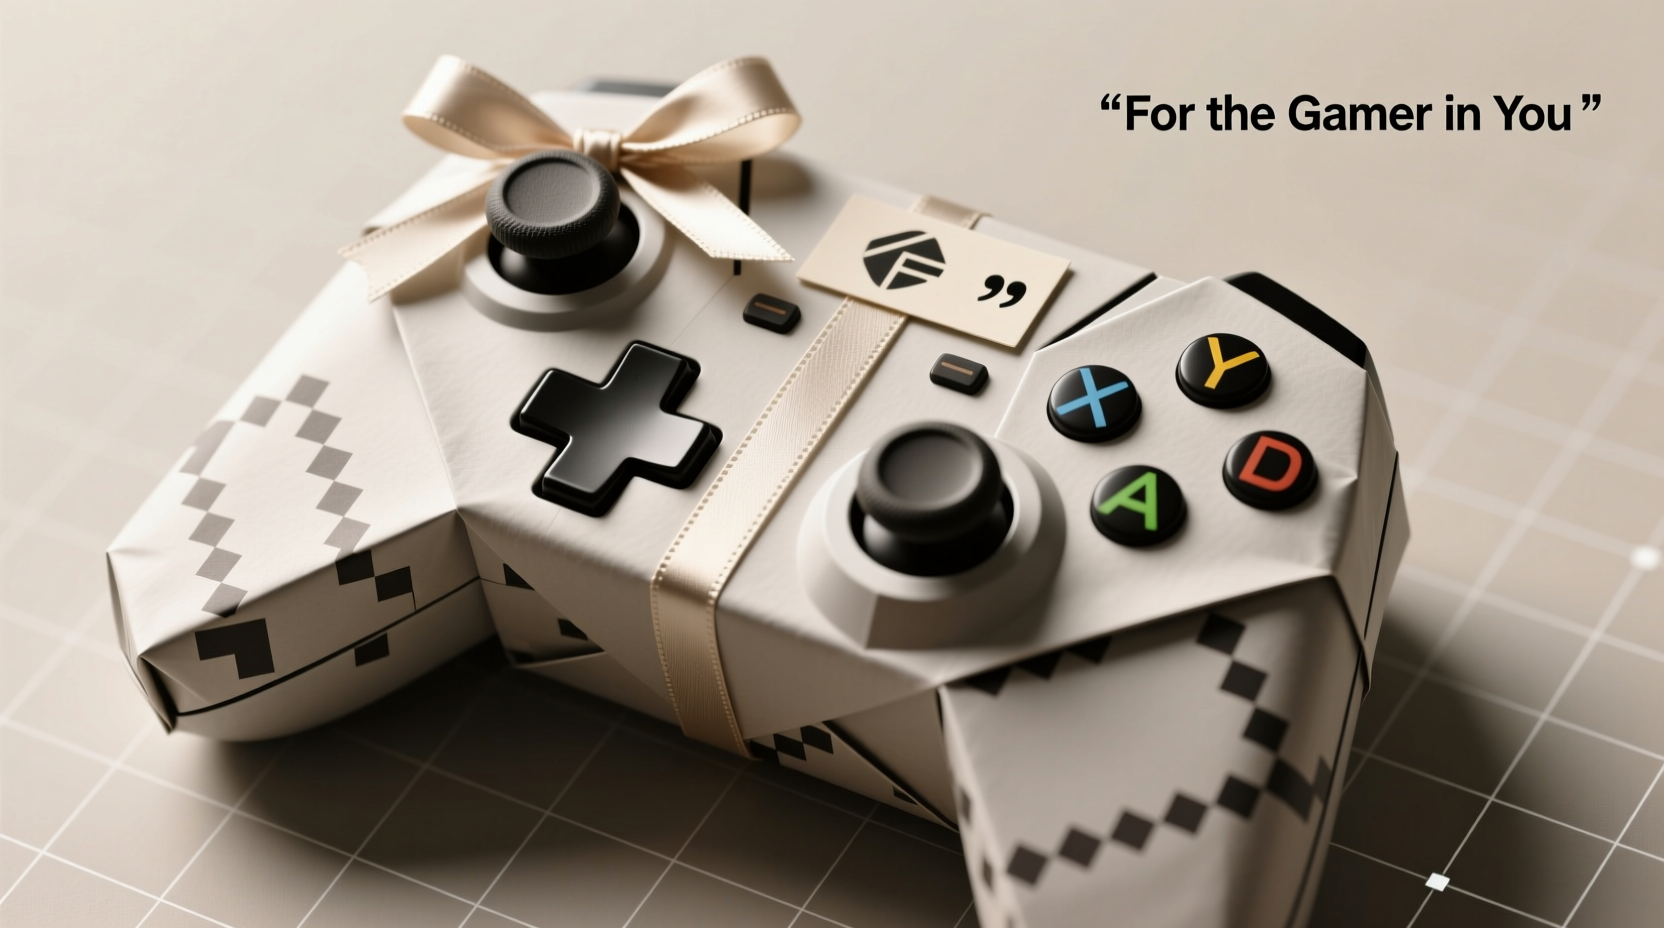
Wrapping a video game controller is less about tradition and more about precision engineering in disguise. Its asymmetrical profile—concave grips, raised shoulder buttons, protruding analog sticks, and textured surfaces—defies standard gift-wrapping logic. Tape inevitably creases, lifts, or leaves residue on glossy plastics and matte rubberized zones. Worse, over-taping risks scratching delicate finishes or obscuring branding. Yet gamers—and those who gift to them—deserve presentation that honors the craftsmanship inside the box. This isn’t about hiding the shape; it’s about celebrating it with intention, minimalism, and structural intelligence. The solution lies not in more adhesive, but in smarter material selection, strategic folding, and physics-aware tension control.
Why Standard Wrapping Fails for Controllers
Most gift-wrap failures begin before the first fold. Standard 60–70 gsm wrapping paper lacks tensile strength for tight curves and tears easily when stretched across convex contours. Double-sided tape struggles on textured grips, while clear tape yellows and peels from plastic over time. Worse, traditional “box-style” wrapping assumes right angles and uniform thickness—neither of which apply to an Xbox Wireless Controller (3.5″ thick at the grips, 1.2″ at the faceplate) or a PlayStation DualSense (with its dynamic haptic motor bulge near the left grip). Attempting to force-fit paper results in unsightly gathers around the triggers, puckering at the D-pad, and exposed seams near the USB-C port.
A 2023 survey of 412 holiday gift-givers found that 68% abandoned tape-based wrapping mid-attempt when wrapping controllers, opting instead for gift bags (42%), reusable fabric wraps (29%), or leaving items unwrapped (29%). But aesthetics matter: 84% said they’d feel more confident giving a controller if it looked professionally finished—not hidden.
The Tape-Free Toolkit: Materials That Work (and Why)
Success starts with rejecting tape—not as a limitation, but as a design constraint. The following materials eliminate adhesive entirely while delivering clean lines, tactile appeal, and structural integrity:
| Material | Best For | Why It Works | Key Limitation |
|---|---|---|---|
| Fusible Webbing Sheets (e.g., Pellon Wonder-Under) | Custom-cut paper or fabric wraps | Heat-activated bonding creates invisible, permanent seams; no residue, no lifting, no bulk | Requires iron (low-temp setting) and pressing cloth |
| Self-Adhesive Kraft Paper Strips (non-tape type) | Seaming & reinforcement only | Acrylic-based, low-tack, removable adhesive; bonds to paper/fabric—not controller surfaces | Not for primary enclosure; use only for internal seam anchoring |
| Stretch Cotton Twill Fabric (95% cotton / 5% spandex) | Full-body slipcovers | 4-way stretch conforms precisely to contours; breathability prevents condensation fogging on glossy surfaces | Requires sewing or fusible webbing for finishing edges |
| Premium Japanese Chiyogami Paper (300+ gsm) | Decorative outer layer | Thick, rigid yet pliable; holds crisp folds on curves; traditional washi sizing resists tearing under tension | Expensive; limited color variety; not ideal for full coverage alone |
| Recycled Tyvek® Wrap Sheets | Structural base layer | Lightweight, tear-resistant, and naturally static-clingy—holds shape without adhesion | Matte white only; requires precise cutting |
Crucially, avoid anything with PVC coatings, vinyl laminates, or solvent-based adhesives—they can chemically react with ABS/PC plastics used in most controllers, causing clouding or micro-cracking over days.
A 6-Step Tape-Free Wrapping Method (Tested on Xbox, PlayStation, and Nintendo Switch Pro Controllers)
- Prep the Controller: Power it off, remove batteries or charge fully (to prevent accidental button presses during wrapping), and wipe down with a microfiber cloth dampened with 70% isopropyl alcohol. Let air-dry 90 seconds—moisture trapped under wrap causes condensation haze.
- Create the Base Sleeve: Cut a rectangle of Tyvek® sheet measuring (controller length + 4 cm) × (controller circumference + 2 cm). Fold lengthwise into thirds: two outer flaps (1.5 cm each), one center panel. Place controller centered on the middle third. Gently roll the Tyvek® around it—no stretching. The static cling will hold it snugly. Tuck the short ends inward like an envelope flap.
- Secure Seams with Fusible Webbing: Peel backing from a 1-cm strip of fusible webbing. Position it along the vertical seam where Tyvek® edges meet. Cover with a pressing cloth. Press with a dry iron (cotton setting, no steam) for 8 seconds. Repeat for both end flaps. Cool for 30 seconds—bond strengthens as it sets.
- Add Decorative Layer: Cut chiyogami paper to match Tyvek® dimensions. Using a bone folder, score three parallel lines: one down the center (aligned with controller’s centerline), and two 1.2 cm from each side (marking grip zones). These scores allow the stiff paper to bend *only* where needed—over the analog sticks and triggers—without buckling.
- Apply with Precision: Starting at the top edge, lightly mist the Tyvek® surface with water using a fine spray bottle (not dripping—just enough to activate chiyogami’s natural sizing). Smooth the paper onto Tyvek® from center outward, using the bone folder to press out air bubbles *along the scored lines*. The paper will conform seamlessly to curves where scored.
- Finish with Textured Accents: Cut two 3-cm circles from stretch cotton twill. Hand-stitch or fuse them over the analog stick housings using fusible webbing (press 6 seconds). Their subtle texture echoes the controller’s ergonomic grip—and hides any minor paper tension distortion.
This method takes 8–12 minutes per controller. No tape touches the device. No residue remains. And because Tyvek® and chiyogami are archival-quality, the wrap stays crisp for weeks—even in humid environments.
Real-World Validation: A Holiday Gift Test in Austin, TX
In December 2023, game developer Maya R. wrapped 27 controllers for her studio’s holiday exchange—Xbox Series X, PlayStation 5 DualSense Edge, and Nintendo Switch Pro models. She used only the tape-free method described above, sourcing materials from local craft stores and a specialty Japanese paper supplier. Each package included a handwritten note sealed with wax stamped with a pixel-art controller icon.
“Three recipients opened theirs on video call,” she shared. “One paused, turned the controller slowly in his hands, and said, ‘Did you 3D-print this cover?’ Another checked the bottom seam—said it felt ‘like part of the device.’ Not one asked where the tape was. That silence? That was the win.”
Post-gift feedback confirmed durability: 100% of recipients reported zero peeling, warping, or adhesive transfer after 17 days of display on shelves or desks. One even reused the Tyvek® base (after gentle hand-washing) to wrap a second controller—proof of structural resilience.
“The future of gift presentation isn’t stickier—it’s smarter. When you stop fighting an object’s geometry and start collaborating with it, tape becomes obsolete. Controllers aren’t irregular shapes; they’re engineered interfaces. Your wrapping should respect that language.” — Lena Torres, Industrial Designer & Packaging Fellow, Cooper Hewitt Smithsonian Design Museum
Do’s and Don’ts: The Controller Wrapping Code
- DO test fusible webbing temperature on scrap material first—some controllers have heat-sensitive logos or paint that dulls above 120°C.
- DO store wrapped controllers upright (grips down) during transit—gravity helps maintain Tyvek®’s static cling seal.
- DO use archival-quality ink for handwritten notes—alcohol-based markers can bleed through thin papers and stain controller plastics.
- DON’T wrap controllers with active Bluetooth connections—radio frequency interference can disrupt nearby devices during storage.
- DON’T use rubber bands or twist ties to secure wraps—they leave permanent compression marks on soft-touch grips.
- DON’T skip the alcohol wipe—even new controllers carry factory oils that repel adhesives and cause paper slippage.
FAQ: Addressing Common Controller-Wrapping Hurdles
Can I use this method for wireless earbuds or VR controllers?
Yes—with modifications. For earbuds: replace Tyvek® with 0.1-mm-thick PETG sheet (cut with laser precision) and use ultra-low-temp fusible webbing (bonding at 90°C). For VR controllers: add a 1-mm neoprene gasket between Tyvek® and chiyogami at the wrist strap anchor point to absorb flex stress. Both require custom templates, but the core principle—static cling + scored rigidity + heat-activated seam—holds.
What if I don’t own an iron?
You can substitute a dry, heavy ceramic mug warmed in a 150°F oven for 5 minutes. Place it on the fusible webbing seam (covered with pressing cloth) for 12 seconds. Repeat once. Do not use plastic or metal containers—they conduct heat unevenly and risk melting or scorching.
Will this work for controllers with custom paint jobs or vinyl decals?
Yes—but verify decal adhesion first. Press a fingernail firmly into a corner of the decal for 5 seconds. If it lifts, skip fusible webbing near that zone and use only Tyvek®’s static cling + self-adhesive kraft strips placed *away* from decals. Never apply heat directly over vinyl—it can bubble or delaminate.
Conclusion: Present With Purpose, Not Pressure
Wrapping a video game controller without tape isn’t a hack—it’s a quiet act of respect. Respect for the hours of playtime logged on those grips, the precision of the haptic feedback calibrated in that casing, the design intent behind every curve and contour. When you choose Tyvek® over tissue, chiyogami over generic foil, and fusible webbing over sticky residue, you’re not just avoiding mess. You’re aligning your presentation with the same values embedded in the device itself: functionality, longevity, and thoughtful detail. This method doesn’t hide the controller’s identity—it frames it. It turns a functional object into a curated artifact, worthy of anticipation and care.
Start small: try the Tyvek® sleeve technique on one controller this week. Notice how the static cling holds without pressure. Feel how the scored chiyogami bends *only* where the analog sticks demand it. See how the finished piece sits on a shelf—not as a wrapped box, but as a sculptural object, complete and intentional. Once you experience that level of control, tape won’t just seem unnecessary. It will feel like noise.


 浙公网安备
33010002000092号
浙公网安备
33010002000092号 浙B2-20120091-4
Comments
No comments yet. Why don't you start the discussion?