
Wrapping stair railings with Christmas lights can transform your home into a festive winter wonderland. But all too often, the result is uneven spacing, sagging strands, or visible gaps that ruin the illusion of a professionally decorated space. Achieving a seamless, full look requires more than just draping lights haphazardly—it demands planning, precision, and the right technique. Whether you're decorating a curved banister or a straight staircase in a two-story foyer, this guide walks you through every step to ensure your railing glows evenly from top to bottom, with no missed spots or drooping wires.
Why Proper Railing Wrapping Matters
A poorly wrapped railing doesn’t just look messy—it can also be a safety hazard. Loose wires may snag on clothing or shoes, and exposed clips or tape can peel paint or damage wood finishes. More importantly, a sparse or inconsistent light pattern diminishes the visual impact of your holiday decor. A well-wrapped railing, by contrast, creates a continuous ribbon of light that draws the eye upward and enhances the architectural lines of your staircase.
The goal isn't just coverage; it's cohesion. Lights should appear as a single glowing band, not a series of disconnected bulbs. This means avoiding common pitfalls like overstretching strands, skipping balusters, or relying solely on adhesive hooks that lose grip over time.
Step-by-Step Guide to Seamless Light Wrapping
Follow this detailed sequence to achieve tight, even coverage across your entire staircase railing. The method works for both wooden and metal railings and adapts easily to different railing shapes.
- Measure Your Railing Length
Use a flexible measuring tape to trace the contour of your railing from top to bottom. Note the total linear feet. For multi-level staircases, measure each section separately. Add 10% extra length to account for curves and overlaps. - Choose the Right Lights
Select mini LED string lights with a spacing of 4 to 6 inches between bulbs. For a fuller look, use dual-wave strings (where bulbs are arranged in an “M” shape) or icicle-style lights designed for railings. Avoid large C7 or C9 bulbs—they’re too bulky and widely spaced for delicate wrapping. - Prepare Mounting Tools
Gather plastic railing clips, adhesive-backed hook-and-loop straps, or twist ties. Clips are ideal for wood or metal railings with consistent diameters. For delicate finishes, use soft rubber-coated clips to prevent scratching. - Start at the Bottom or Top?
Begin at the bottom of the railing if your power outlet is located nearby. If not, start at the top and work downward, letting excess cord drape temporarily until final routing. Consistency matters more than direction—just maintain the same spiral orientation throughout. - Wrap in a Consistent Spiral Pattern
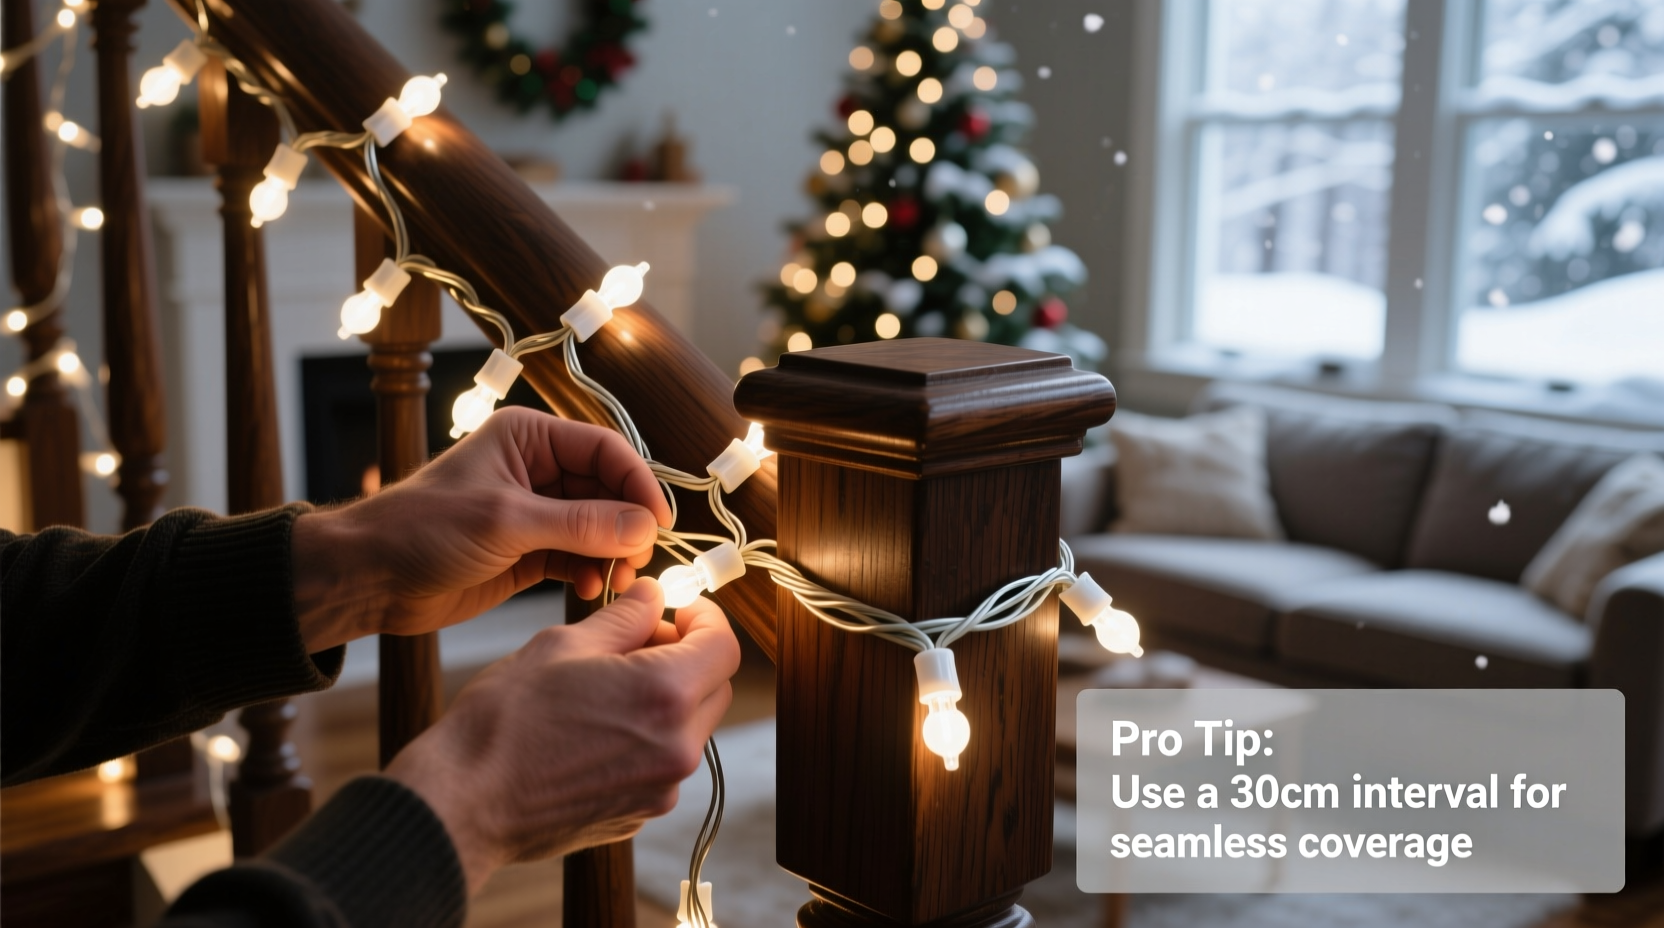
Hold the first bulb against the railing and secure it with a clip. Then, rotate the string around the railing in a steady helix, maintaining even spacing. For optimal density, wrap one complete turn every 6–8 inches. Keep tension gentle but firm—never stretch the string. - Secure Every Few Feet
After every 3–4 wraps, fasten the strand with another clip or strap. On long straight runs, place supports every 12 inches. At turns or landings, add extra anchors to prevent sagging. - Connect Strands Strategically
If multiple strings are needed, align the end of one strand directly with the start of the next. Use female-to-female connectors only if rated for outdoor use and properly insulated. Hide connection points behind balusters or under the handrail whenever possible. - Test and Adjust
Once fully installed, plug in the lights. Walk up and down the stairs to check for dark spots or loose loops. Tighten or reposition any sagging sections immediately.
Choosing the Right Fasteners: Do’s and Don’ts
The type of fastener you use can make or break your installation. The wrong clip can crack paint, loosen over time, or fail to hold weight. Below is a comparison of common mounting options.
| Fastener Type | Best For | Do’s | Don’ts |
|---|---|---|---|
| Plastic Railing Clips | Round wood/metal railings | Use UV-resistant clips; space every 12\" | Don’t force onto square railings |
| Adhesive Hooks | Indoor use, painted walls | Clean surface before applying | Don’t overload—max 1 lb per hook |
| Twist Ties | Temporary setups | Use nylon zip ties for strength | Don’t leave outdoors long-term |
| Magnetic Clips | Metal railings only | Great for rentals or quick install | Won’t work on wood or drywall |
| Hook-and-Loop Straps | Fragile finishes, curved rails | Reusable and non-damaging | Ensure adhesive backing is strong |
For high-traffic staircases, prioritize durability over convenience. A fallen strand not only looks bad but could create tripping hazards. Invest in commercial-grade clips if you plan to reuse lights annually.
Real Example: Fixing a Problematic Wrap
Sarah, a homeowner in Portland, attempted to wrap her oak staircase railing using only adhesive hooks and standard mini lights. After two days, several sections had pulled loose, especially on the steeper lower flight. Gaps appeared between bulbs, and the middle landing looked sparse.
She revisited the project using the spiral-wrap method with plastic railing clips spaced every 10 inches. She replaced her old string with a dual-wave LED set (6-inch bulb spacing) and began at the bottom, anchoring the first clip securely. By maintaining consistent rotation and checking alignment every few steps, she achieved a uniform glow. The new setup stayed taut for the entire season, surviving holiday parties and daily use without adjustment.
“I underestimated how much technique mattered,” Sarah said. “It’s not about how many lights you use—it’s how you place them.”
Expert Insight: What Professionals Know
“The key to flawless railing lighting is rhythm. Each wrap should mirror the last—same spacing, same tension, same orientation. Amateurs rush the corners, but pros treat every inch with equal attention.” — Marcus Reed, Holiday Lighting Designer & Founder of Everglow Decor
“Never underestimate the anchor point. If your first clip fails, everything downstream will sag. Use mechanical fasteners when possible, not just adhesives.” — Lena Torres, Residential Lighting Consultant
Checklist: Pre-Installation Preparation
- ✅ Measure total railing length (include landings)
- ✅ Calculate number of light strings needed (based on 90% coverage rule)
- ✅ Test all lights for functionality and color consistency
- ✅ Gather clips, connectors, and tools (scissors, ladder, gloves)
- ✅ Identify power source location and extension cord path
- ✅ Clear stairs of rugs, furniture, or obstructions
- ✅ Enlist a helper for longer or multi-flight staircases
Advanced Tips for Flawless Results
Once you’ve mastered the basics, consider these pro techniques to elevate your display:
- Double-Wrap for Maximum Density: On wide or highly visible railings, run two parallel strands—one along the top edge and one along the underside. This creates a halo effect, especially effective at night.
- Use Timers and Smart Plugs: Automate your display to turn on at dusk and off at bedtime. Not only does this save energy, but it ensures consistent operation without manual effort.
- Color Temperature Matters: Warm white (2700K–3000K) blends best with home interiors and creates a cozy ambiance. Cool white (5000K+) works for modern, icy themes but can feel harsh indoors.
- Hide Cords Along Baseboards: Route extension cords along base molding using paint-matched clips. Never run cords across walkways unless covered with a cable protector.
- Label Strings Before Storing: When taking lights down, tag each string with its position (e.g., “Main Stair – Lower Section”). This speeds up next year’s setup and ensures matching colors and brightness.
Frequently Asked Questions
How many lights do I need per foot of railing?
For a full, gap-free look, aim for one bulb every 4 to 6 inches. This typically means one 100-light string (with 4-inch spacing) covers about 33 feet of railing. However, due to wrapping overlap, plan for 25–30 feet of actual coverage per string.
Can I use outdoor lights indoors?
Yes—and it’s often recommended. Outdoor-rated lights are built to withstand temperature changes and have thicker insulation, making them safer and more durable even inside. Just ensure they’re UL-listed and used with indoor-compatible extension cords.
What if my railing isn’t round?
Square, rectangular, or ornate railings require alternative fastening methods. Use adhesive-backed hook-and-loop straps or small L-brackets to secure lights along flat surfaces. Position bulbs along the front-facing edge for maximum visibility.
Final Thoughts: Quality Over Quantity
A stunning stair railing display isn’t about covering every millimeter with lights—it’s about intelligent placement, consistent execution, and attention to detail. The most memorable decorations aren’t the brightest, but the most thoughtful. By following a structured approach, choosing the right materials, and learning from real-world examples, you can achieve a polished look that impresses guests and lasts the entire season.
Take the time to plan, prepare, and perfect your technique. The difference between amateur and expert results often comes down to just a few disciplined choices: measuring accurately, securing frequently, and maintaining uniformity. When done right, your illuminated staircase becomes a centerpiece of holiday cheer—a glowing invitation to celebrate, gather, and enjoy the season.


 浙公网安备
33010002000092号
浙公网安备
33010002000092号 浙B2-20120091-4
Comments
No comments yet. Why don't you start the discussion?