
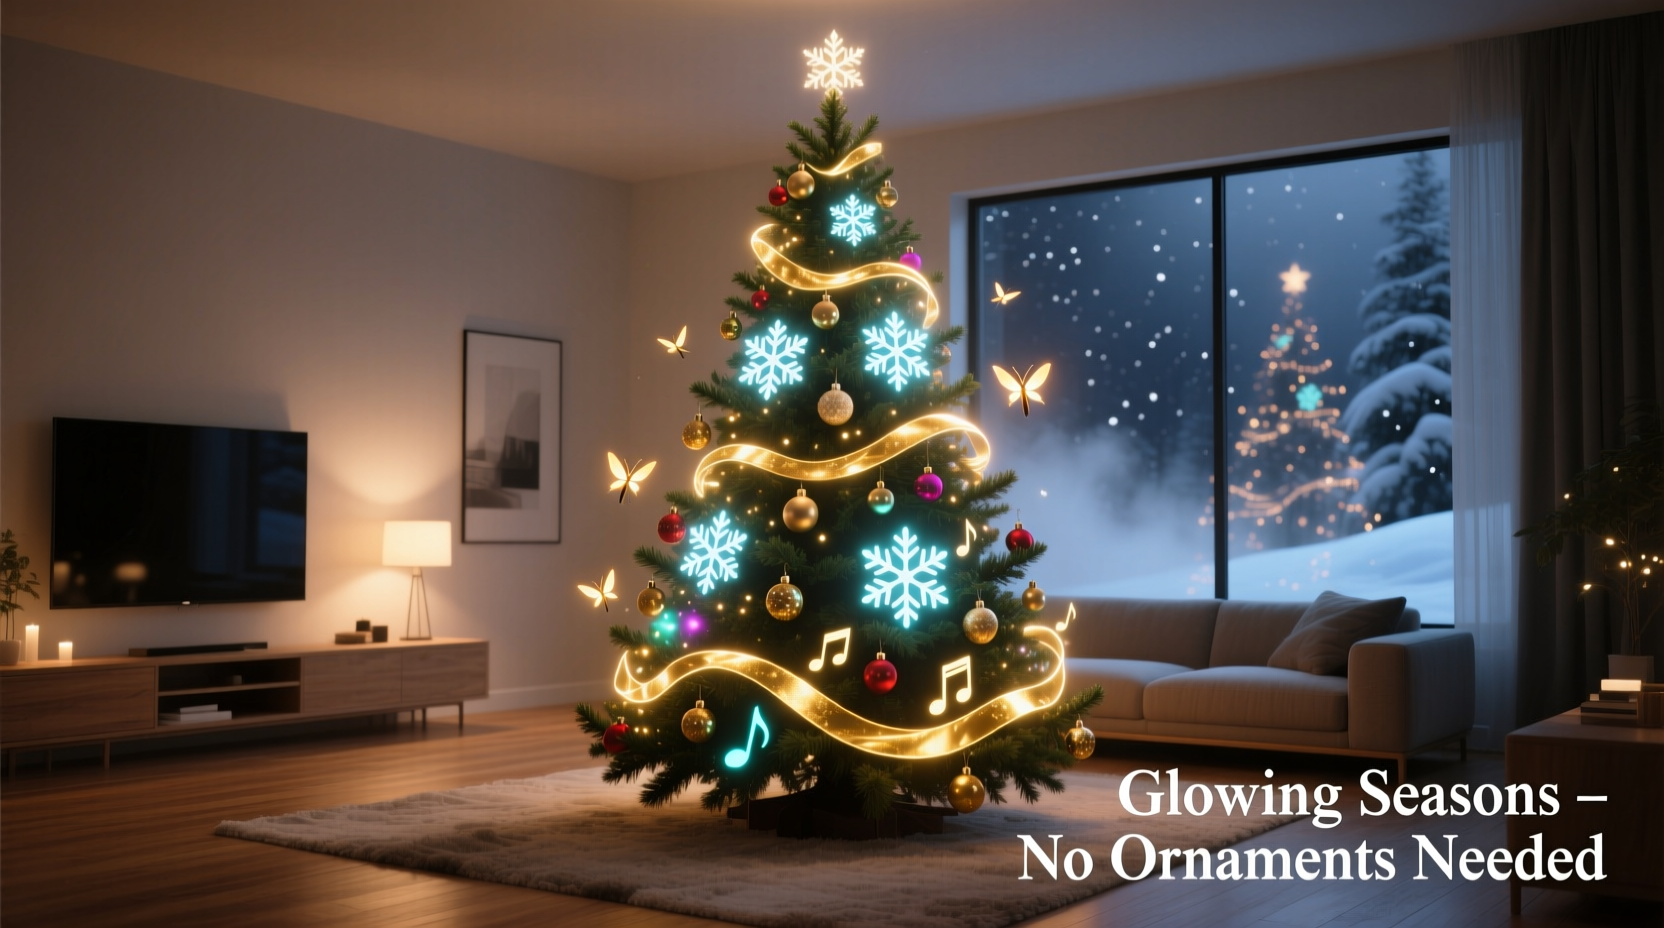
In recent years, holiday decor has evolved beyond tinsel and baubles. One of the most exciting innovations in festive design is indoor projection mapping on a Christmas tree—where dynamic visuals replace traditional ornaments entirely. Using precisely aligned projectors and digital content, homeowners and designers can transform a plain evergreen into a living canvas of animated lights, patterns, and seasonal scenes. The result? A jaw-dropping centerpiece that requires no hanging, untangling, or storage of fragile decorations.
This technology isn’t just reserved for museums or theme parks anymore. With affordable projectors and accessible software, anyone can create a mesmerizing holiday display without a single ornament in sight. Beyond visual appeal, this method offers practical advantages: reduced setup time, minimal cleanup, allergy-friendly decor (no shedding pine needles or dust-collecting trinkets), and full customization year after year.
How Projection Mapping Works on a Christmas Tree
Projection mapping, also known as spatial augmented reality, involves projecting images onto irregularly shaped surfaces in a way that aligns perfectly with their contours. For a Christmas tree, this means calibrating a projector to “wrap” animations around the conical form, making it appear as though lights, snowflakes, ornaments, or even entire winter landscapes are physically present.
The process begins with 3D scanning or manual calibration to understand the tree’s dimensions and shape. Software such as MadMapper, Resolume Arena, or specialized holiday apps then allows users to warp and mask projected content so that moving stars swirl up the branches, glowing icicles drip from the tips, or virtual reindeer leap through the boughs—all synchronized to music.
Unlike standard projections that assume flat screens, mapping software adjusts brightness, perspective, and geometry to maintain realism across depth and angles. This ensures that whether viewed from the front, side, or slightly above, the illusion remains intact.
Benefits of Going Ornament-Free with Light-Based Decor
Choosing projection over physical decor isn't just about novelty—it's a strategic upgrade for modern homes. Here are some compelling reasons why families and designers are making the switch:
- No storage hassles: Physical ornaments require boxes, padding, and seasonal organization. Projection files take up zero shelf space.
- Allergy reduction: Eliminates dust-trapping fabrics, feathers, and materials that trigger sensitivities.
- Safety improvement: Removes choking hazards for toddlers and pets, plus reduces fire risk from tangled lights or overheated bulbs.
- Total customization: Change themes instantly—from classic red-and-green to underwater coral reefs or outer space—without buying new supplies.
- Eco-friendliness: Reduces reliance on plastic, glass, and metal decorations often discarded after short use.
- Interactive potential: Some systems allow gesture control or motion tracking, letting guests “paint” the tree with their hands or trigger effects via smartphone.
“Projection mapping turns passive decoration into an immersive experience. It’s not just something you look at—it’s something you feel part of.” — Daniel Reeves, Interactive Media Designer
Step-by-Step Guide to Setting Up Your Projected Christmas Tree
Creating a professional-quality mapped display at home is simpler than it seems. Follow this sequence for best results:
- Choose your tree: A real or artificial evergreen works, but ensure it has a consistent conical shape. Avoid overly sparse trees; medium density provides better surface texture for light diffusion.
- Select a projector: Opt for one with at least 2,000 lumens brightness and native 1080p resolution. Short-throw models are ideal if space is limited. Place it behind or beside the tree, elevated slightly to cover the full height.
- Darken the room: Close curtains and turn off overhead lights. Blackout shades enhance visibility and immersion.
- Calibrate the projection: Use grid overlays in your software to match the tree’s outline. Adjust keystone, zoom, and pan until the image fits snugly within the silhouette.
- Create or download content: Use pre-made holiday templates or design custom animations using tools like After Effects or Blender. Ensure frame rate matches audio if syncing to music.
- Map the surface: Define masking zones so projections don’t spill onto walls or floors. Add depth cues by dimming areas corresponding to inner branches.
- Test and refine: Play animations at low volume first. Walk around the room to check alignment from multiple angles. Fine-tune edge blending and brightness gradients.
- Add sound: Pair visuals with a curated playlist or original score. Use stereo speakers placed near the base for directional audio effects.
Equipment and Software Checklist
To get started, gather these essentials:
- Christmas tree (minimum 5 feet tall recommended)
- HD projector (preferably short-throw, 1080p or higher)
- HDMI cable or wireless streaming device (e.g., Chromecast Ultra)
- Computer or media player running mapping software
- Power strips with surge protection
- Optional: tripod or mount for projector stability
- Audio system (speakers + amplifier or soundbar)
Recommended software options include:
| Software | Best For | Price Range |
|---|---|---|
| MadMapper | Precise architectural mapping | $199 (one-time) |
| Resolume Arena | Real-time VJ-style playback | $599 (one-time) |
| HeavyM | Beginner-friendly interface | $120/year subscription |
| TouchDesigner | Advanced interactivity & coding | Free (non-commercial) |
| Projections by Lumenati | Holiday-specific templates | $49–$99 per season |
Real Example: A Family’s First Animated Tree
The Thompson family in Portland, Oregon, decided to skip ornament shopping before the 2023 holidays due to a move into a smaller apartment. With limited storage and two young children, they worried about breakable decorations and clutter. Instead, they invested $350 in a used Epson short-throw projector and downloaded HeavyM Lite.
They set up their artificial tree in the corner of the living room, positioned the projector on a bookshelf behind the sofa, and spent one evening calibrating the layout. Using free YouTube tutorials, they learned to apply a “floating lanterns” effect that drifted upward in sync with soft piano music.
On Christmas Eve, guests were amazed—many initially thought tiny LED strings had been hidden in the branches. Over the next two weeks, the family cycled through themes: snowy forest, aurora borealis, vintage cartoon characters, and even a Star Wars tribute. By New Year’s Day, they’d saved hours typically spent decorating and dismantling, while creating a more memorable experience.
“We’ll never go back to real ornaments,” said Sarah Thompson. “It felt like having a mini planetarium in our living room.”
Common Pitfalls and How to Avoid Them
While the concept is straightforward, poor execution can lead to washed-out visuals or misaligned effects. Be mindful of these common issues:
- Insufficient brightness: Standard office projectors fail in anything but pitch-black rooms. Always test under final lighting conditions.
- Incorrect aspect ratio: Mismatched proportions stretch animations vertically or horizontally. Set output resolution to match your projector’s native setting.
- Overlapping wall projections: Unmasked edges bleed onto surrounding surfaces, breaking immersion. Use software masking tools to confine light strictly to the tree zone.
- Lag during playback: Low-spec computers may stutter when rendering complex animations. Pre-render videos in high-quality MP4 format instead of relying on live effects.
- Heat buildup: Projectors generate heat. Ensure adequate ventilation, especially during extended play sessions.
“The key to believable projection mapping is subtlety. Sometimes less movement and more attention to shadow and glow creates a stronger illusion than flashy effects.” — Lena Cho, Digital Art Curator at Boston Media Lab
Frequently Asked Questions
Can I use any type of Christmas tree for projection mapping?
Yes, both real and artificial trees work well. However, avoid trees with extreme asymmetry or large gaps. Medium-density foliage provides optimal texture for light diffusion. Dark green varieties absorb less light than silver or white firs, resulting in crisper visuals.
Do I need technical skills to set this up?
Basic computer literacy helps, but many modern apps offer guided setup wizards and drag-and-drop interfaces. Beginners can start with template-based packages designed specifically for holiday trees. No coding is required unless you want advanced interactivity.
Is projection mapping safe for children and pets?
Yes, it’s safer than traditional decor. There are no small parts to swallow, no electrical cords at floor level (if managed properly), and no risk of broken glass. Just ensure the projector is out of reach, as lenses can become warm during prolonged use.
Conclusion: Rethinking Holiday Tradition Through Light
Indoor projection mapping on a Christmas tree represents a shift—not just in how we decorate, but in how we experience the holidays. It blends art, technology, and storytelling into a single evolving display that captivates audiences of all ages. By eliminating physical ornaments, we gain flexibility, reduce waste, and open doors to creative expression previously impossible with static decor.
Whether you're a tech enthusiast eager to experiment or a busy parent seeking simplicity, this approach offers a fresh alternative to decades-old traditions. And once you see snowfall ripple across pine branches that aren’t really there, or watch golden angels glide through invisible skies, you may find that magic doesn’t require glitter—it only needs light.


 浙公网安备
33010002000092号
浙公网安备
33010002000092号 浙B2-20120091-4
Comments
No comments yet. Why don't you start the discussion?