
In cities and rural areas alike, feral cats face extreme challenges during cold seasons. Without natural shelter, exposure to wind, rain, snow, and freezing temperatures can be life-threatening. While many communities practice Trap-Neuter-Return (TNR), long-term survival also depends on access to dry, insulated housing. Building an effective feral cat shelter isn’t just about stacking cardboard boxes—it requires thoughtful design, proper materials, and strategic placement. This guide provides a comprehensive approach to constructing durable, insulated shelters that protect outdoor cats from the elements year-round.
Why Insulated Shelters Matter for Feral Cats
Feral cats are resilient, but they are not adapted to survive harsh winters without help. A cat’s normal body temperature is around 102°F (39°C), and when ambient temperatures drop below freezing, their energy reserves deplete rapidly trying to maintain heat. Hypothermia and frostbite are real risks, especially for kittens, seniors, or underweight cats.
Well-insulated shelters reduce heat loss by up to 70% compared to makeshift enclosures. Unlike open-sided structures or unlined wooden boxes, properly designed shelters trap body heat while blocking moisture and wind. The goal is not to heat the shelter externally but to create a microclimate warm enough to prevent dangerous drops in core temperature.
“Simple, well-insulated shelters can reduce winter mortality in community cat colonies by over 50%.” — Dr. Sarah Thompson, Wildlife Veterinarian and TNR Advocate
Design Principles for Effective Cat Shelters
An efficient feral cat shelter balances insulation, accessibility, weather resistance, and ease of maintenance. Key design principles include:
- Small interior space: One cat per shelter is ideal. Larger spaces lose heat faster. A 2' x 2' footprint fits one to two cats snugly.
- Elevated floor: Prevents ground moisture absorption and adds a layer of insulation.
- Offset entry tunnel: A short tunnel leading into the main chamber blocks wind and snow from blowing directly inside.
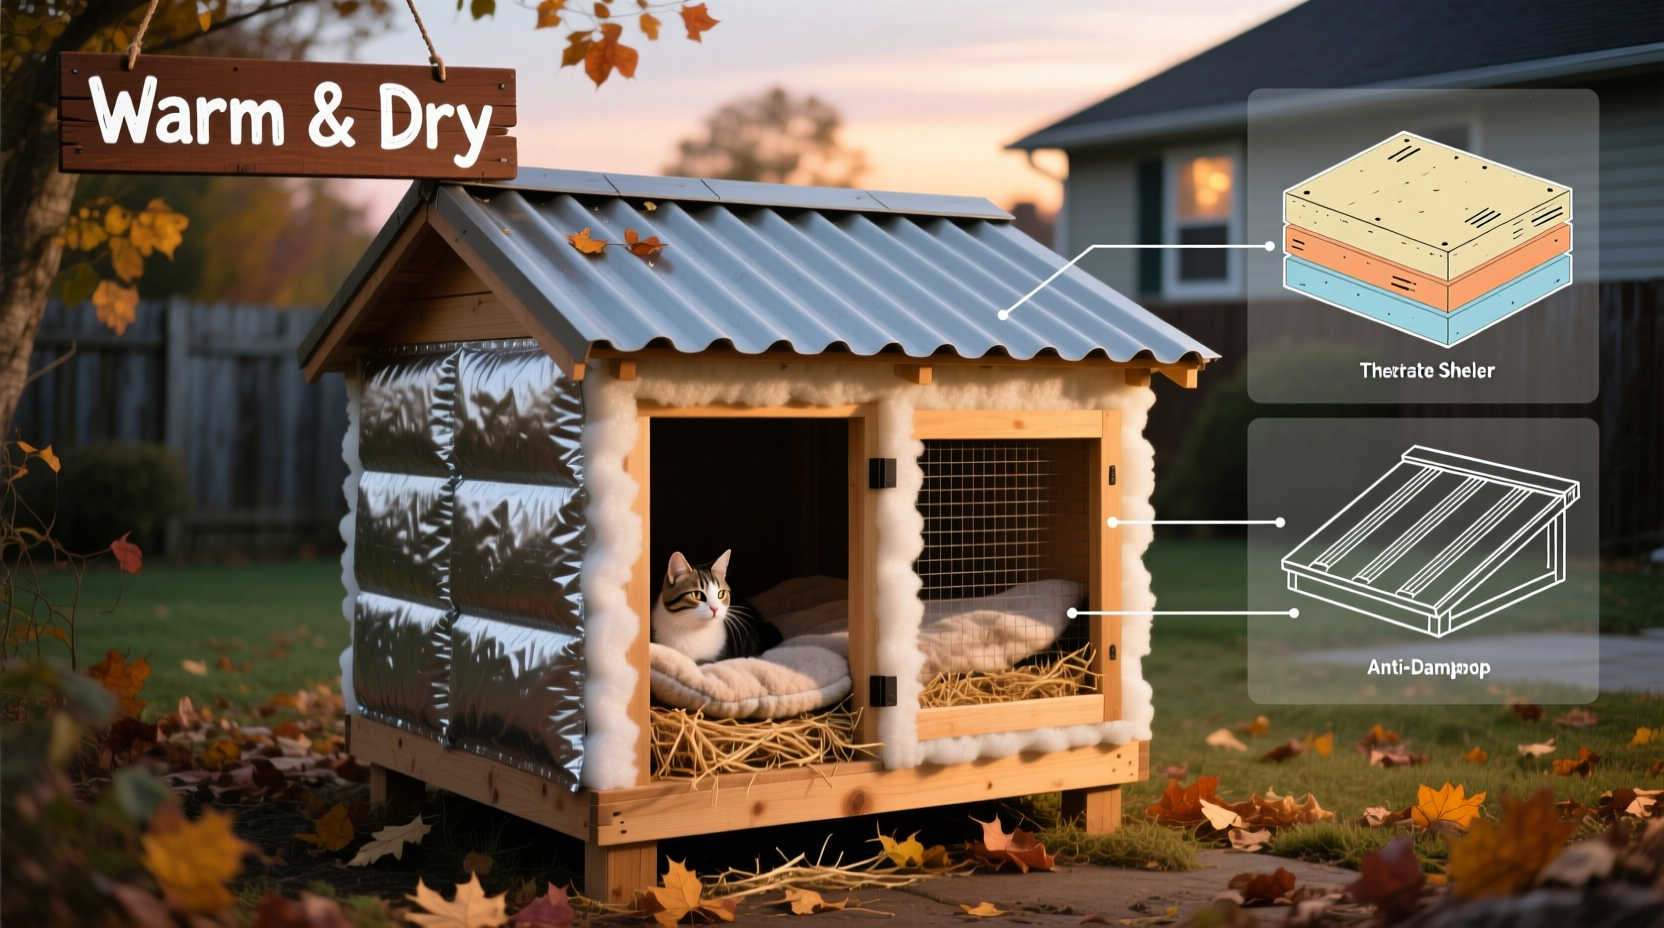
- Sloped roof: Angled outward to shed rain and snow, preventing water pooling.
- Dual insulation layers: Use rigid foam board on walls and floor, plus a reflective thermal liner if possible.
Step-by-Step Guide to Building a Weatherproof Shelter
Follow this timeline to construct a high-performance shelter using affordable, readily available materials.
- Day 1: Gather Materials
Select a waterproof plastic tote (18–24 gallons) with a tight-fitting lid. Alternatives include thick-walled plywood boxes sealed with exterior-grade caulk. You’ll also need rigid foam insulation (2-inch thickness), utility knife, waterproof tape, straw (not hay), and non-toxic sealant. - Day 2: Cut Entry and Insulate Walls
Cut a 6-inch diameter hole near the base on one side—this becomes the offset entry. Line all interior walls and floor with foam board, securing with construction adhesive. Seal seams with foil tape to eliminate air gaps. - Day 3: Install Raised Floor and Tunnel
Lift the inner box 1 inch off the ground using small wood blocks or plastic feet. Create a short tunnel from a section of PVC pipe or another insulated tote piece, attaching it so it angles downward slightly to keep out rain. - Day 4: Waterproof Exterior and Roof
Seal all outer joints with silicone caulk. If using wood, paint with exterior-grade waterproof sealant. Overlap the lid so it extends beyond the walls like a roof overhang. - Day 5: Final Assembly and Placement
Line the interior with clean, dry straw—never blankets or towels, which retain moisture. Place the shelter in a quiet, low-traffic area, elevated on bricks or pallets to avoid flooding.
Material Comparison: What Works and What Doesn’t
| Material | Insulation Value | Water Resistance | Best Use Case |
|---|---|---|---|
| Rigid Foam Board (XPS) | High (R-5 per inch) | Excellent | Walls, floor, ceiling lining |
| Straw (not hay) | High (traps air) | Moderate (dries quickly) | Bedding only |
| Plywood | Low (R-1.25) | Poor (absorbs moisture) | Structural frame only, must be sealed |
| Cardboard Boxes | Low | Very Poor | Emergency temporary use only |
| Plastic Storage Totes | Moderate (with insulation) | Excellent | Full-shell shelters |
Real-World Example: The Maple Street Colony Shelter Upgrade
In Ithaca, New York, a volunteer group caring for a colony of 14 feral cats replaced their deteriorating cardboard and wooden shelters ahead of a harsh winter. Using donated plastic totes and recycled insulation from construction sites, they built eight insulated units following the method described above. Each shelter was placed on cinder blocks in a wooded corner behind a warehouse, shielded from wind and human activity.
Over the next six months, volunteers observed consistent use of all shelters. No hypothermia cases were reported, even during a week-long cold snap with temperatures below -10°F (-23°C). In contrast, nearby unsheltered cats showed signs of weight loss and ear damage. The success led the city to fund additional units as part of its humane wildlife management initiative.
Common Mistakes to Avoid
- Using hay instead of straw: Hay contains seeds and attracts rodents. It also molds easily when damp.
- Oversizing the shelter: Too much empty space means less retained body heat.
- Placing the shelter on bare ground: Moisture wicks upward, chilling the interior. Always elevate.
- Adding heating pads or lights: These pose fire and electrical hazards and are unnecessary with proper insulation.
- Locating near food-only zones: Cats avoid shelters far from feeding areas. Balance proximity with safety from predators.
Frequently Asked Questions
Can I use a microwave or hair dryer to warm the shelter?
No. External heat sources are unsafe and ineffective. The shelter should rely solely on the cat’s body heat and insulation. Introducing electricity increases fire risk and complicates maintenance.
How many cats can share one shelter?
Ideally, one to two cats. More than that increases humidity from breath, which can condense and freeze. For larger colonies, build multiple small shelters spaced apart to prevent disease spread and social stress.
What if the shelter gets damaged by animals or weather?
Inspect monthly. Reinforce weak points with additional sealant or metal flashing. Consider anchoring shelters with stakes or weights in high-wind areas. Plastic totes generally withstand raccoons and squirrels better than wood.
Checklist: Building Your Feral Cat Shelter
- Choose a waterproof container or build a sealed wooden box
- Measure and cut a 6-inch entry hole near the base
- Line all interior surfaces with 2-inch rigid foam insulation
- Seal all seams with foil tape or caulk
- Elevate the shelter on bricks or pallets
- Add a sloped roof or overlapping lid for runoff
- Install a short entry tunnel for wind protection
- Fill with clean, dry straw (up to 6 inches deep)
- Place in a quiet, sheltered location away from traffic
- Schedule monthly checks for wear and bedding condition
Conclusion: Warmth Is a Lifeline
Building an insulated, weatherproof shelter is one of the most impactful ways to support feral cats through winter. With minimal cost and effort, you can create a safe haven that preserves health, reduces suffering, and supports colony stability. These shelters are not permanent homes—they’re emergency buffers against nature’s extremes. When combined with TNR programs and consistent feeding, they form the foundation of compassionate community cat care.


 浙公网安备
33010002000092号
浙公网安备
33010002000092号 浙B2-20120091-4
Comments
No comments yet. Why don't you start the discussion?