
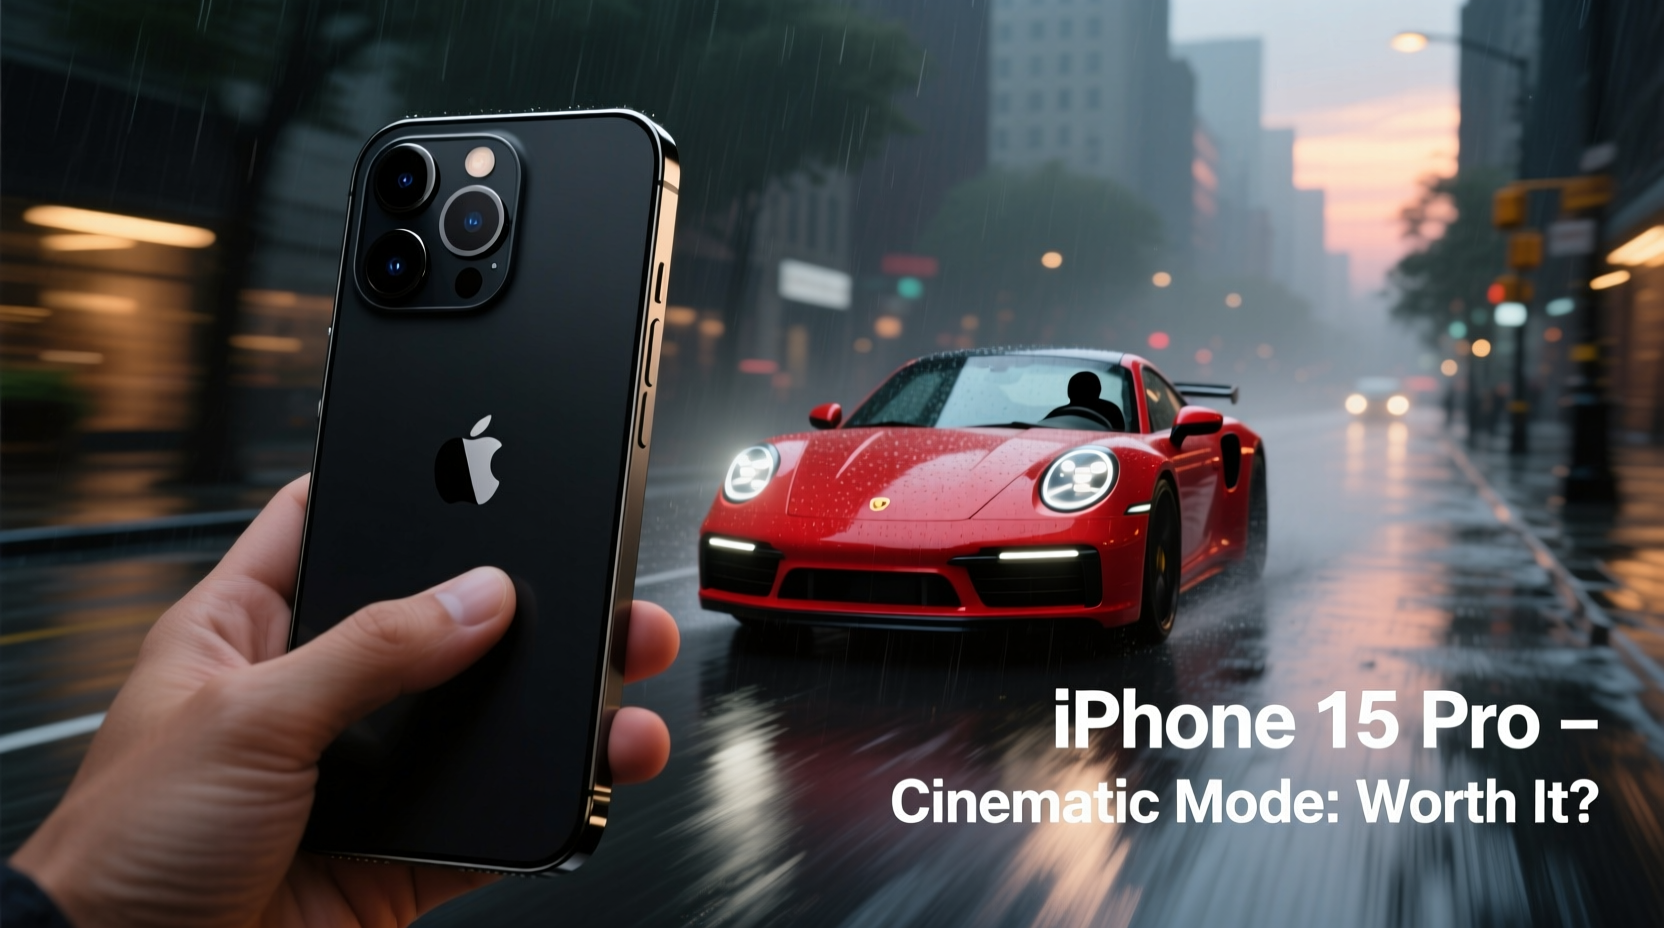
The iPhone 15 Pro continues Apple’s legacy of pushing mobile videography forward. Among its standout features is Cinematic Mode—a tool designed to mimic the shallow depth-of-field and dynamic focus transitions seen in professional films. But with the phone also capable of recording high-quality 4K HDR video in standard modes, many users wonder: is Cinematic Mode actually worth choosing over regular video recording?
To answer this, it’s essential to go beyond marketing claims and assess how Cinematic Mode performs in everyday use, what trade-offs exist, and whether its benefits justify moving away from traditional video settings.
Understanding Cinematic Mode on iPhone 15 Pro
Cinematic Mode uses computational photography and machine learning to simulate a shallow depth of field, blurring the background while keeping the subject in focus—similar to what a large-sensor camera achieves with a wide aperture lens. Introduced in earlier iPhone models, the feature has evolved significantly by the iPhone 15 Pro, now supporting 4K at 30 fps with Dolby Vision HDR, improved subject tracking, and real-time focus shifting.
Unlike standard video, which captures all elements in the frame with relatively consistent sharpness, Cinematic Mode applies artificial bokeh (background blur) and automatically shifts focus between subjects when someone new enters the scene or when the primary subject moves.
This automation is powered by the A17 Pro chip and advanced neural engines, allowing the iPhone to detect faces, objects, and spatial depth in real time. The result is a more “cinematic” look straight out of the camera, with minimal user input required.
Performance Comparison: Cinematic vs. Standard Video
To determine whether Cinematic Mode offers tangible benefits, consider the following aspects:
- Visual Style: Cinematic Mode creates a filmic aesthetic with soft background blur and smooth focus pulls. This can elevate casual videos, especially portraits or close-up interviews.
- Resolution & Bitrate: While standard video records up to 4K at 60 fps with higher bitrates, Cinematic Mode maxes out at 4K 30 fps. For action shots or fast motion, standard video preserves more detail.
- Editing Flexibility: Cinematic Mode allows post-capture focus changes and depth adjustments in the Photos app. However, once exported without editing, the bokeh effect is baked in and cannot be removed.
- Low-Light Performance: In dim environments, Cinematic Mode often struggles with focus hunting and inconsistent blur quality. Standard video typically delivers more stable exposure and noise handling.
When Cinematic Mode Excels
Cinematic Mode shines in specific scenarios:
- Portrait-style videos: One-on-one interviews, vlogs, or social media clips where the speaker is the clear focal point.
- Controlled indoor settings: Well-lit rooms with neutral backgrounds enhance the depth effect.
- Content meant for storytelling: Short films, product reveals, or emotional moments benefit from the dramatic focus transitions.
Where Standard Video Performs Better
Despite its visual appeal, Cinematic Mode isn’t always the optimal choice:
- Fast-paced scenes like sports or outdoor adventures where consistent clarity across the frame matters.
- Low-light conditions where computational blur can introduce artifacts.
- Professional workflows requiring maximum resolution, dynamic range, and color grading flexibility.
Real-World Example: Vlogger’s Experience
Sophia Lin, a travel content creator based in Vancouver, tested both modes during a week-long trip through coastal British Columbia. She used Cinematic Mode for sit-down narration clips and behind-the-scenes interviews, praising its ability to keep her face in focus even when moving slightly.
“The automatic focus shift helped when my friend walked into the frame,” she said. “I didn’t have to manually adjust anything, and it looked polished.”
However, she switched back to standard 4K video for hiking footage and drone-like follow shots. “In motion, Cinematic Mode sometimes blurred the trail I was walking on, making it look unsteady. Regular video kept everything crisp and natural.”
Her workflow now involves mixing both formats: Cinematic Mode for talking segments, standard video for action sequences.
“Cinematic Mode is a stylistic tool, not a replacement. It adds polish when used intentionally, but shouldn’t be your default.” — Sophia Lin, Travel Content Creator
Technical Breakdown: Key Differences at a Glance
| Feature | Cinematic Mode | Standard Video (4K) |
|---|---|---|
| Max Resolution | 4K at 30 fps | 4K at 60 fps |
| Dynamic Range | Dolby Vision HDR supported | Dolby Vision HDR supported |
| Depth Control | Adjustable pre/post capture | No depth simulation |
| Focus Behavior | Automatic subject switching | Manual or fixed focus |
| Low-Light Stability | Moderate (occasional blur drift) | High (consistent exposure) |
| Editing Flexibility | Change focus point after recording | Full color grading control |
| Ideal Use Case | Interviews, monologues, artistic clips | Action shots, documentaries, raw footage |
Step-by-Step Guide to Maximizing Cinematic Mode
If you decide to use Cinematic Mode, follow this sequence to get the best results:
- Enable Cinematic Mode: Open the Camera app, swipe to “Cinematic,” and ensure 4K 30 fps is selected in Settings > Camera > Record Video.
- Frame Your Subject: Position your main subject within the central third of the frame. Avoid cluttered backgrounds.
- Ensure Adequate Lighting: Natural daylight or soft indoor lighting works best. Avoid harsh backlighting.
- Tap to Lock Focus: Tap the screen on your subject to set initial focus. You can change this during recording by tapping elsewhere.
- Move Smoothly: Avoid rapid movements. Walk slowly if filming while moving.
- Edit After Recording: Open the video in Photos, tap “Edit,” and adjust the focus point timeline or depth level.
- Export Thoughtfully: Remember that once shared, depth data may be lost on some platforms. Save original files for future edits.
Frequently Asked Questions
Can I turn off the background blur in Cinematic Mode?
No, the depth effect is applied during recording and cannot be disabled. However, you can reduce the intensity of the blur in the Photos app under \"Depth\" settings before exporting.
Does Cinematic Mode work with pets or non-human subjects?
Yes, but with limitations. The iPhone can track animals, especially those with distinct faces, but focus accuracy decreases with fast movement or low contrast against the background.
Is Cinematic Mode better than Portrait Mode on older iPhones?
Yes. The iPhone 15 Pro’s version supports higher resolution, HDR, and improved edge detection. Older models were limited to 1080p and less refined subject separation.
Final Verdict: Is It Worth Using?
Cinematic Mode on the iPhone 15 Pro is not a one-size-fits-all solution, but it is undeniably valuable when used appropriately. Its ability to deliver professional-looking depth effects with zero manual effort makes it ideal for creators who want to add polish without complex setups.
That said, it should complement—not replace—standard video. For maximum quality, reliability, and editing headroom, regular 4K recording remains superior in most practical situations. Cinematic Mode excels as a creative option for narrative-driven content, personal storytelling, or social media reels where aesthetic impact matters more than technical fidelity.
The key is intentionality. Switching to Cinematic Mode because it looks “cool” won’t improve your videos. But using it deliberately—to emphasize emotion, guide attention, or create visual hierarchy—can elevate your storytelling.
Conclusion
The iPhone 15 Pro gives you powerful tools, but their value depends on how you use them. Cinematic Mode is worth incorporating into your toolkit, provided you understand its strengths and limitations. Treat it as a creative filter rather than a default setting, and pair it with standard video to build richer, more dynamic content.


 浙公网安备
33010002000092号
浙公网安备
33010002000092号 浙B2-20120091-4
Comments
No comments yet. Why don't you start the discussion?