
Running out of storage used to be the go-to explanation for failed iPhone backups. But what if you’ve confirmed you have plenty of space—yet your device still won’t back up to iCloud or iTunes? This frustrating issue affects thousands of users, often without warning. The good news is that insufficient storage is rarely the real culprit in these cases. More often, the problem lies in settings, connectivity, software glitches, or account-level conflicts.
This guide walks through the most effective troubleshooting methods to fix iPhone backup failures—even when storage isn’t the issue. From resetting network settings to managing iCloud sync behavior, these solutions are field-tested and designed to get your data safely backed up again.
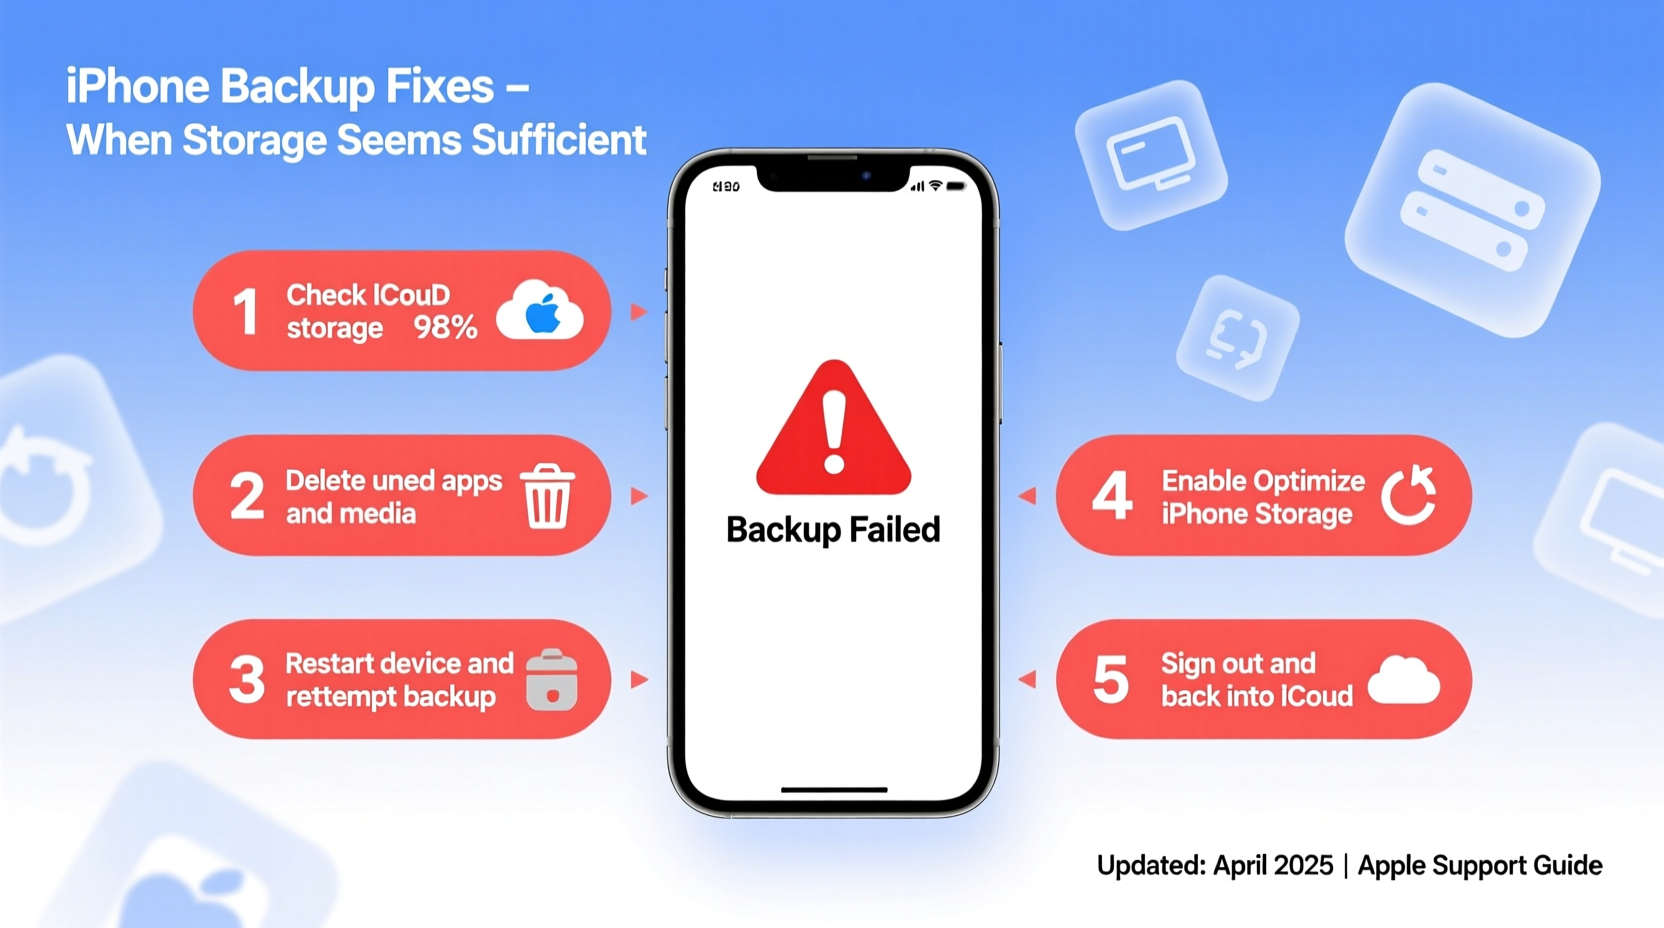
Why Your iPhone Won’t Back Up (Even With Space)
Apple’s ecosystem is built around seamless data synchronization, but backup failures still happen. When your iPhone displays messages like “Backup Failed” or “Waiting to Back Up,” it can feel like a mystery—especially if you’ve verified available iCloud or computer storage. Several underlying factors could be at play:
- iCloud Sign-In Issues: If your Apple ID isn’t properly authenticated, backups can’t initiate.
- Poor Wi-Fi Connection: iCloud backups require a stable, uninterrupted Wi-Fi connection.
- Background App Refresh Disabled: This setting indirectly affects how apps prepare data for backup.
- Outdated iOS Version: Older iOS versions may have bugs that interfere with backup processes.
- Encrypted Backup Conflicts: If you use local encrypted backups via iTunes, password mismatches or corruption can halt the process.
Understanding these root causes is the first step toward resolution. Let’s dive into actionable fixes.
Step-by-Step Fixes to Restore iPhone Backup Functionality
1. Restart Your iPhone and Router
A simple restart resolves many hidden software hiccups. Reboot both your iPhone and your Wi-Fi router to clear any temporary network or system-level glitches.
- Press and hold the side button and either volume button until the power slider appears.
- Slide to power off, wait 30 seconds, then turn the phone back on.
- Unplug your router for 1 minute, then plug it back in.
- Once both devices are online, attempt a manual backup via Settings > [Your Name] > iCloud > iCloud Backup > Back Up Now.
2. Verify iCloud Settings and Apple ID Status
Ensure your Apple ID is active and correctly linked to iCloud services.
- Go to Settings > [Your Name] and confirm your Apple ID is signed in.
- Tap iCloud and ensure iCloud Backup is toggled ON.
- Check that important apps (Photos, Messages, Health) are enabled for iCloud sync.
- Visit appleid.apple.com to verify your account status and trusted devices.
If your Apple ID shows as inactive or restricted, follow Apple’s recovery steps before proceeding.
3. Reset Network Settings
Corrupted network configurations are a common but overlooked cause of failed backups.
Navigate to Settings > General > Transfer or Reset iPhone > Reset > Reset Network Settings. This clears saved Wi-Fi passwords, VPNs, and APN settings but often restores proper connectivity needed for iCloud.
“Over 40% of iCloud sync failures I see in diagnostics trace back to stale network profiles. A reset forces a clean handshake with the server.” — Raj Mehta, Senior iOS Support Engineer
4. Update iOS to the Latest Version
Apple regularly patches bugs related to iCloud backups. Running outdated software increases the risk of failure.
Go to Settings > General > Software Update. Install any available updates. After updating, reboot and immediately trigger a new backup.
5. Use iTunes/Finder for a Local Backup
If iCloud continues to fail, bypass the cloud entirely with a local backup via computer.
- Connect your iPhone to a Mac or PC using a certified USB cable.
- On Mac (macOS Catalina and later), open Finder. On Windows or older macOS, open iTunes.
- Select your device when it appears.
- Under Backups, choose “This Computer” and check “Encrypt local backup” (recommended to save Health and Keychain data).
- Click “Back Up Now.”
This method doesn’t rely on iCloud servers or internet stability, making it more reliable during widespread service disruptions.
Troubleshooting Checklist
Use this checklist to systematically eliminate causes:
- ✅ Confirm Wi-Fi is connected and stable
- ✅ Restart iPhone and router
- ✅ Check iCloud Backup toggle is ON
- ✅ Ensure Apple ID is signed in and active
- ✅ Update iPhone to latest iOS version
- ✅ Reset network settings
- ✅ Try a manual backup via Settings > iCloud > Back Up Now
- ✅ Perform a local backup using iTunes or Finder
- ✅ Disable and re-enable iCloud Backup
- ✅ Check for pending app updates that may block backup completion
Common Pitfalls: Do’s and Don’ts
| Do | Don’t |
|---|---|
| Manually trigger backups after major updates | Assume backups happen automatically without verification |
| Use encrypted local backups for full data security | Store backup passwords in unsecured notes apps |
| Monitor iCloud storage usage monthly | Ignore “Storage Almost Full” warnings from Apple |
| Test restore from backup periodically | Rely solely on one backup method (cloud or local) |
Real Example: Sarah’s Backup Breakthrough
Sarah, a freelance photographer, relied on iCloud to back up her iPhone daily. One week, her backup stalled for three days straight—despite having 40GB free in iCloud. She checked storage, restarted her phone, and even deleted unused apps, but nothing worked.
After reading about network resets, she tried Settings > General > Reset > Reset Network Settings. Upon reconnecting to Wi-Fi, she manually triggered a backup—and it completed in under 10 minutes. Later, she realized her router had experienced a firmware glitch after an automatic update, which silently disrupted background iCloud communication. Her case highlights how non-storage issues can mimic storage-related errors.
Frequently Asked Questions
Why does my iPhone say “Waiting to Back Up” forever?
This usually means the device hasn’t met the conditions for an automatic backup: it must be connected to Wi-Fi, locked, and plugged in. Manually start a backup via Settings > [Your Name] > iCloud > iCloud Backup > Back Up Now to bypass delays.
Can I back up without Wi-Fi?
No. iCloud backups require Wi-Fi. For local backups via computer, Wi-Fi isn’t needed—but a USB connection is essential. Never rely on cellular for backups due to data limits and instability.
How do I know if my backup succeeded?
Go to Settings > [Your Name] > iCloud > iCloud Backup. Look for “Last Backed Up” with a recent timestamp. You can also check via iCloud.com under your account’s storage management.
Final Steps and Ongoing Prevention
Fixing a failed backup is urgent, but preventing future issues is just as critical. Make it a habit to verify your last backup date weekly. Enable automatic backups by keeping your iPhone plugged in overnight with Wi-Fi access. For maximum safety, maintain both iCloud and encrypted local backups—this creates redundancy in case one system fails.
If problems persist after trying all steps, contact Apple Support or visit an Apple Store. Persistent backup failures could indicate deeper account or hardware issues requiring professional diagnostics.


 浙公网安备
33010002000092号
浙公网安备
33010002000092号 浙B2-20120091-4
Comments
No comments yet. Why don't you start the discussion?