
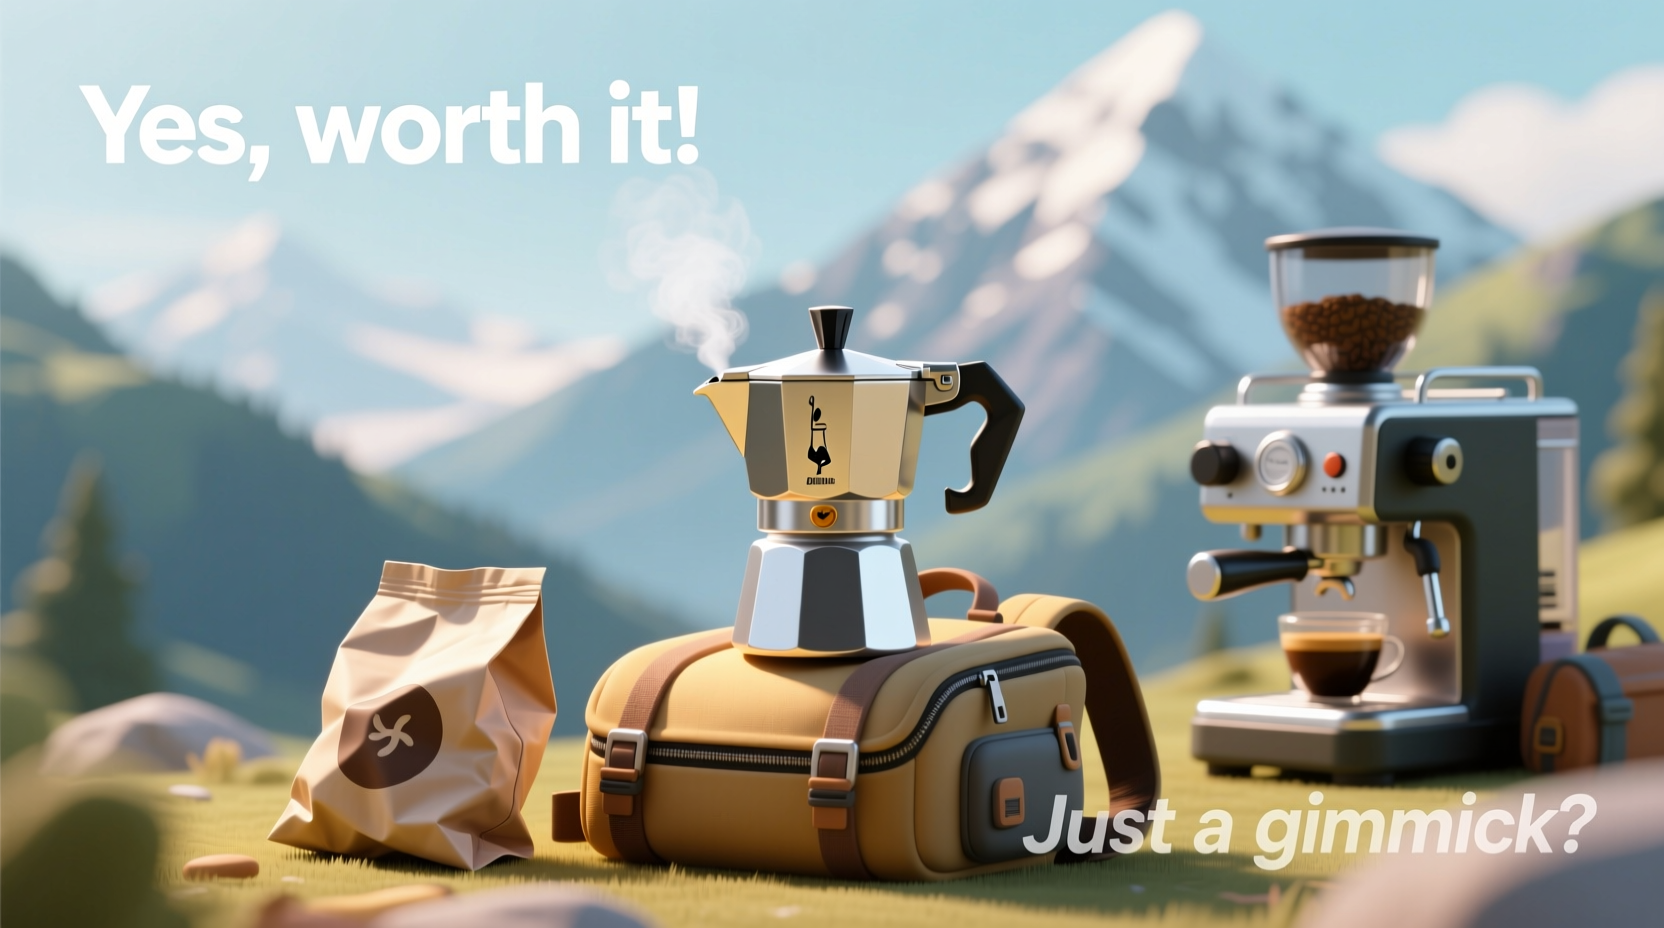
For many travelers, the morning ritual of a rich, bold espresso is non-negotiable. But when you're miles from home—camping in the Rockies, backpacking through Italy, or staying in an Airbnb with a sad drip coffee machine—the question arises: should you bring your own portable espresso maker? These compact devices promise café-quality shots anywhere, but they also take up space, require extra gear, and demand effort. So, are they truly worth the hassle, or just another overpriced travel gadget collecting dust in your suitcase?
The answer isn't a simple yes or no. It depends on your travel style, coffee preferences, and willingness to trade convenience for quality. To help you decide, we’ll explore how these devices work, their real-world performance, and whether they deliver value—or disappointment—on the road.
How Portable Espresso Makers Work
Unlike traditional electric machines, portable espresso makers rely on manual pressure to force hot water through finely-ground coffee at 9–15 bars—the standard needed for authentic espresso extraction. Most models fall into three categories:
- Lever-based systems: Use a mechanical lever to generate pressure (e.g., Wacaco Minipresso, Handpresso).
- Pump-driven handhelds: Feature built-in hand pumps requiring repeated strokes (e.g., Aeropress Go with adapter, KettleShot).
- Compressed air canister models: Use disposable nitrogen cartridges to pressurize water (e.g., Nanopresso, some hybrid systems).
While none match the consistency of a commercial machine, modern designs have improved dramatically. Some achieve near 12 bars of pressure, extract in under 30 seconds, and fit in a daypack. Still, they require pre-ground coffee, boiled water, and careful tamping—steps that may feel excessive when a local café is two blocks away.
Pros and Cons: The Real Travel Trade-Offs
To assess whether a portable espresso maker earns its spot in your luggage, consider the tangible benefits and drawbacks based on actual use cases.
| Advantages | Drawbacks |
|---|---|
| Coffee quality control: You choose the beans, grind, and brew method—no more weak hotel coffee. | Bulk and weight: Even compact models add 8–14 oz and take up valuable packing space. |
| Savings over time: At $4 per café espresso, breaking even takes about 15 uses. | Setup time: Boiling water, grinding, assembling, cleaning—can take 10–15 minutes. |
| Campsite convenience: Ideal for remote locations where no coffee options exist. | Extra accessories: Requires carrying filters, brushes, cleaning tools, and spare parts. |
| Ritual satisfaction: For enthusiasts, brewing is part of the travel experience. | Learning curve: Inconsistent pressure or grind size leads to sour or bitter shots. |
The key insight? These devices shine most in environments where good coffee is either unavailable or unreliable. On a hiking trip in Patagonia, a portable espresso maker might be a luxury worth every ounce. In downtown Barcelona, where every corner has a skilled barista, it’s likely overkill.
A Closer Look: Real-World Scenarios
Camping in the Sierra Nevada – A Success Story
Daniel, an avid backpacker from Colorado, brought his Nanopresso on a weeklong trek through Desolation Wilderness. With no access to electricity or coffee shops, his mornings revolved around freeze-dried packets—until he upgraded.
\"The first morning, I spent 20 minutes figuring out the grind and water temperature,\" he recalls. \"But by day three, I had it dialed in. Using a Jetboil to heat water and my hand grinder, I pulled a clean shot with crema—something I didn’t think possible in the woods.\"
He notes the device weighed less than his cooking mug and became a morale booster each morning. \"It wasn’t just about caffeine. It was about starting the day with intention, not compromise.\"
City Break in Lisbon – The Gimmick Trap
Meanwhile, Sarah, a digital nomad visiting Portugal, packed her Minipresso HR (high-capacity version) expecting to save money and enjoy better coffee. Instead, she found herself skipping use after use.
\"I’d arrive at a charming café, order a bica, and realize it cost €1.20 and tasted better than anything I could make,\" she says. \"After three days, the kit stayed in my bag. By day five, I donated it to a hostel kitchen.\"
Her takeaway? \"In cities with strong coffee cultures, bringing your own maker is like carrying a portable toaster to Paris. Just enjoy what’s already excellent.\"
“Portability doesn’t equal practicality. The best coffee tool is the one you’ll actually use—and that depends entirely on context.” — Rafael Mendez, Specialty Coffee Educator and Travel Blogger
Choosing Wisely: A Practical Decision Framework
Before purchasing or packing a portable espresso maker, ask yourself the following questions:
- What kind of trip is this? Remote camping or urban exploration?
- How important is coffee to my daily routine? Is it a necessity or a nice-to-have?
- Am I willing to carry extra weight? Every ounce counts when hiking or traveling light.
- Do I enjoy the process of making coffee? If brewing feels like a chore, skip it.
- What’s the local coffee scene like? Research ahead—some destinations have exceptional cafés.
If you answer “yes” to the first four and “poor” to the fifth, a portable maker makes sense. Otherwise, reconsider.
Step-by-Step: How to Pack and Use One Efficiently
If you decide to bring a portable espresso maker, follow this streamlined process to avoid frustration:
- Choose the right model: Prioritize durability and ease of cleaning. Nanopresso and Minipresso are top-rated for balance of size and performance.
- Pre-measure coffee: Pre-load portafilters or use reusable pods to save time and reduce mess.
- Pack essentials: Include a hand grinder, thermometer strip (for water temp), small brush, and microfiber cloth.
- Boil smart: Use a lightweight kettle or stove system. Ideal water temperature is 195°F–205°F (90°C–96°C).
- Assemble carefully: Insert wet filter, add coffee, tamp lightly, attach piston, and prime.
- Extract slowly: Apply steady pressure over 25–30 seconds. Don’t rush—uneven pressure causes channeling.
- Clean immediately: Disassemble and rinse components to prevent clogging and bacterial growth.
Worth It or Not? A Balanced Verdict
Portable espresso makers are neither universally essential nor inherently gimmicky. Their value lies in alignment with your travel habits and expectations.
They excel when:
- You’re off-grid or in areas with limited coffee access.
- You’re a coffee purist who dislikes inconsistent café quality.
- You appreciate the ritual and mindfulness of brewing.
- You’re traveling for extended periods and want long-term savings.
They fail when:
- You prioritize minimal packing and fast mornings.
- You’re visiting coffee-rich destinations (Italy, Australia, Scandinavia).
- You expect barista-level results without practice.
- You don’t want to carry cleaning supplies or boil water manually.
In short: if you're going somewhere wild, remote, or underserved by good coffee, a portable espresso maker can elevate your experience. If you're hopping between cosmopolitan cities with vibrant café cultures, leave it behind and embrace the local brew.
Frequently Asked Questions
Can a portable espresso maker really produce real espresso?
Yes—but with caveats. Devices that achieve 9+ bars of pressure can extract true espresso, though crema may be thinner and volume smaller (1–1.5 oz). Results depend heavily on grind consistency, water temperature, and user technique. They won’t replicate a $1,000 machine, but they can deliver a satisfying, concentrated shot.
How much do these devices weigh?
Most range from 7 to 14 ounces (200–400g). The Nanopresso weighs 13.2 oz with accessories; the Minipresso GR is around 8.8 oz. Compare this to a standard water bottle (16 oz empty)—so while not heavy, they do add meaningful bulk to a minimalist pack.
Are they allowed on airplanes?
Yes, portable espresso makers are generally permitted in both carry-on and checked luggage. However, avoid bringing loose metal tamper tools that resemble weapons. Clean the device thoroughly to prevent residue issues during security checks. Water and coffee grounds should be packed separately.
Final Thoughts: Brew Smart, Travel Smarter
The allure of perfect espresso under the open sky is powerful. But romantic ideals must meet practical reality. A portable espresso maker isn’t a magic solution—it’s a trade-off. It gives you control, quality, and comfort at the cost of time, space, and effort.
Instead of asking whether the gadget is “worth it,” ask whether it aligns with your journey. Will it enhance your mornings, or become a burden you justify carrying? For some, the answer is a resounding yes. For others, the best coffee experience comes not from equipment, but from sitting at a sunlit café in Lisbon, sipping a perfectly pulled bica served with a smile.
Either way, the goal isn’t perfection—it’s enjoyment. Choose the path that serves your travel spirit, not just your caffeine craving.


 浙公网安备
33010002000092号
浙公网安备
33010002000092号 浙B2-20120091-4
Comments
No comments yet. Why don't you start the discussion?