
For many hobbyists, the idea of orchestrating lights that dance in perfect rhythm with music is both thrilling and intimidating. The visual spectacle of color pulses syncing with bass drops or soft glows fading with ambient melodies can transform any space into an immersive experience. But when you're just starting out, it's natural to wonder: is building a sound synchronized light show actually worth the effort?
The answer isn't a simple yes or no. It depends on your goals, technical comfort level, budget, and how much satisfaction you derive from hands-on creation. While modern tools have made entry easier than ever, there are still hurdles—especially for those unfamiliar with electronics, coding, or audio analysis. This article breaks down the realities of starting such a project as a beginner, offering practical insights, tools, and a roadmap to help you decide whether it’s a rewarding pursuit for you.
Understanding What a Sound Synchronized Light Show Involves
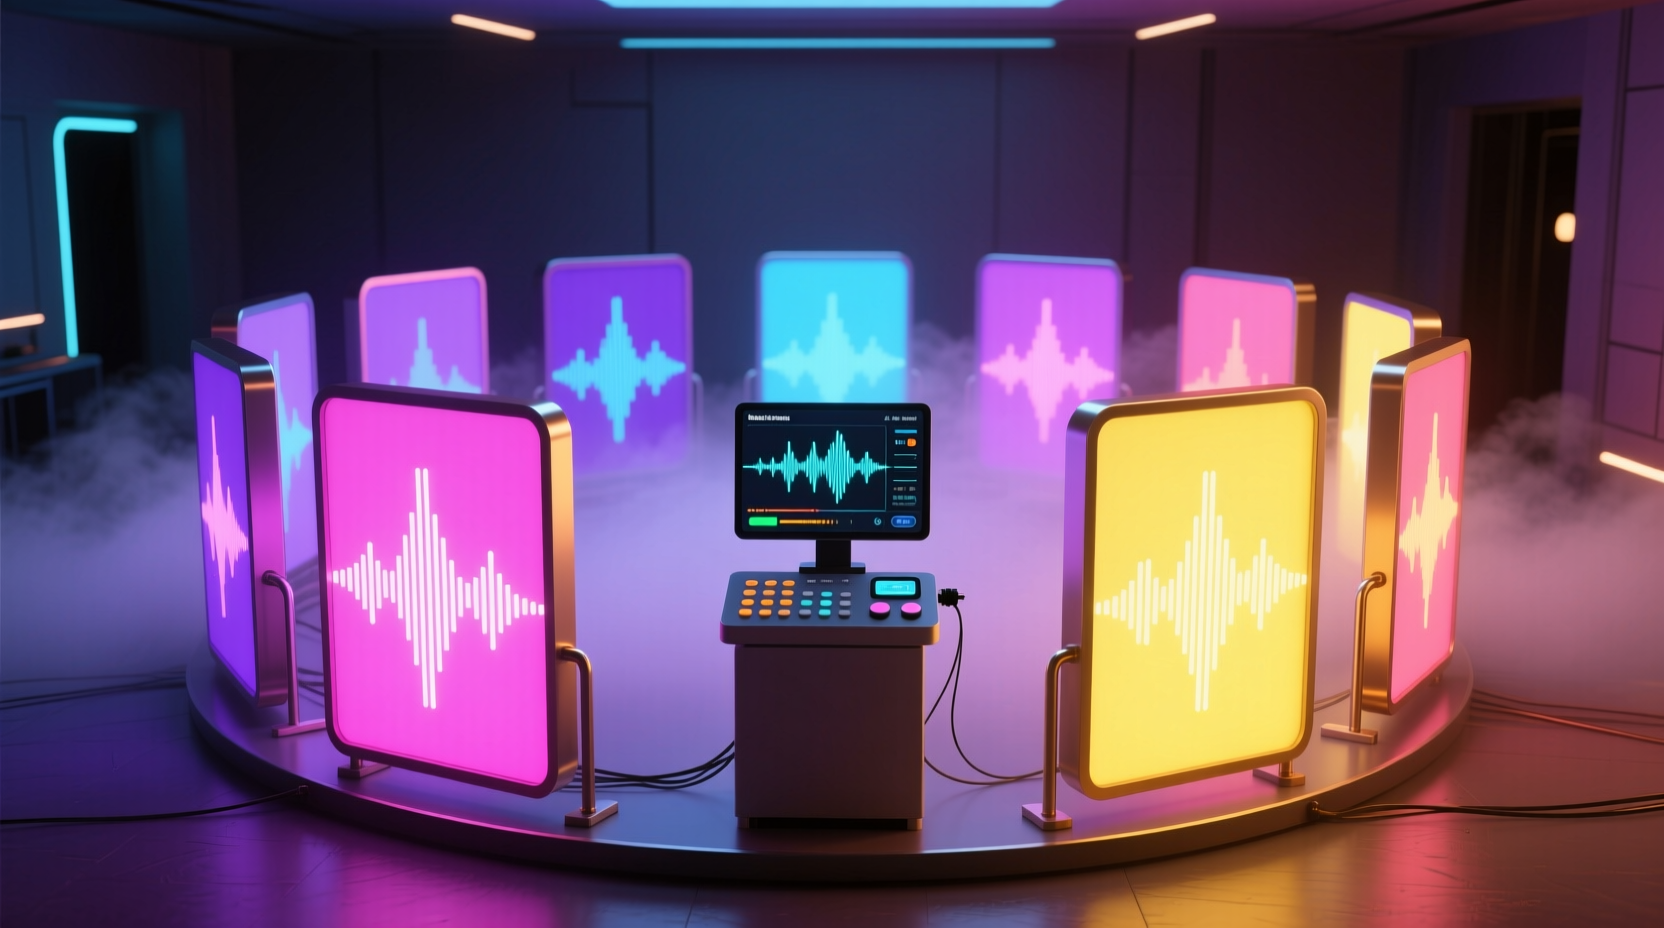
A sound synchronized light show uses real-time audio input to control lighting effects—changing brightness, color, speed, or pattern based on the music’s amplitude, frequency, or beat. These systems range from small desktop LED strips reacting to Spotify playlists to large outdoor holiday displays covering entire houses.
At its core, synchronization requires three components:
- Audio Input: A source such as a microphone, digital audio stream, or pre-recorded file.
- Processing Unit: A microcontroller (like Arduino or Raspberry Pi) or software platform that analyzes sound and translates it into lighting commands.
- Lighting Output: Addressable LEDs (e.g., WS2812B), relays, or commercial smart lights capable of dynamic control.
Beginners often underestimate the complexity involved in translating analog sound waves into precise visual responses. It’s not just about turning lights on and off—it’s about timing, filtering frequencies, and ensuring responsiveness without lag or erratic behavior.
Benefits That Make It Worthwhile for Beginners
Despite the learning curve, many beginners find the experience deeply rewarding. Here’s why:
Creative Expression Meets Technology
Unlike passive entertainment, building a synchronized light system allows you to create something uniquely personal. Whether it’s matching colors to your favorite song or designing a mood-based ambiance for gatherings, the blend of art and engineering offers a rare form of expression.
Skill Development Across Disciplines
Even a basic setup teaches valuable skills:
- Programming: Learning languages like Python or C++ through Arduino.
- Electronics: Understanding power requirements, signal wiring, and circuit safety.
- Digital Signal Processing (DSP): Filtering audio into usable data for triggers.
- Troubleshooting: Diagnosing flickering lights, latency issues, or audio dropouts.
These competencies transfer well to other tech hobbies, STEM education, or even career paths in automation and embedded systems.
Affordable Entry Points Exist
You don’t need thousands of dollars to start. With under $100, you can assemble a functional prototype using:
- An Arduino Nano ($5–$10)
- A strip of 60 RGB LEDs ($15)
- A USB microphone module ($8)
- Breadboard and jumper wires ($10)
Software libraries like FastLED and FFT (Fast Fourier Transform) tools are open-source and free, lowering the barrier to experimentation.
“Many of today’s professional lighting designers started with DIY kits in their bedrooms. The spark begins with curiosity—not expertise.” — Lena Torres, Interactive Installation Artist
Potential Challenges and Pitfalls for Newcomers
While accessible, the journey isn’t without frustration. Recognizing these obstacles early increases your chances of success.
Latency and Timing Issues
One of the most common complaints among beginners is lag between sound and light response. This happens due to slow processing, inefficient code, or Bluetooth delays in wireless setups. Even a 100ms delay makes synchronization feel “off,” breaking immersion.
Overwhelming Software Complexity
Platforms like XLights or Madrix offer powerful features but come with steep learning curves. Beginners may spend more time navigating menus than creating effects. Similarly, writing FFT algorithms from scratch requires math knowledge beyond basic algebra.
Hardware Limitations
Underpowered microcontrollers struggle with real-time audio analysis. An Arduino Uno, for example, lacks sufficient RAM to process stereo audio smoothly while driving long LED strips. Power surges can also damage LEDs if proper voltage regulation isn’t used.
Unrealistic Expectations
Inspired by YouTube videos of massive holiday displays with hundreds of channels, new hobbyists may aim too high too soon. Projects requiring dozens of light zones, complex choreography, and outdoor weatherproofing demand significant time and investment—far beyond what a novice should tackle initially.
| Challenge | Why It Matters | Mitigation Strategy |
|---|---|---|
| Latency | Lights don’t match beats; experience feels disjointed | Use direct USB audio input; optimize code loops |
| Code Complexity | Hard to debug or modify existing projects | Start with pre-written examples; comment every line |
| Power Management | Flickering or burnt-out LEDs | Calculate max current draw; use external power supplies |
| Audio Filtering | Lights react to background noise instead of music | Apply bandpass filters for bass/treble isolation |
Step-by-Step Guide: Your First Week with Synchronized Lights
If you’re ready to try, follow this realistic seven-day plan designed for absolute beginners:
- Day 1: Gather Components
Select a starter kit: Arduino Uno, WS2812B LED strip (1m, 30 LEDs), MAX9814 microphone module, breadboard, and USB cable. Confirm compatibility. - Day 2: Install Software
Download Arduino IDE. Install required libraries: FastLED, FHT (for FFT), and Adafruit_NeoPixel. Test communication with the board. - Day 3: Run a Basic Blink Test
Upload a simple sketch to make one LED blink. Then cycle through all LEDs in sequence. Verify physical connections work. - Day 4: Read Audio Input
Connect the microphone. Write code to read analog values and print them to the Serial Monitor. Clap near the mic—watch the numbers spike. - Day 5: Link Sound to Brightness
Map microphone amplitude to LED brightness. When sound increases, lights get brighter. Ignore color changes for now—focus on responsiveness. - Day 6: Add Frequency Response
Implement a basic FHT algorithm to separate bass and treble. Assign red to low frequencies, blue to high. Observe how different songs trigger distinct reactions. - Day 7: Refine and Showcase
Mount the LED strip safely. Play various tracks to test consistency. Record a short video demonstrating your working prototype.
This timeline assumes 1–2 hours per day. By the end, you’ll have a functioning, albeit basic, synchronized display—and a far better understanding of whether to continue expanding the project.
Real Example: Maya’s First Attempt
Maya, a college student with no prior electronics experience, decided to build a desk lamp that pulsed with her study playlist. She bought a $25 starter kit online and followed a YouTube tutorial. On day two, she accidentally reversed the data and ground wires, causing erratic flashing. After checking forums, she corrected the connection.
Her first successful test used only brightness modulation—no colors. It wasn’t flashy, but seeing the lights rise and fall with acoustic guitar strums gave her a rush of accomplishment. Over the next month, she added hue shifts based on volume thresholds and eventually integrated it into a dorm room ambiance system.
“I thought I’d need to be an engineer,” she said later. “But once I got past the fear of making mistakes, it became fun. Now I’m thinking about doing a bigger version for my apartment balcony.”
Checklist: Is This Project Right for You?
Before investing time and money, ask yourself the following:
- ✅ Do I enjoy tinkering with hardware or coding—even if I’m not good at it yet?
- ✅ Am I okay with failing repeatedly during testing phases?
- ✅ Can I dedicate 5–10 hours over the next few weeks to learn and build?
- ✅ Do I have access to a computer for programming and troubleshooting?
- ✅ Am I looking for a creative outlet, not just a plug-and-play gadget?
If you answered “yes” to most of these, then yes—this project is worth attempting. If you’re seeking instant results or dislike technical problem-solving, consider buying a commercial smart light system with built-in music modes instead.
FAQ
Can I use Wi-Fi or Bluetooth speakers with a synchronized light setup?
Yes, but with caveats. Wireless transmission introduces variable latency, which can desynchronize lights and audio. For best results, use wired audio input or ensure your controller receives the audio feed directly—before it goes to Bluetooth devices.
Do I need to know how to code?
You don’t need to write code from scratch, but you must be willing to read, edit, and upload existing sketches. Most beginner projects rely on open-source code templates. Copying and tweaking them is part of the learning process.
Can I scale this up later?
Absolutely. Many enthusiasts begin with a single LED strip and evolve into multi-zone installations. Platforms like XLights support hundreds of channels and allow export to professional-grade controllers. Starting small builds the foundation for larger ambitions.
Conclusion: Take the First Step
A sound synchronized light show is absolutely worth attempting for beginners—if you approach it with patience, curiosity, and realistic expectations. It’s not merely about the final visual effect; it’s about the growth that happens along the way. Every miswired connection, every failed upload, every moment of confusion sharpens your ability to solve problems creatively.
The tools are more accessible than ever. Communities are active and supportive. And the sense of pride that comes from watching your own creation pulse in harmony with music is unlike anything you can buy off the shelf.


 浙公网安备
33010002000092号
浙公网安备
33010002000092号 浙B2-20120091-4
Comments
No comments yet. Why don't you start the discussion?