
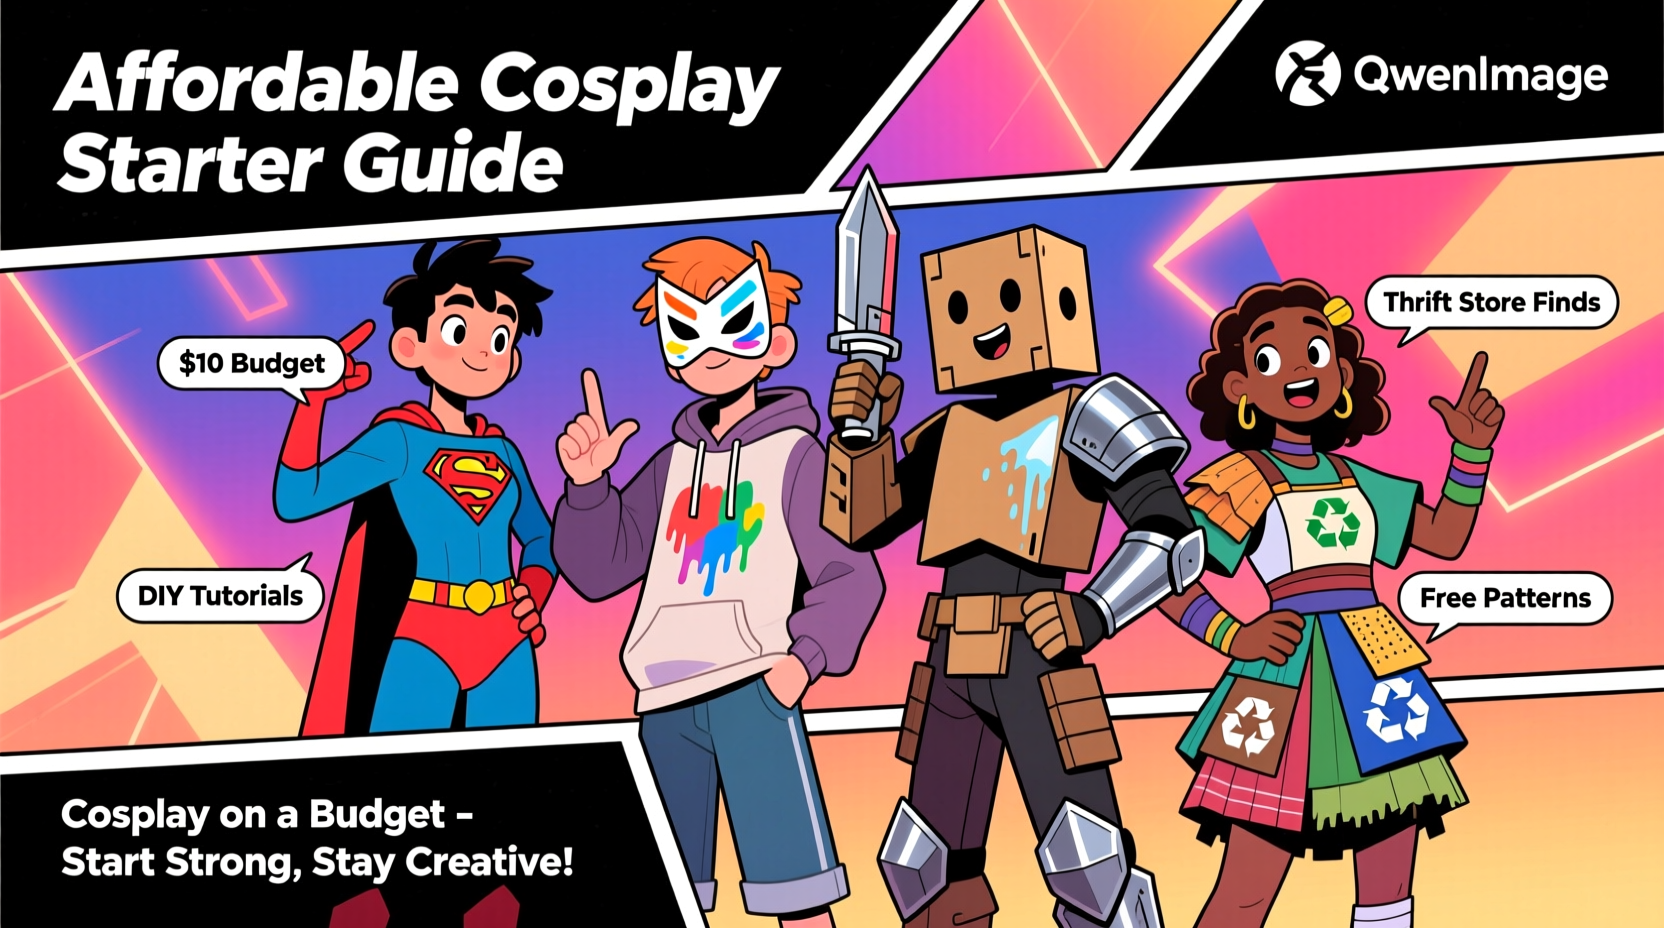
Many people hesitate to try cosplay because they assume it requires a massive budget—elaborate costumes, professional wigs, custom props, and convention travel can indeed add up. But the truth is, cosplay doesn’t have to be expensive to enjoy. With thoughtful planning, creativity, and resourcefulness, you can create impressive looks on a tight budget. Whether you're drawn to anime, video games, or sci-fi franchises, getting started in cosplay can be both fun and affordable if you know where to begin.
The key is shifting focus from perfection to participation. Cosplay is about self-expression, craftsmanship, and community—not how much money you spend. By making strategic choices early on, you can build confidence, gain skills, and gradually expand your wardrobe over time without financial stress.
Debunking the Myth: Is Cosplay Inherently Expensive?
The perception that cosplay is costly often comes from seeing high-end, professionally crafted outfits at conventions or online. These masterpieces may take months of work and hundreds—or even thousands—of dollars. However, they represent the upper end of the spectrum. For every elaborate suit of armor, there are dozens of fans wearing simple, effective cosplays made from thrift store finds or repurposed clothing.
Cosplay becomes expensive only when approached without a plan. Impulse buying materials, ordering last-minute accessories, or outsourcing all construction inflates costs quickly. The reality is that many experienced cosplayers began with under $50 and built their skills incrementally. The hobby rewards patience and learning—skills like sewing, foam crafting, and makeup can be developed over time, reducing reliance on expensive pre-made items.
Smart Starter Strategies for Low-Budget Cosplay
Entering the world of cosplay affordably starts with strategy. Choosing the right character, sourcing materials wisely, and prioritizing impact over perfection can keep costs low while still delivering a satisfying result.
1. Choose Accessible Characters
Selecting a character whose costume resembles real-world clothing drastically reduces complexity and cost. School uniforms, streetwear, or military-inspired jackets are easier to replicate using off-the-rack pieces. Look for characters with recognizable silhouettes—even subtle details like a signature jacket or hairstyle can make the portrayal instantly identifiable.
2. Shop Secondhand First
Thrift stores, consignment shops, and online marketplaces like eBay, Poshmark, or Facebook Marketplace are goldmines for cosplay components. A $5 denim jacket might become Deadpool’s base layer; a $3 pleated skirt could transform into a Sailor Moon look. Search using keywords like “tactical vest,” “medieval tunic,” or “ruffled shirt” rather than specific character names.
3. Repurpose What You Already Own
Before buying anything new, audit your closet. That black hoodie? Perfect for a stealthy assassin. Brown boots and cargo pants? Ideal for a post-apocalyptic survivor. Even small additions—a colored scarf, a belt, or temporary hair dye—can shift an ordinary outfit into a convincing cosplay.
4. Focus on Key Recognition Elements
People recognize characters through distinctive features: Goku’s orange gi and spiky hair, Link’s green tunic and cap, or Harley Quinn’s pigtails and red-and-black color scheme. Prioritize these standout elements. If you nail the wig and one iconic prop (like a lightsaber or wand), the rest can be simplified.
“Your first cosplay should be about learning, not winning awards. Pick something manageable, finish it, and wear it proudly.” — Lila Chen, veteran cosplayer and craft workshop instructor
Step-by-Step Guide: Building Your First Cosplay Under $50
Follow this timeline to create a complete, presentable cosplay on a strict budget. This process assumes no prior crafting experience and focuses on maximizing value.
- Week 1: Character Selection & Research
Pick a character with simple clothing and strong visual cues. Avoid full-body armor or intricate embroidery. Research reference images: front, side, and back views. Note colors, textures, and signature accessories. - Week 2: Inventory & Sourcing Plan
List what you already own that fits the look. Then, identify missing pieces. Set a hard budget (e.g., $40 total). Prioritize essential items—wig, footwear, primary garment—and mark others as optional. - Week 3: Acquire Materials
Visit local thrift stores or browse online resale platforms. Use discount codes on wig sites like Arda Wigs or AliExpress. Consider borrowing items from friends. Buy only what’s necessary—skip non-essential props. - Week 4: Assembly & Fitting
Try everything together. Adjust clothing with safety pins or fabric glue. Style the wig using YouTube tutorials. Practice makeup if needed. Take photos to check visibility from a distance. - Final Days: Final Touches
Add temporary labels (iron-on patches or fabric pens) if required. Pack a small repair kit: needle, thread, double-sided tape, and bobby pins.
Budget Breakdown: Realistic Cost Comparison
The following table compares two approaches to the same character—Spider-Man—to illustrate how choices affect spending.
| Item | Budget Approach ($60) | Premium Approach ($300+) |
|---|---|---|
| Body Suit | Black compression shirt + red track pants painted with fabric paint | Officially licensed full-body spandex suit |
| Mask | Half-face latex mask from Amazon (~$15) | Custom silicone mask with molded lenses (~$120) |
| Boots | Red spray-painted sneakers | Custom knee-high molded boots |
| Web Shooters | Cardboard tubes and plastic bottles glued together, painted silver | 3D-printed functional replicas with LED lights |
| Total Estimated Cost | $50–$70 | $300–$500+ |
Both versions can be recognizable and enjoyable to wear. The budget option emphasizes creativity and improvisation, while the premium version offers realism and comfort. For a first-time cosplay, the lower-cost route provides hands-on experience without financial pressure.
Essential Checklist: Your First Cosplay Prep List
- ✅ Choose a character with simple, wearable clothing
- ✅ Gather reference images (front/side/back)
- ✅ Check your wardrobe for usable base pieces
- ✅ Set a firm budget and stick to it
- ✅ Shop secondhand before buying new
- ✅ Purchase a quality wig in the correct color/style
- ✅ Test-fit all components together
- ✅ Bring a mini repair kit to events
- ✅ Practice posing or mannerisms for photos
- ✅ Wear it proudly—no costume is “too simple”
Real Example: From Zero to Con-Ready in Six Weeks
Jamie, a college student with no sewing experience, wanted to cosplay as Toph from Avatar: The Last Airbender for a local anime convention. With only $45 to spend, she began by identifying core elements: beige pants, green top, red sash, and a headband. She visited three thrift stores and found khaki cargo pants ($6), a forest-green tunic ($8), and a brown belt ($4). Using fabric scraps from a craft store, she hand-stitched a circular headpiece and painted pebbles onto a leather scrap for the pendant.
She dyed a cheap black wig with temporary gray spray and styled it into bangs and loops using bobby pins. Total cost: $42. At the con, multiple attendees complimented her accuracy and creativity. More importantly, Jamie felt confident and immersed in the character—proving that emotional payoff doesn’t depend on price tags.
Common Pitfalls to Avoid as a Beginner
Even with good intentions, new cosplayers often overspend due to avoidable mistakes. Being aware of these traps helps maintain budget control.
- Overbuying supplies: Don’t purchase every tool listed in a tutorial. Start with basics: scissors, fabric glue, and a hot glue gun.
- Ignoring fit: Ill-fitting clothes ruin even the best designs. Always try combinations before finalizing.
- Waiting until the last minute: Rush orders mean higher shipping fees and limited options. Begin early to allow time for sales or DIY fixes.
- Chasing perfection: Minor flaws go unnoticed in person. Focus on completion, not flawlessness.
- Skipping comfort: If you can’t walk, sit, or eat in the outfit, reconsider design choices. Long events demand practicality.
Frequently Asked Questions
Can I cosplay without sewing skills?
Absolutely. Many successful cosplays rely on modified ready-to-wear clothing. Fabric glue, iron-on patches, and safety pins can replace stitching. For armor or props, EVA foam and Worbla can be shaped and adhered without sewing.
Where can I find free or cheap patterns?
Websites like DeviantArt, Reddit communities (r/cosplay, r/cosplaytutorial), and YouTube creators often share free templates and step-by-step guides. Search for “free [character name] cosplay pattern” to locate user-generated resources.
How do I make props safely and affordably?
Use lightweight materials like craft foam, cardboard, or PVC pipes. Paint with acrylics sealed with Mod Podge. Avoid sharp edges and ensure large props comply with convention size rules. Many con-goers appreciate handmade effort more than store-bought polish.
Conclusion: Start Small, Dream Big
Cosplay is not a luxury reserved for those with deep pockets—it’s a creative outlet accessible to anyone willing to start small and learn along the way. The most memorable costumes aren’t always the most expensive; they’re the ones worn with passion and authenticity. By choosing practical characters, shopping wisely, and embracing DIY solutions, you can enter the cosplay world affordably and sustainably.
Your first costume doesn’t need to be perfect. It just needs to be finished. Every stitch, paint stroke, or thrift-store find builds your skill set and confidence. Over time, you’ll develop techniques, expand your wardrobe, and maybe even mentor others. But it all begins with that first step—simple, intentional, and within budget.


 浙公网安备
33010002000092号
浙公网安备
33010002000092号 浙B2-20120091-4
Comments
No comments yet. Why don't you start the discussion?