
For decades, holiday lighting meant choosing from mass-produced plastic or glass diffusers — uniform, generic, and often prone to yellowing or brittleness after one season. Today, a growing number of makers, decorators, and DIY enthusiasts are bypassing retail shelves entirely. They’re designing, iterating, and printing bespoke light diffusers in their garages, basements, and home offices — all using consumer-grade 3D printers. The short answer is yes: it is not only possible but increasingly accessible to 3D print custom Christmas light diffusers at home. But accessibility doesn’t equal automatic success. Achieving soft, even, color-true illumination — without hotspots, glare, or premature failure — demands careful attention to materials, geometry, printer calibration, and electrical safety. This article walks through the real-world feasibility, technical requirements, common pitfalls, and proven workflows that separate decorative novelties from functional, repeatable, and safe holiday lighting accessories.
Why Home 3D Printing Makes Sense for Custom Diffusers
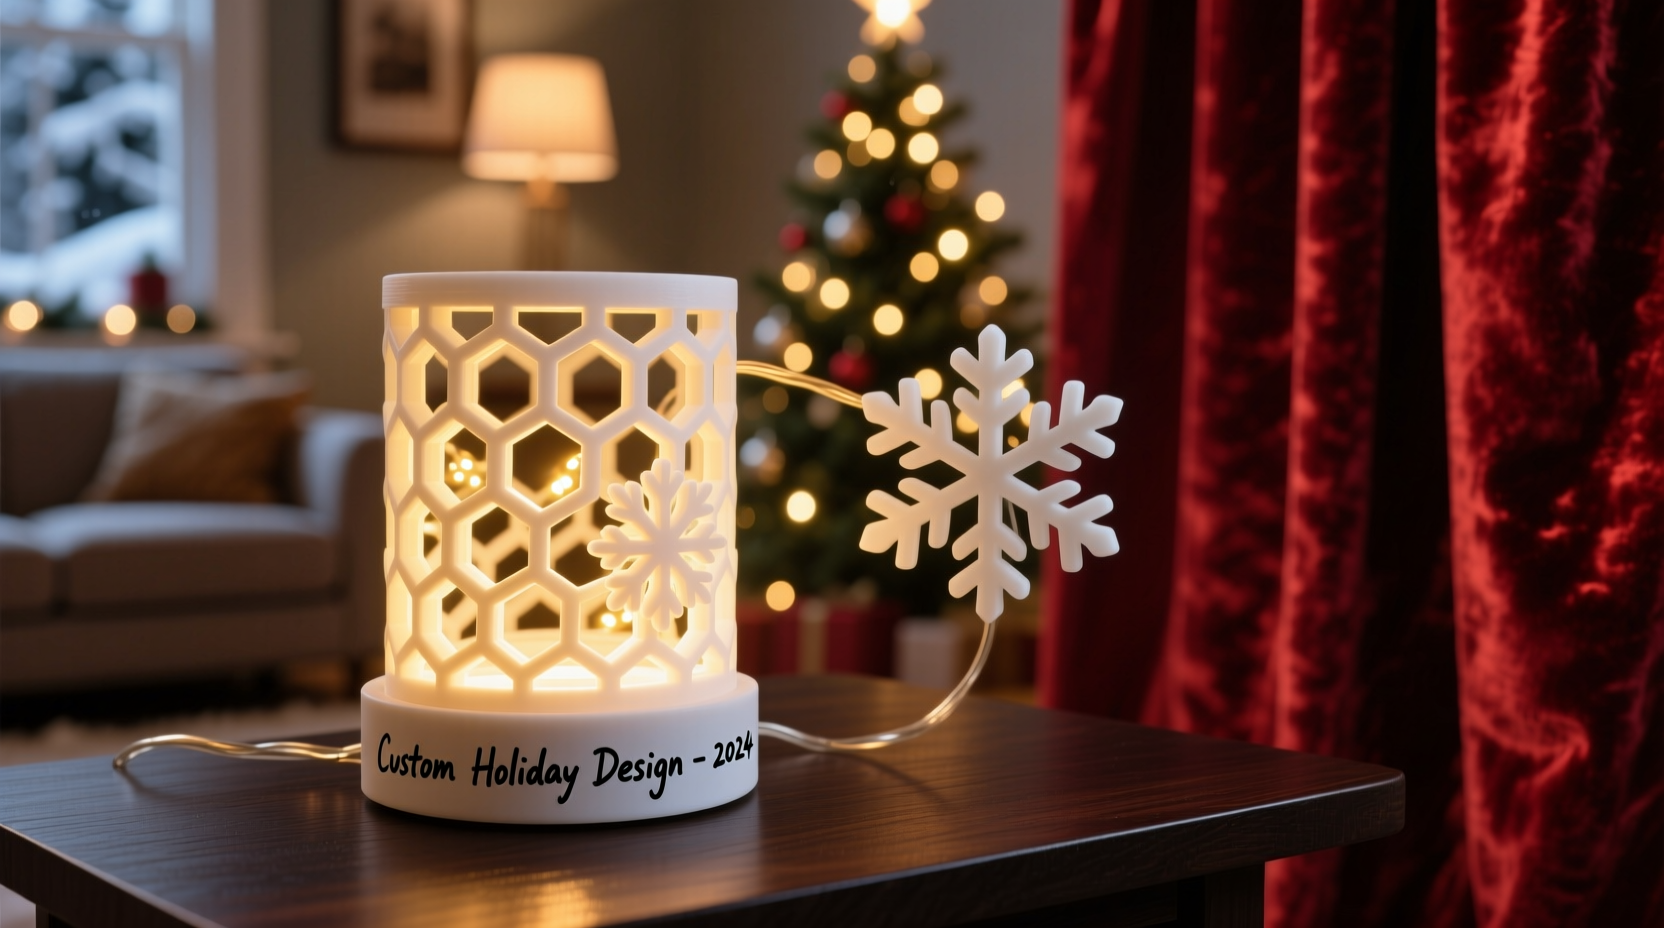
Traditional diffusers serve two core functions: spreading light evenly and softening intensity. Off-the-shelf options rarely match unique fixture geometries — think vintage bulb shapes, irregular string light spacing, or architectural installations like mantels, stair railings, or custom tree toppers. Mass production also limits personalization: you can’t easily embed initials, seasonal motifs (like snowflakes with varying arm thicknesses), or gradient wall-mount profiles that transition from opaque base to translucent tip. Home 3D printing solves these constraints. It enables rapid prototyping — test a snowflake diffuser at 0.8mm wall thickness, then print a revised version at 1.2mm with internal lattice structures in under four hours. It supports local iteration: no minimum order quantities, no shipping delays, no inventory risk. And crucially, it allows material-level control. You choose whether your diffuser prioritizes diffusion (using translucent PLA), durability (PETG), or outdoor resilience (ASA). As maker and lighting designer Lena Ruiz observed during her 2023 holiday installation series: “When you control the entire chain — from sketch to slice to final mount — you stop adapting your vision to what’s available. You adapt the light to your space.”
What You Actually Need: Hardware, Materials, and Skills
Success hinges less on owning the most expensive printer and more on matching equipment to purpose. A $200 Ender 3 V3 SE will produce functional diffusers if calibrated correctly; a $3,000 industrial machine won’t compensate for poor design or inappropriate filament. Below is a realistic breakdown of essentials:
| Component | Minimum Requirement | Recommended Upgrade | Why It Matters |
|---|---|---|---|
| 3D Printer | FDM printer with ≥0.4mm nozzle, heated bed, and stable Z-axis (e.g., Ender 3 series) | Enclosed chamber + auto-bed leveling (e.g., Creality K1 Max or Bambu Lab X1E) | Enclosures stabilize ambient temperature — critical for consistent layer adhesion in translucent filaments, which warp easily when cooling unevenly. |
| Print Material | Translucent PLA (e.g., ColorFabb XT or Hatchbox Translucent White) | PETG with light-diffusing additives (e.g., Proto-Pasta Light Diffusing PETG) or specialized TPU blends | Standard PLA yellows under UV exposure. PETG offers better UV resistance and impact strength; diffusing PETG contains micro-particles that scatter light more uniformly than post-print sanding. |
| Design Software | TinkerCAD (browser-based, beginner-friendly) | FreeCAD or Fusion 360 (parametric modeling + simulation) | Parametric tools let you define variables like bulb diameter, wall thickness, and lattice density — enabling instant scaling across different light types (C7, G40, E12, etc.) without redrawing. |
| Post-Processing | 150–400 grit sandpaper + isopropyl alcohol wipe | Steam smoothing chamber or vapor polishing with acetone (for ABS only — not recommended for indoor use or beginners) | Sanding removes layer lines that cause directional glare. Steam smoothing creates a true optical surface — smoother than sanding alone — while preserving dimensional accuracy. |
A Real-World Case Study: The “Maple Leaf” String Light Project
In November 2023, Toronto-based educator and maker Marco Chen set out to create outdoor-rated diffusers for his porch string lights — specifically to honor his family’s Canadian heritage while solving a persistent problem: harsh blue-white LEDs casting unflattering shadows on his brick facade. He began with a simple maple leaf silhouette in TinkerCAD, extruded to 2.2mm thickness. His first print (translucent PLA, 0.2mm layer height) diffused light but cracked after two nights of frost due to thermal contraction. He switched to PETG, added a 0.5mm internal honeycomb lattice (reducing weight by 37% while maintaining rigidity), and increased wall thickness to 2.8mm. Crucially, he printed each diffuser with a 15° overhang angle — eliminating support material inside the cavity where bulbs sit. After five iterative prints over 11 days, he achieved consistent warm diffusion with zero cracking. He mounted 42 units using 3D-printed clip brackets that snap onto existing sockets — no glue, no wiring modifications. “The biggest win wasn’t aesthetics,” he shared in a Maker Forum post. “It was knowing every diffuser fit perfectly — because I measured *my* socket, not some generic spec sheet.”
Step-by-Step: From Idea to Illuminated Diffuser (in Under 48 Hours)
- Measure & Document: Use calipers to record exact bulb diameter, socket depth, and maximum allowable diffuser height. Note voltage (120V AC vs. low-voltage DC strings) — this dictates required clearance and material flammability ratings.
- Model with Purpose: In FreeCAD or Fusion 360, create a parametric cylinder with variable wall thickness (start at 2.5mm), internal cavity radius (bulb diameter + 0.3mm tolerance), and top geometry (flat, domed, or faceted). Add draft angles (1–2°) to ease bulb insertion.
- Optimize for Light: Insert a volumetric lattice (grid or gyroid) with 40–60% density inside the wall — not as filler, but as a controlled scattering medium. Avoid solid walls thicker than 3.5mm unless using diffusing filament.
- Prepare for Print: Slice in PrusaSlicer or OrcaSlicer. Set print temperature 5–10°C below filament manufacturer’s recommendation (to reduce stringing in translucent layers). Enable “ironing” for top surfaces. Print at 50mm/s max; slower speeds yield smoother surfaces.
- Post-Process Strategically: Sand progressively (220 → 320 → 400 grit), always wet-sanding to prevent dust embedding. Wipe with 91% isopropyl alcohol to remove residue and slightly soften surface micro-roughness — enhancing diffusion without clouding.
- Validate & Mount: Test with actual bulb at full brightness for 15 minutes. Check for heat buildup near socket contacts (should remain <45°C). Confirm no wobble or stress on wires. Mount using friction-fit clips or silicone adhesive — never superglue near live terminals.
Common Pitfalls — And How to Avoid Them
Even experienced makers stumble here. These aren’t theoretical concerns — they’re documented failure modes from community forums, Reddit threads, and fire department incident reports involving DIY lighting:
- Thermal runaway: Enclosing LEDs in non-ventilated, thick-walled diffusers traps heat. LED drivers fail faster; filament warps or deforms. Solution: Always maintain ≥3mm air gap between bulb surface and inner diffuser wall. For high-output bulbs (>5W), add vent slots aligned with natural convection paths.
- Electrical hazards: Using conductive filament (e.g., copper-filled PLA) or printing diffusers directly over exposed socket contacts invites short circuits. Solution: Diffusers must be purely insulating, non-conductive, and rated for contact with live parts (UL94-HB minimum). Never modify sockets or bypass built-in fuses.
- Optical inconsistency: Layer lines act like prisms — directing light in unintended directions. What looks even on screen becomes streaky in reality. Solution: Prioritize surface finish over speed. Use ironing, steam smoothing, or post-cure with UV-transparent resin (for SLA users).
- Material degradation: Standard PLA becomes brittle after 3–4 months of sun exposure. Outdoor displays turn chalky and crack. Solution: Use ASA, PETG, or UV-stabilized polycarbonate blends — and store indoors when not in use.
“Diffusion isn’t about opacity — it’s about controlled scattering. A well-designed 3D-printed diffuser should make the bulb itself disappear, leaving only its glow. That requires physics-aware geometry, not just pretty shapes.” — Dr. Arjun Mehta, Optical Engineer, Lumina Labs
FAQ: Practical Questions from First-Time Makers
Can I safely print diffusers for mains-powered (120V) lights?
Yes — but only if you treat them as passive optical components, not electrical ones. Your diffuser must never contact live metal parts, cover ventilation holes on the socket, or restrict airflow around the driver. Use only UL94-HB or higher rated filaments (check datasheets), and confirm your light string has built-in overcurrent protection. When in doubt, limit printing to low-voltage DC strings (e.g., 12V battery-powered or USB-powered sets).
How do I prevent yellowing or cloudiness after a few weeks?
Yellowing stems from UV exposure and thermal oxidation. Avoid standard white or clear PLA. Instead, use PETG with UV inhibitors (e.g., Sunlu PETG), ASA (inherently UV-stable), or dedicated outdoor filaments like Polymaker PolyTerra PLA+. Store diffusers in opaque containers away from windows when not in use — even indoor ambient light contributes to long-term degradation.
Do I need special software to design for light diffusion?
No — but physics-aware design principles matter more than software. Start with basic CAD tools, then apply three rules: (1) Keep wall thickness between 2.0–3.2mm for most household LEDs; (2) Use internal lattices instead of solid fills; (3) Orient the print so the largest surface area is perpendicular to the nozzle path (minimizing visible layer lines on light-emitting faces). Free online tools like DiffusorCalc.org can simulate scattering patterns if you input your geometry and material data.
Conclusion: Your Lights, Your Rules — Start Small, Think Seasonally
3D printing custom Christmas light diffusers at home isn’t a novelty experiment — it’s a legitimate extension of functional craft. It merges digital precision with tactile satisfaction, turning abstract design files into tangible objects that shape how light interacts with your space, your memories, and your traditions. You don’t need perfection on the first try. Print a single snowflake for your desk lamp. Model a simple dome for your kitchen pendant. Test one filament, one wall thickness, one orientation. Document what works — and what doesn’t — in a notebook or spreadsheet. Over time, you’ll build a personal library of reliable parameters, reusable models, and hard-won insights about how light behaves in your environment. That’s where true customization begins: not in the software, but in the repeated, thoughtful act of making something that serves both beauty and function — season after season.


 浙公网安备
33010002000092号
浙公网安备
33010002000092号 浙B2-20120091-4
Comments
No comments yet. Why don't you start the discussion?