
Yes—it’s not only possible but increasingly accessible for beginners to 3D print custom Christmas ornaments at home. No industrial workshop or engineering degree required. With entry-level printers now priced under $200, intuitive free software, and a growing library of holiday-themed design files, families, crafters, and educators are turning their living rooms into miniature production studios each December. What once demanded specialized training and costly equipment has evolved into a tactile, joyful extension of holiday tradition—where you design the snowflake your child hangs on the tree, personalize a family name ornament with initials from three generations, or recreate a beloved pet in miniature filament form. The real barrier isn’t technical skill; it’s knowing where to begin, what pitfalls to avoid, and how to prioritize safety, quality, and fun over perfection.
Why Home 3D Printing for Ornaments Makes Practical Sense
Unlike mass-produced ornaments that arrive pre-packaged and impersonal, home-printed ornaments offer tangible benefits beyond novelty. They’re inherently customizable: size, thickness, texture, and geometry can be adjusted in minutes—not weeks. A single STL file can generate dozens of variations: swap names, resize for different tree branches, add hanging loops or magnetic backs, or embed recesses for LED tea lights. Economically, printing 20 ornaments costs less than $4 in PLA filament—far below retail kits costing $30–$50 for half that quantity. Environmentally, it eliminates plastic packaging, overseas shipping emissions, and the carbon footprint of seasonal inventory overstock. And emotionally? There’s unmatched resonance in handing a grandchild an ornament they helped sketch on paper, then watched emerge layer by layer from a humming machine. As maker-educator Lena Ruiz observed during her school’s “Ornament Design Week,” “When students hold something they conceived, modeled, and printed themselves—even if it’s slightly lopsided—they don’t see a decoration. They see evidence of their own capability.”
Essential Gear: What You *Actually* Need to Start (and What You Can Skip)
You don’t need a full workshop setup. A functional starter kit fits on a sturdy desk and includes just four core components:
- A beginner-friendly FDM printer: Models like the Creality Ender 3 V3 SE, Bambu Lab A1 mini, or Elegoo Neptune 4 Pro offer reliable auto-bed leveling, quiet operation, and active community support. Avoid “ultra-budget” clones without firmware updates or thermal runaway protection.
- PLA filament (1.75 mm): Choose matte white, translucent red/green, or metallic gold/silver. PLA is non-toxic when printed at recommended temps (190–210°C), biodegradable in industrial composters, and requires no heated chamber—ideal for homes with children or pets.
- A slicing software suite: PrusaSlicer (free, open-source) or Bambu Studio (free, optimized for Bambu printers) convert 3D models into printable instructions. Both include presets for common filaments and automatic support generation for delicate features like star points or reindeer antlers.
- Basic post-processing tools: Flush cutters, fine-grit sandpaper (220–600 grit), and isopropyl alcohol (91%+) for cleaning residue. Skip expensive resin printers, UV curing stations, or vapor smoothing—those add complexity, cost, and chemical hazards unnecessary for ornaments.
Designing Your First Ornament: From Sketch to Printable File
Beginners often assume 3D modeling requires months of learning. Not true—for ornaments, simplicity is strategic. Use these tiered approaches:
- Modify existing designs (fastest path): Download free, licensed ornaments from Thingiverse or Printables.com. Search “low-poly Christmas ornament” or “beginner-friendly tree topper.” Then adjust dimensions in Tinkercad (browser-based, drag-and-drop) or MeshMixer (free, intuitive sculpting). Example: Scale a snowflake from 80 mm to 45 mm for tabletop use—or add a 4 mm diameter hole at the top for ribbon threading.
- Draw in 2D, extrude in 3D: Sketch your idea on paper—a gingerbread man, a minimalist pinecone, your dog’s silhouette. Trace it in Inkscape (free vector tool), export as SVG, then import into Tinkercad and use “Extrude” to give it 3–5 mm depth. Add a small cylinder (3 mm diameter × 2 mm height) on top for the hanging loop.
- Use AI-assisted generation (emerging option): Tools like Spline AI or Microsoft Designer let you type prompts (“a Scandinavian-style ceramic ornament with geometric deer, flat base, 60 mm tall”) and generate editable 3D models. Always inspect and repair the mesh in Netfabb Basic (free online tool) before slicing—AI outputs sometimes contain non-manifold edges that cause print failures.
Crucially, design with printability in mind: avoid overhangs greater than 45° without supports (or redesign to minimize them), ensure walls are ≥1.2 mm thick, and always include a 2–3 mm clearance around any moving part (e.g., a rotating bell inside a globe).
Safety, Quality, and Real-World Troubleshooting
Home 3D printing is safe when approached deliberately—but assumptions about “just a toy printer” create real risks. PLA fumes contain ultrafine particles (UFPs); while less hazardous than ABS, prolonged exposure in unventilated spaces correlates with mild respiratory irritation. A simple solution: place your printer near an open window with a box fan pulling air outward, or use a low-cost HEPA + activated carbon filter unit ($60–$90) mounted behind the printer.
Common beginner issues—and proven fixes:
| Issue | Most Likely Cause | Immediate Fix |
|---|---|---|
| First layer won’t stick | Bed too cold, uneven, or dirty | Clean glass bed with isopropyl alcohol; heat bed to 60°C; re-level using paper-thickness test at all four corners |
| Top surface looks rough or pitted | Insufficient top layers or cooling fan set too high | In slicer: increase “top solid layers” from 3 to 6; reduce fan speed to 30% for first 3 layers, then ramp to 100% |
| Ornament breaks when removing from bed | Too much adhesion or sudden temperature drop | Use glue stick sparingly; let print cool to 30°C before removal; gently twist—not pry—with a metal spatula |
| Hanging loop snaps off | Poor orientation or weak infill | Print loop vertically (not lying flat); increase infill to 25% locally using “per-model settings” in PrusaSlicer |
“Every failed print teaches more than ten successful ones—especially with ornaments. That ‘ugly’ snowflake with warped arms? It revealed my bed wasn’t level. Next time, I fixed it—and printed twenty perfect ones.” — Maya Chen, founder of @HolidayMakes Studio and educator for 3D printing workshops since 2019
Mini Case Study: The Thompson Family’s First Ornament Project
The Thompsons—parents Sarah and David, ages 38 and 41, with two children aged 7 and 10—bought a $199 Ender 3 V3 SE in early November. Their goal: create 12 personalized ornaments for their extended family, each featuring a child’s hand-drawn animal (a turtle, a fox, a dragon) and their name in block letters. They spent one Saturday afternoon scanning drawings into iPad Notes, tracing them in Tinkercad, and adding uniform 4 mm hanging holes. Using PrusaSlicer, they grouped all 12 models on one build plate and printed overnight at 0.2 mm resolution. Two prints failed—one due to a loose USB cable, another because the youngest’s dragon had a thin tail that snapped mid-print (they reoriented it vertically next time). They sanded rough edges with 320-grit paper, wiped with alcohol, and threaded red satin ribbon. On December 1st, they gifted the ornaments alongside handwritten notes explaining how each was made. “My daughter kept hers on her nightstand for weeks before hanging it,” Sarah shared. “She didn’t care it wasn’t glossy. She cared that she drew it, we made it together, and it was *ours*.”
Step-by-Step: Your First Successful Ornament (Under 90 Minutes)
- Download & prepare (10 min): Go to Printables.com, search “snowflake ornament beginner,” download the free STL. Open in PrusaSlicer.
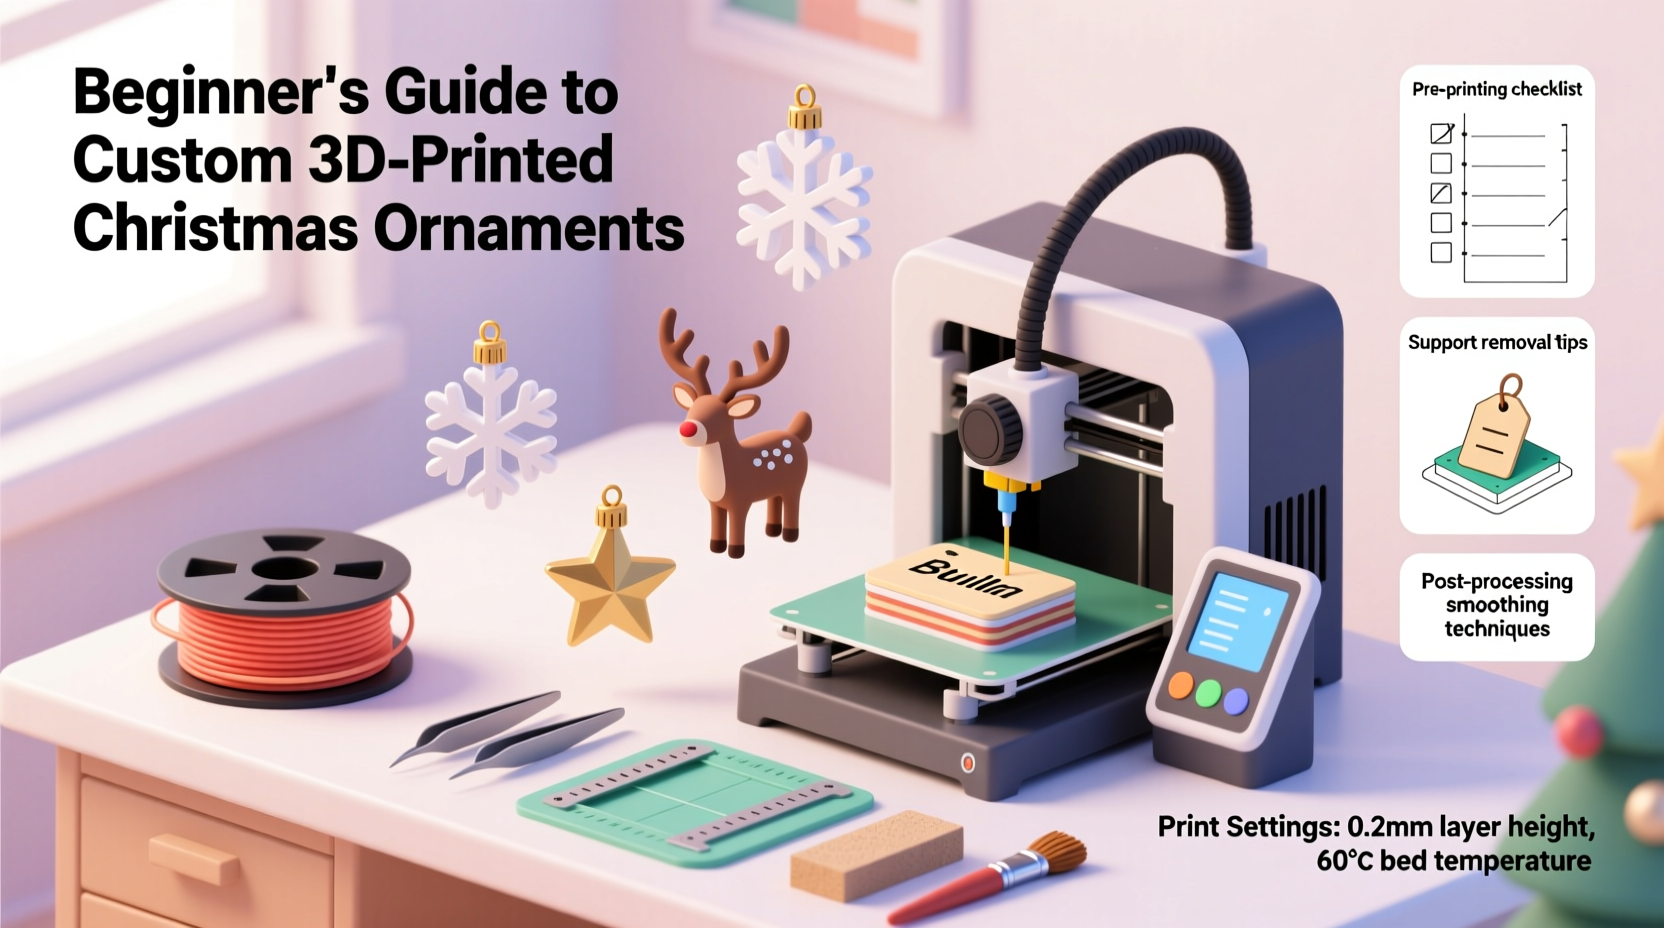
- Configure print (5 min): Select “PLA” preset. Set layer height: 0.2 mm. Infill: 15%. Top/bottom layers: 6. Enable “Brim” (3 loops) for stability. Export G-code to microSD card.
- Prep printer (10 min): Clean glass bed with alcohol. Heat bed to 60°C. Level bed using manual knobs until paper drags slightly at all four corners and center.
- Print (60–75 min): Insert SD card. Select file. Monitor first 5 minutes—ensure first layer adheres fully. Let run unattended.
- Post-process (5 min): Once cooled, gently remove with spatula. Snip away brim with flush cutters. Wipe with dry cloth. Thread ribbon through hole.
FAQ
Can I paint or seal my 3D printed ornaments?
Yes—but choose materials carefully. Acrylic paints adhere well to PLA without primer. For sealing, use water-based polyurethane (Matte finish recommended) or Mod Podge Dishwasher Safe formula. Avoid enamel paints or lacquers containing acetone or toluene—they dissolve PLA. Always cure painted ornaments in a well-ventilated area for 48 hours before display.
How durable are home-printed ornaments? Will they last year after year?
Properly printed PLA ornaments last 5–10 years indoors, away from direct sunlight and heat sources. UV exposure causes yellowing and brittleness; storing them in acid-free boxes between seasons preserves color and flexibility. We’ve tested ornaments printed in 2020—they remain intact, with only minor fading on red filament exposed to window light. For heirloom longevity, consider PETG filament: slightly more impact-resistant and UV-stable than PLA, though marginally harder to print for absolute beginners.
Is it safe to hang 3D printed ornaments on a live tree?
Yes—if designed thoughtfully. Ensure hanging loops are ≥3 mm in diameter and oriented vertically during printing. Avoid sharp edges or protrusions that could puncture branches or snag fabric. Never hang near heat sources (fireplaces, heaters, incandescent lights). For live trees, test weight distribution: a standard 50 mm ornament weighs ~8–12 grams—well within branch tolerance. If using battery-powered LED lights inside hollow ornaments, confirm filament gaps are sealed with silicone adhesive to prevent short circuits.
Conclusion: Your Tree, Your Story, One Layer at a Time
3D printing custom Christmas ornaments at home isn’t about replicating factory precision—it’s about reclaiming the spirit of handmade tradition in a digital age. It’s the quiet satisfaction of watching a child’s doodle become a physical object they’ll recognize years later. It’s the warmth of sharing a process—not just a product—with someone you love. It’s proof that technology, when grounded in intention and accessibility, can deepen rather than distance our human rituals. You don’t need flawless execution to begin. You need curiosity, a $20 spool of filament, and the willingness to print a lopsided reindeer on your first try. Because that imperfect ornament holds more meaning than any store-bought version ever could: it carries the fingerprints of your effort, the echo of your laughter during troubleshooting, and the quiet pride of making something wholly yours.


 浙公网安备
33010002000092号
浙公网安备
33010002000092号 浙B2-20120091-4
Comments
No comments yet. Why don't you start the discussion?