
Every holiday season, neighborhoods come alive with dazzling light displays. What once began with simple strings of red and green bulbs has evolved into choreographed spectacles set to music, complete with color fades, pulsing effects, and perfectly timed transitions. At the heart of many of these modern setups lies an unexpected device: the Raspberry Pi.
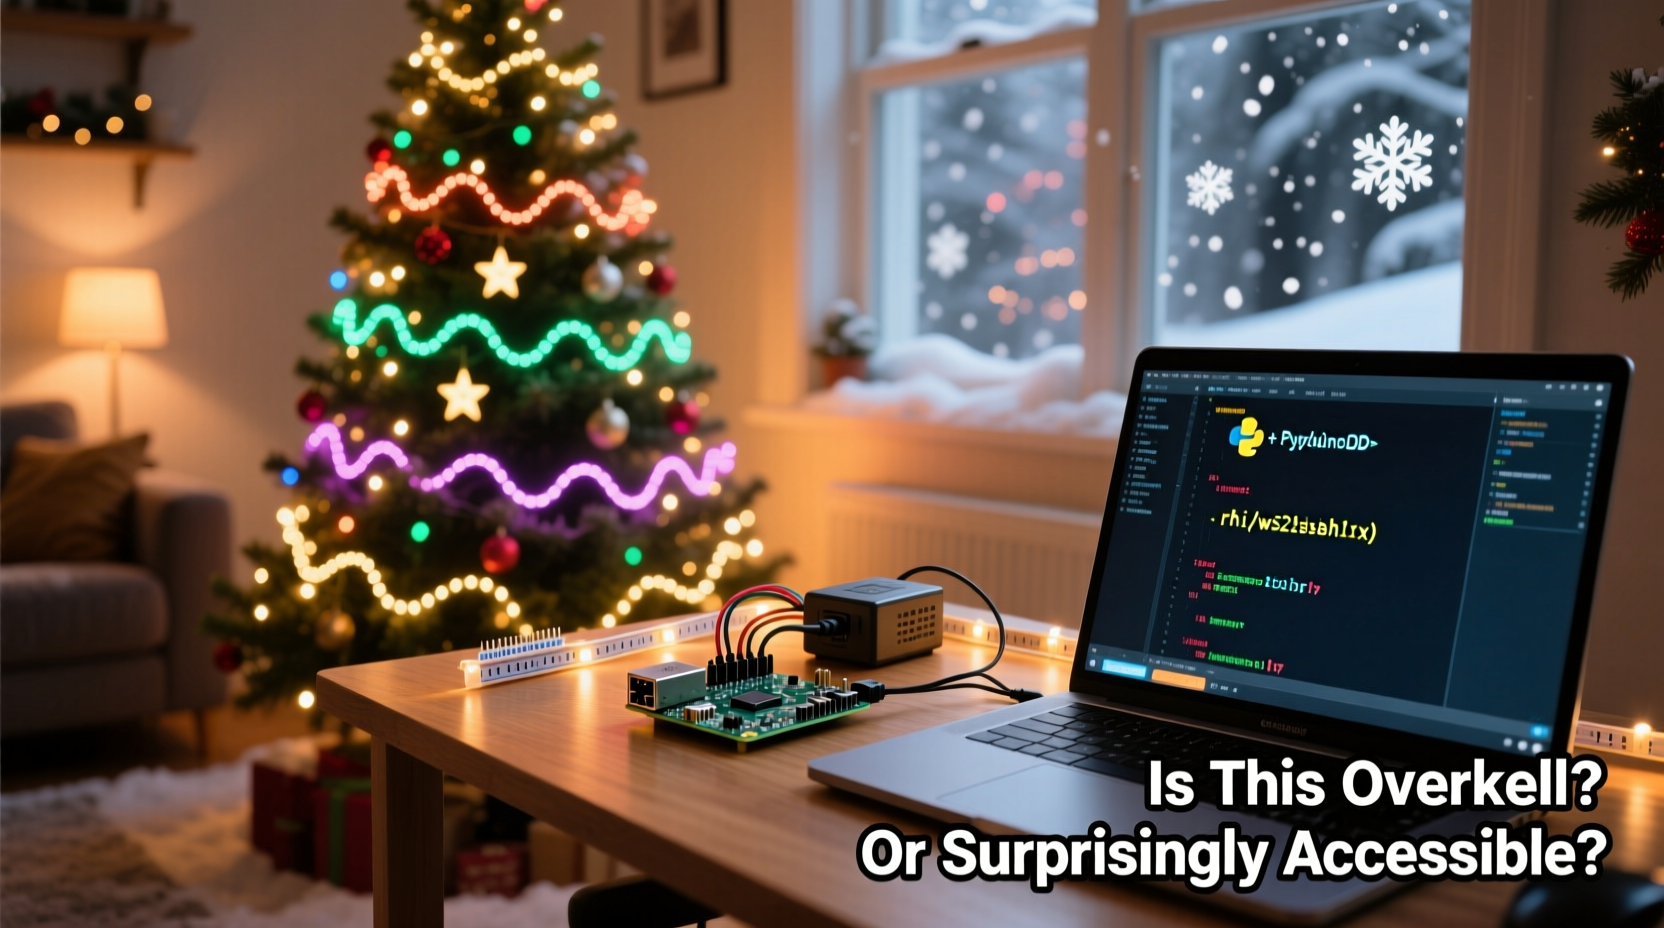
A credit-card-sized computer originally designed for education and hobbyist projects now powers some of the most elaborate Christmas light shows across North America and Europe. But is it overkill to use such a device for seasonal decorations? Or is it actually more accessible than most people assume? The answer isn’t as straightforward as “yes” or “no”—it depends on your goals, technical comfort level, and vision for your display.
The Evolution of Holiday Lighting
For decades, holiday lighting was limited by hardware. Timers turned strands on and off at fixed intervals. Some advanced users employed basic controllers that cycled through pre-set patterns. But true synchronization—matching lights precisely to music beats, crescendos, and lyrics—required expensive commercial systems out of reach for casual decorators.
That changed with the rise of affordable microcontrollers and open-source software. Devices like the Raspberry Pi brought professional-grade automation within reach of home users. Unlike simpler microcontrollers (such as Arduino), the Pi runs a full Linux operating system, supports Wi-Fi, Bluetooth, and can handle audio playback, network streaming, and real-time control—all from a $35 board.
Today, platforms like xLights, FPP (Falcon Player), and Vixen Lights enable users to design complex sequences where individual LEDs respond to specific musical cues. These programs run seamlessly on Raspberry Pis, turning them into central hubs for entire light networks.
Breaking Down the Components
To understand whether a Raspberry Pi setup is overkill, it helps to examine what’s involved in building a synchronized light display. A typical configuration includes several key components:
- Raspberry Pi (usually Pi 3B+, 4, or Zero 2 W) – acts as the brain
- Power supply – stable 5V/3A recommended
- MicroSD card – 16GB minimum, preferably Class 10
- LED strips or nodes – WS2811, WS2812B, or similar addressable types
- Extension cables and power injectors – for longer runs
- Network connection – Ethernet or reliable Wi-Fi
- Controller software – xLights, Falcon Player, etc.
The Pi communicates with the lights via GPIO pins or USB-to-TTL adapters, sending data packets that tell each LED its color and brightness at any given moment. Sequences are often created on a desktop computer and then transferred to the Pi, which plays them back during show hours.
While this may sound complicated, much of the process is now streamlined. Pre-built images for FPP allow users to flash a microSD card and boot directly into a working controller environment. Configuration is done through a web interface—no command-line expertise required.
Overkill or Accessibility? A Balanced View
Critics argue that using a full Linux computer to blink lights is technological excess. After all, you don’t need a supercomputer to turn on a strand of bulbs. But that perspective overlooks the capabilities the Pi unlocks:
- Precise timing: Sub-millisecond accuracy ensures lights hit every beat perfectly.
- Scalability: One Pi can manage hundreds—or thousands—of individually addressable LEDs.
- Remote management: Adjust schedules, upload new sequences, or troubleshoot issues from your phone.
- Audio integration: Built-in sound output or FM transmitters let visitors tune in via car radio.
- Internet connectivity: Sync with GPS time, pull weather data, or even trigger effects based on social media interactions.
When viewed through this lens, the Raspberry Pi isn’t overkill—it’s an enabler. It transforms static decorations into dynamic performances. And unlike proprietary systems costing thousands, the Pi-based approach remains budget-friendly.
“People think you need engineering degrees to do this. You don’t. If you can follow recipes and plug in cables, you can build a synchronized display.” — Mark Sullivan, DIY Holiday Lighting Enthusiast and YouTube Creator
Real-World Example: The Garage Tinkerer’s Journey
Consider Sarah Lin, a high school teacher from Portland, Oregon. In 2021, she watched her neighbor’s holiday display—a full-front-yard production with dancing trees and rooftop animations synced to Mariah Carey’s “All I Want for Christmas Is You.” Inspired, she decided to try something similar.
Sarah had no prior experience with electronics or coding. She started with a Raspberry Pi 4 kit she bought online for $70, including case, power supply, and SD card. Using tutorials from the Light-O-Rama community forums, she installed Falcon Player and connected a single 5-meter strip of WS2812B LEDs around her porch railing.
Her first sequence—a slow rainbow fade—was crude but functional. By December, she’d upgraded to three zones (roofline, tree, pathway) and programmed five songs using exported timelines from xLights. She used a low-power FM transmitter so neighbors could listen on their car radios.
Last year, her display attracted over 1,200 visitors. Local news covered her story under the headline “Teacher Turns Tech Hobby Into Community Tradition.” Today, Sarah mentors others through a monthly meetup group focused on smart holiday lighting.
Her journey illustrates that accessibility isn’t just about price—it’s about support, documentation, and incremental learning. The ecosystem around Pi-powered lighting has matured to the point where beginners can achieve meaningful results in weeks, not years.
Step-by-Step Guide to Getting Started
If you're curious about diving in, here's a realistic timeline for setting up your first synchronized display:
- Week 1: Gather Materials
Buy a Raspberry Pi (recommended: Pi 4 or Zero 2 W), microSD card, power supply, and a short run of addressable LEDs. Total cost: ~$80–$120 depending on scale. - Week 2: Install Software
Download the Falcon Player (FPP) image from fpp.website. Use Raspberry Pi Imager or BalenaEtcher to flash it onto the SD card. Insert into Pi and boot. - Week 3: Configure Hardware
Connect the LED strip to the correct GPIO pin (typically Pin 10/GPIO 14 for UART). Power both the Pi and the LEDs properly. Access FPP via http://fpp.local in your browser. - Week 4: Test Basic Output
Use FPP’s built-in test patterns (solid colors, chases) to verify communication. Troubleshoot flickering or dead pixels early. - Month 2: Design Your First Sequence
On a PC, install xLights. Import a song, map your LED layout visually, and create a simple animation. Export as .fseq and transfer to the Pi via USB or network share. - Month 3: Go Live
Schedule playback times, add remote triggers if desired, and invite friends or neighbors to view. Monitor performance and make adjustments.
This phased approach prevents burnout and allows troubleshooting at each stage. Most failures occur due to power issues or incorrect wiring—not software complexity.
Comparison: DIY Pi vs. Commercial Controllers
| Feature | Raspberry Pi + Open Source | Commercial Controller (e.g., Light-O-Rama) |
|---|---|---|
| Cost per channel | $1–$3 (DIY) | $10–$25+ |
| Software cost | Free (xLights, FPP) | $50–$500+ (licensed) |
| Learning curve | Moderate (steep initially, flattens quickly) | Moderate to high |
| Community support | Strong (forums, Reddit, YouTube) | Official only; smaller user base |
| Customization | Full control (open source) | Limited by vendor features |
| Reliability outdoors | Good (with proper enclosure) | Excellent (designed for weather) |
As shown, the Pi wins on affordability and flexibility. However, commercial systems offer ruggedized enclosures and plug-and-play simplicity—important for users prioritizing reliability over tinkering.
Checklist: Launch Your First Synchronized Display
Before powering up your holiday show, ensure you’ve completed these essential steps:
- ✅ Chosen the right Raspberry Pi model (Pi 4 or Zero 2 W preferred)
- ✅ Flashed FPP or xLights image to microSD card
- ✅ Connected addressable LEDs correctly (data, power, ground)
- ✅ Used adequate power supply (avoid underpowered USB adapters)
- ✅ Tested basic animations via web interface
- ✅ Created or imported at least one .fseq file
- ✅ Scheduled playback times and enabled remote access
- ✅ Secured all outdoor components against moisture and temperature swings
- ✅ Verified audio sync (if using FM transmitter or speakers)
- ✅ Shared show schedule with neighbors or posted online
Frequently Asked Questions
Can I use a Raspberry Pi Zero for this?
Yes, the Pi Zero 2 W is fully capable of running FPP and handling dozens of LED channels. Its compact size makes it ideal for tight spaces, though older Pi Zero models lack sufficient processing power.
Do I need internet access during the show?
No. Once sequences are loaded and scheduled, the Pi operates independently. Internet is only needed for initial setup, updates, or remote monitoring.
How many lights can one Pi control?
A single Pi can manage up to 48 universes of DMX (equivalent to over 7,000 RGB pixels), though practical limits depend on power delivery and signal integrity. For larger displays, multiple Pis can be synchronized over a network.
Conclusion: Embracing the Joy of Smart Holiday Creativity
The question of whether using a Raspberry Pi for Christmas lights is overkill ultimately misses the point. Technology isn’t just about efficiency—it’s about expression. The Pi democratizes creative tools once reserved for professionals. It invites experimentation, learning, and community engagement in ways few other hobby platforms can match.
What might seem like overengineering to one person becomes a canvas for storytelling, joy, and neighborhood connection for another. And in a world where digital fatigue is common, projects like these remind us that technology, when used with intention, can spark wonder.
You don’t need to go viral or attract thousands of viewers to justify building something beautiful. Whether your display spans ten LEDs or ten thousand, the process itself—the planning, wiring, testing, and eventual magic of seeing lights dance in harmony—is its own reward.


 浙公网安备
33010002000092号
浙公网安备
33010002000092号 浙B2-20120091-4
Comments
No comments yet. Why don't you start the discussion?