
A laptop keyboard is one of the most frequently used—and abused—components of any portable computer. Over time, crumbs, dust, skin oils, and environmental debris accumulate beneath the keys, leading to sluggish or sticky responses. While it’s tempting to pry off keys and scrub aggressively, doing so incorrectly can damage the delicate scissor-switch mechanisms or break plastic clips that hold keys in place. The good news: with the right tools and techniques, you can clean under your laptop keys thoroughly and safely, restoring smooth typing without permanent damage.
Why Laptop Keys Stick: Understanding the Problem
Sticky keys are rarely caused by a hardware defect. Instead, they’re usually the result of contamination. Common culprits include:
- Dust and lint from pockets, bags, or desks
- Food particles like cookie crumbs or sugar granules
- Liquid spills, even tiny amounts of coffee or water
- Skin oils and sweat transferred during typing
- Pet hair or dander in homes with animals
These contaminants interfere with the movement of the key mechanism—especially in modern laptops that use low-profile scissor switches. When residue builds up around the hinge points or stabilizer bars, keys lose their spring and responsiveness. In some cases, a key may feel “mushy” or fail to register input consistently.
Essential Tools for Safe Keyboard Cleaning
You don’t need expensive gear to clean under laptop keys effectively. Most of what you require is likely already at home. Here’s what you should gather before starting:
| Tool | Purpose | Notes |
|---|---|---|
| Compressed air can | Blow out loose debris from under keys | Hold upright; short bursts prevent moisture release |
| Soft-bristle toothbrush | Gently dislodge grime between keys | Use dry or slightly damp—never soaking wet |
| Isopropyl alcohol (70% or higher) | Disinfect and dissolve sticky residues | Never pour directly on keyboard |
| Cotton swabs (Q-tips) | Apply alcohol precisely and wipe crevices | Use one per key to avoid spreading grime |
| Tweezers (fine-tip) | Remove visible debris like hair or fibers | Non-metallic preferred to avoid static discharge |
| Plastic spudger or guitar pick | Lift keys gently without scratching | Much safer than metal screwdrivers |
“Most keyboard failures I see in repair shops stem from improper cleaning attempts—not wear and tear.” — David Lin, Senior Technician at TechCare Pro Services
Step-by-Step Guide: How to Clean Under Laptop Keys Safely
Follow this methodical process to clean under your laptop keys without damaging the clips or underlying mechanisms.
- Power down and unplug the laptop. If possible, remove the battery (on older models). This prevents accidental input or electrical shorts during cleaning.
- Turn the laptop upside down and shake gently. This dislodges loose crumbs or sand that might be trapped near the edges.
- Use compressed air to blow debris from between keys. Hold the can upright and spray in short bursts at a 45-degree angle. Move across each row systematically. Do not tilt the can, as liquid propellant can leak and damage circuits.
- Brush between keys with a soft toothbrush. Use light pressure in circular motions to loosen stuck particles. Focus on areas around sticky keys. Wipe the brush frequently on a paper towel.
- Inspect for visible gunk. Shine a flashlight across the keyboard at a low angle. Look for dark spots or fibrous material caught beneath the keys.
- Prepare your cleaning tool: Dampen a cotton swab with isopropyl alcohol. Squeeze excess liquid so the swab is moist but not dripping.
- Carefully insert the swab under the edge of the problematic key. Gently rotate it to absorb oils and grime. Replace swabs as they darken.
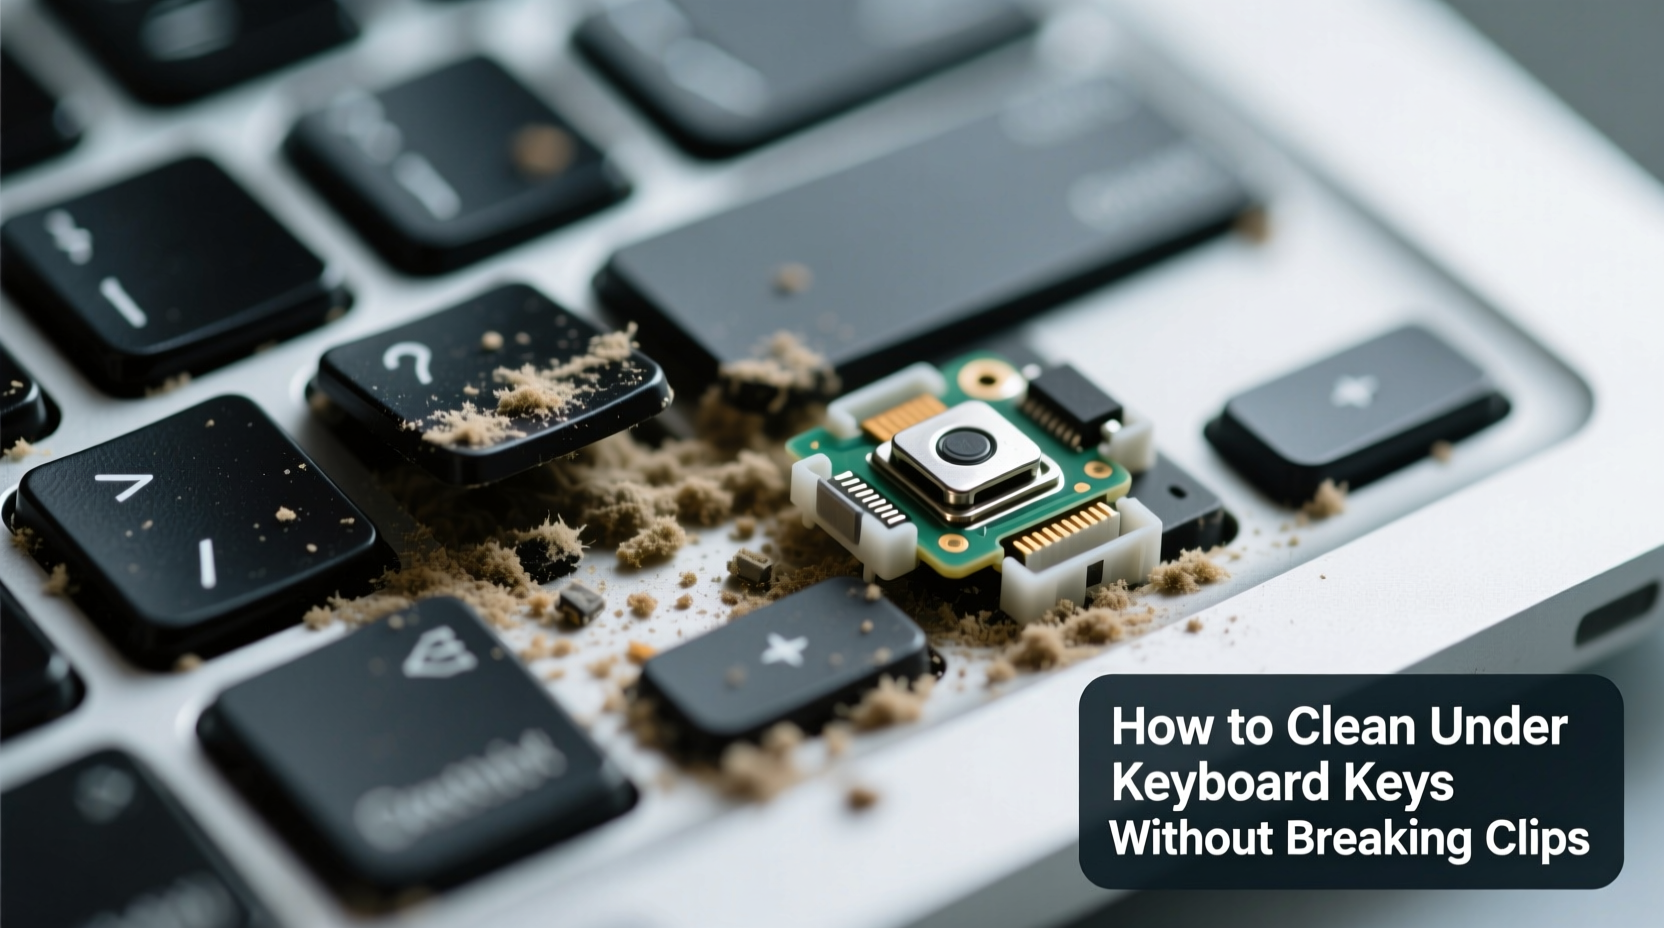
- For stubborn residue, lift the key cap carefully. Slide a plastic spudger or guitar pick under one corner of the key. Apply gentle upward pressure while watching the clip mechanism. Most keys have two hinge points and a stabilizer bar—lift evenly to avoid snapping either.
- Once removed, lay the key aside and clean the exposed switch. Use a new alcohol swab to wipe the post and surrounding area. Let it dry completely before reattaching.
- Reattach the key cap by aligning the hinges. Press down gently on both ends until you hear a soft click. Test the key by pressing it several times to ensure smooth action.
Real Example: Fixing a Sticky 'E' Key on a Dell XPS
Jamal, a college student, noticed his 'E' key wasn’t registering consistently after he spilled a few drops of soda while studying late one night. He tried tapping harder, then rebooted, but the issue persisted. Instead of taking it to a repair shop, he followed a careful cleaning process.
He started with compressed air, which removed some sticky droplets but didn’t resolve the lag. Using a fine-tip tweezers, he extracted a small fiber caught beneath the key. Then, with a lightly alcohol-dampened swab, he cleaned around the base. Still not perfect, he decided to remove the key cap using a plastic spudger.
Beneath it, he found a translucent film of dried soda residue coating the rubber dome. After wiping it clean and letting it air dry for ten minutes, he reattached the key. The 'E' responded instantly and smoothly. Total cost: $3 for isopropyl alcohol. Total time: 20 minutes. Repair shop estimate? $85 for a “faulty key mechanism.”
Do’s and Don’ts of Laptop Keyboard Maintenance
| Action | Recommended? | Reason |
|---|---|---|
| Use compressed air monthly | ✅ Yes | Prevents buildup without contact |
| Wipe keys with disinfectant wipes | ⚠️ Only if alcohol-free and non-abrasive | Some chemicals degrade surface coatings |
| Remove all keys for deep cleaning | ❌ No (unless necessary) | Risk of losing alignment or breaking clips |
| Clean under keys every 3–6 months | ✅ Yes | Maintains performance and hygiene |
| Use a vacuum cleaner nozzle | ⚠️ With caution | Static risk; better to use micro-vac with anti-static tip |
| Soak key caps in water | ❌ Never | Can warp plastic or damage legends |
When Not to Remove Keys: Knowing Your Limits
Not all laptop keyboards are designed for user servicing. Ultrabooks like the MacBook Air, Dell XPS 13, or HP Spectre use tightly integrated key mechanisms that are extremely fragile. Apple, for example, redesigned its butterfly switches due to widespread complaints about sticky keys, only to return to a more reliable scissor mechanism in later models.
If your laptop has shallow-travel keys with minimal wobble, proceed with extreme caution. Some keys—like spacebars, shift, and enter—have complex retainer bars or multiple clips. Removing them incorrectly can lead to irreversible damage.
In such cases, stick to non-invasive methods: compressed air, angled brushing, and precision swabbing. If multiple keys are malfunctioning, consider professional service or an external keyboard as a temporary solution.
Preventive Care Checklist
To minimize future issues, adopt these habits:
- ✔️ Wash hands before extended typing sessions
- ✔️ Keep drinks away from the laptop workspace
- ✔️ Use a keyboard cover when traveling or in dusty environments
- ✔️ Perform a quick air blast every 2 weeks
- ✔️ Deep clean sticky keys within 48 hours of noticing issues
- ✔️ Store laptop in a protective case when not in use
Frequently Asked Questions
Can I use hand sanitizer to clean under my keys?
No. While hand sanitizer contains alcohol, it also includes fragrances, thickeners, and moisturizers that can leave sticky residues. Stick to pure isopropyl alcohol (70% or higher) for safe cleaning.
My key feels loose after reattaching. Did I break it?
Not necessarily. Misalignment is common. Remove the key again and check that both hinge hooks are seated properly on the scissor mechanism. Reinstall slowly and press down evenly on both ends until it clicks into place.
How do I know if a key mechanism is already damaged?
If a key wobbles excessively, doesn’t depress fully, or makes a grinding sound, the scissor mechanism may be cracked or misaligned. If cleaning doesn’t help, replacement may be needed. Some manufacturers sell individual key repair kits.
Final Thoughts: Small Efforts, Long-Term Gains
A well-maintained keyboard enhances productivity, comfort, and device longevity. Sticky keys aren’t just annoying—they can disrupt workflow and even lead to typing injuries over time. By understanding how laptop keys work and approaching cleaning with care, you protect both function and investment.
The techniques outlined here emphasize preservation over aggression. You don’t need to dismantle your entire keyboard to restore performance. Often, a few minutes with compressed air and a cotton swab make all the difference.


 浙公网安备
33010002000092号
浙公网安备
33010002000092号 浙B2-20120091-4
Comments
No comments yet. Why don't you start the discussion?