
LED lighting has revolutionized home and commercial illumination with its energy efficiency, longevity, and low heat output. However, when your LED strip or fixture only partially illuminates—such as one end glowing while the other remains dark—it disrupts both function and aesthetics. This issue is more common than many realize and often stems from electrical inconsistencies, component failure, or installation errors. Understanding the root causes and knowing how to methodically diagnose them can save time, money, and frustration.
Why Do LED Lights Only Work Halfway?
Unlike traditional incandescent bulbs, LEDs operate on low-voltage DC power and rely on consistent current flow across a circuit. When part of an LED strip or array fails to light up, it usually indicates a break in continuity, insufficient power delivery, or degraded components. The most frequent culprits include voltage drop, poor solder joints, faulty connections, damaged circuits, incompatible drivers, or manufacturing defects.
Voltage drop is especially prevalent in longer LED strips. As electricity travels along the strip, resistance in the copper traces reduces available voltage at the far end. If the voltage falls below the minimum required to activate the LEDs (typically around 12V for 12V systems), those sections will dim or fail entirely. This effect is more pronounced in lower-quality strips with thinner conductive pathways.
Step-by-Step Troubleshooting Process
Resolving partial LED operation requires a logical approach. Follow this sequence to isolate and fix the problem efficiently.
- Inspect Visual Damage: Examine the entire length of the strip for cuts, kinks, or water exposure. Look closely at solder points and connector joints.
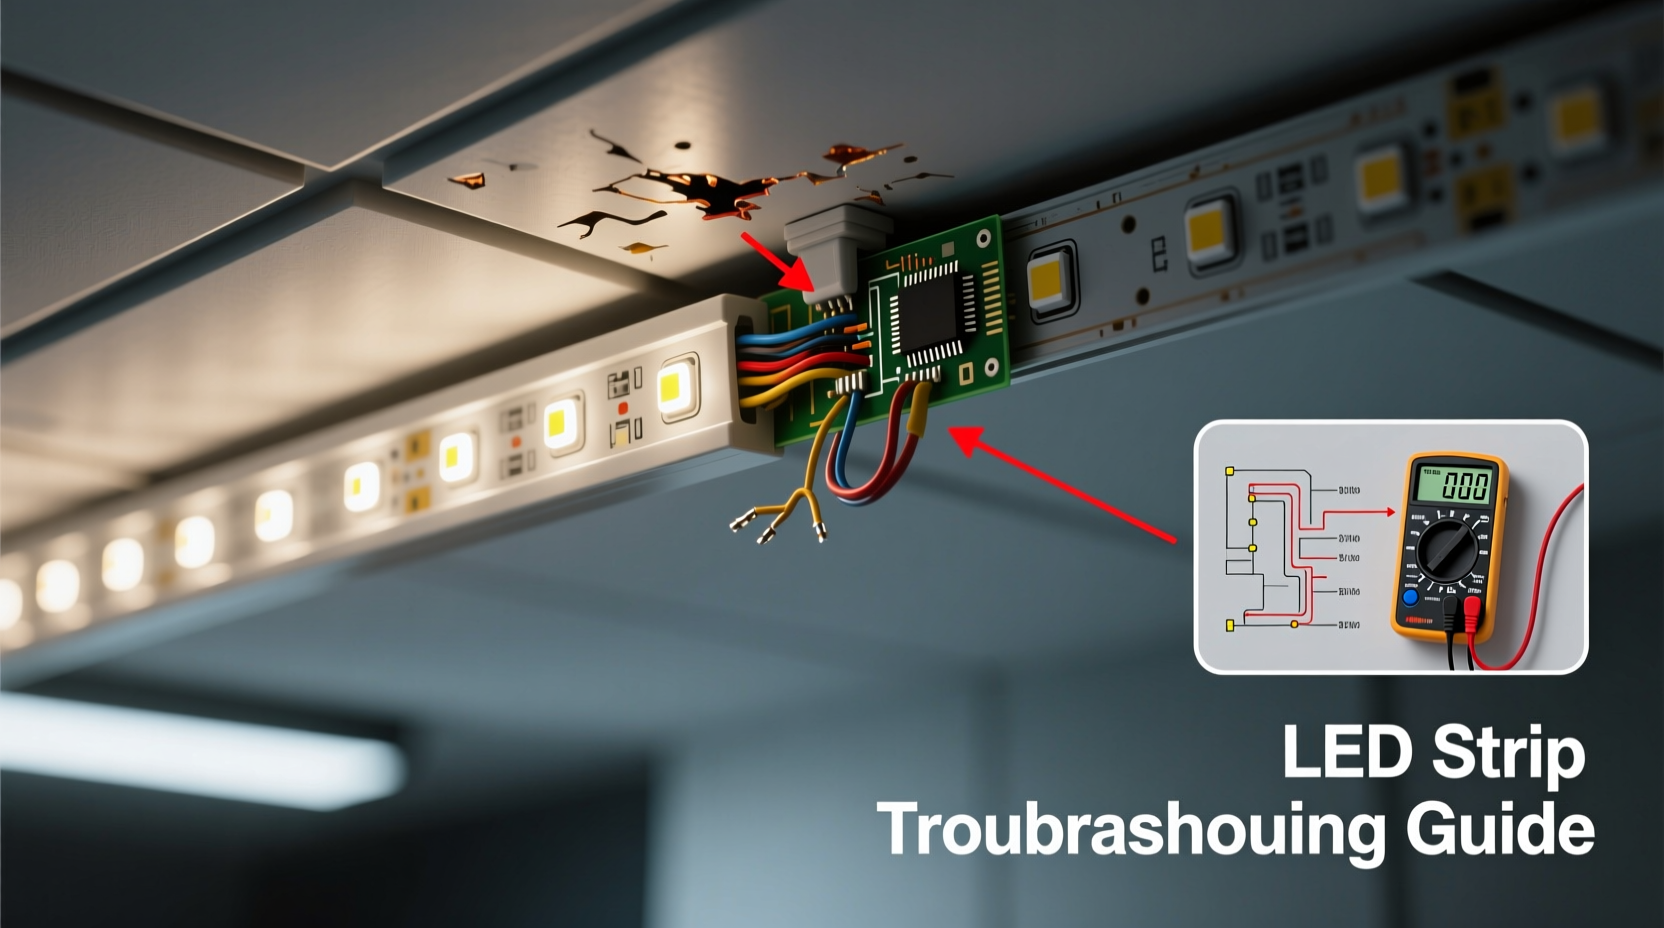
- Check Power Supply Output: Use a multimeter to verify that the driver delivers the correct voltage under load. A failing power supply may show normal voltage when idle but sag under actual use.
- Test Voltage Along the Strip: Measure voltage at the beginning, middle, and end of the strip. A significant drop (more than 0.5V per meter) suggests inadequate power distribution.
- Examine Connections: Disconnect and reseat all connectors. Corrosion, loose pins, or reversed polarity can interrupt current flow.
- Bypass Suspected Sections: Temporarily connect power directly to the non-working segment. If it lights up, the issue lies upstream in wiring or connections.
- Verify Polarity: Ensure positive and negative leads are correctly aligned. Reversed polarity prevents LEDs from lighting and may damage sensitive chips.
Common Causes and Their Solutions
| Cause | Symptoms | Solution |
|---|---|---|
| Voltage Drop | Dimming toward end of strip; rear section unlit | Power from both ends, use thicker gauge wire, switch to 24V system |
| Poor Solder Joint | Dead section near connection point | Re-solder joint with rosin-core solder |
| Faulty Connector | Entire downstream section off after connector | Replace with high-quality clamp-style connector |
| Damaged Circuit Trace | Visible burn marks, cut in copper line | Repair with conductive epoxy or jumper wire |
| Incompatible Driver | Strip flickers, hums, or powers inconsistently | Match driver specs (voltage, wattage, constant voltage vs. current) |
Real-World Example: Kitchen Under-Cabinet Lighting Failure
A homeowner installed a 6-meter warm-white LED strip under kitchen cabinets. After three months, the last two meters stopped working. Initial inspection revealed no visible damage. Using a multimeter, voltage at the start was 12.1V, but dropped to 9.3V at the end—below operational threshold.
The installer had used a single-ended feed with a standard 12V/60W driver. The solution involved adding a second power feed from the same driver to the far end of the strip. After re-wiring, full brightness was restored across the entire length. This case highlights how voltage drop, not component failure, was the true cause.
“Many so-called ‘defective’ LED strips are actually victims of improper power delivery. Always calculate total load and plan for voltage stability.” — Mark Tran, Electrical Systems Engineer
Troubleshooting Checklist
- ✅ Confirm power supply matches LED voltage (e.g., 12V to 12V)
- ✅ Check if the driver provides enough wattage for total LED length
- ✅ Inspect all connectors for tightness and corrosion
- ✅ Test voltage at multiple points along the strip
- ✅ Verify correct polarity at every connection
- ✅ Look for physical damage or bent contacts
- ✅ Try powering the dead section directly to isolate fault location
- ✅ Replace suspect components one at a time (connectors, drivers)
When to Replace vs. Repair
Not every malfunction requires replacement. Minor issues like loose connectors or cold solder joints are easily repaired with basic tools. However, widespread damage, water intrusion, or internal IC failures within addressable LED chips often make repair impractical.
If more than 30% of a strip is non-functional, or if repairs compromise waterproofing or structural integrity, replacement is usually more cost-effective and reliable. High-quality replacements with thicker copper traces (2oz or higher) and proper insulation reduce future issues.
Frequently Asked Questions
Can I cut and reconnect an LED strip if part of it stops working?
Yes, most LED strips have designated cut lines marked with scissors icons. You can remove the damaged section and reconnect using compatible connectors or by soldering new wires. Just ensure you don’t exceed the maximum run length supported by your power supply.
Why do some LEDs work intermittently?
Intermittent operation typically points to a loose connection, failing power supply, or thermal shutdown due to overheating. Check for wires that shift when touched, and ensure the driver isn’t placed in enclosed spaces without ventilation.
Is it safe to run LED strips continuously?
High-quality LED strips designed for continuous operation can safely run 24/7, provided they are properly ventilated and powered by a matched, stable driver. Avoid covering strips with insulation or placing them near heat sources.
Prevent Future Issues: Best Practices
Maintaining consistent LED performance starts with proper planning. Calculate total wattage before selecting a driver—add a 20% buffer to avoid overloading. Use stranded copper wire of appropriate gauge (e.g., 18 AWG for runs over 3 meters). Install inline fuses for long runs to protect against short circuits.
For permanent installations, solder connections instead of relying solely on clip-on connectors. Seal outdoor or humid-area joints with silicone or heat-shrink tubing. Periodically inspect connections for signs of heating, discoloration, or oxidation.
Final Thoughts
Half-working LED lights are rarely random malfunctions—they signal underlying electrical or mechanical issues that demand attention. With systematic testing and informed repairs, most problems can be resolved without replacing the entire setup. Addressing voltage drop, securing solid connections, and using compatible components form the foundation of reliable LED lighting.


 浙公网安备
33010002000092号
浙公网安备
33010002000092号 浙B2-20120091-4
Comments
No comments yet. Why don't you start the discussion?