
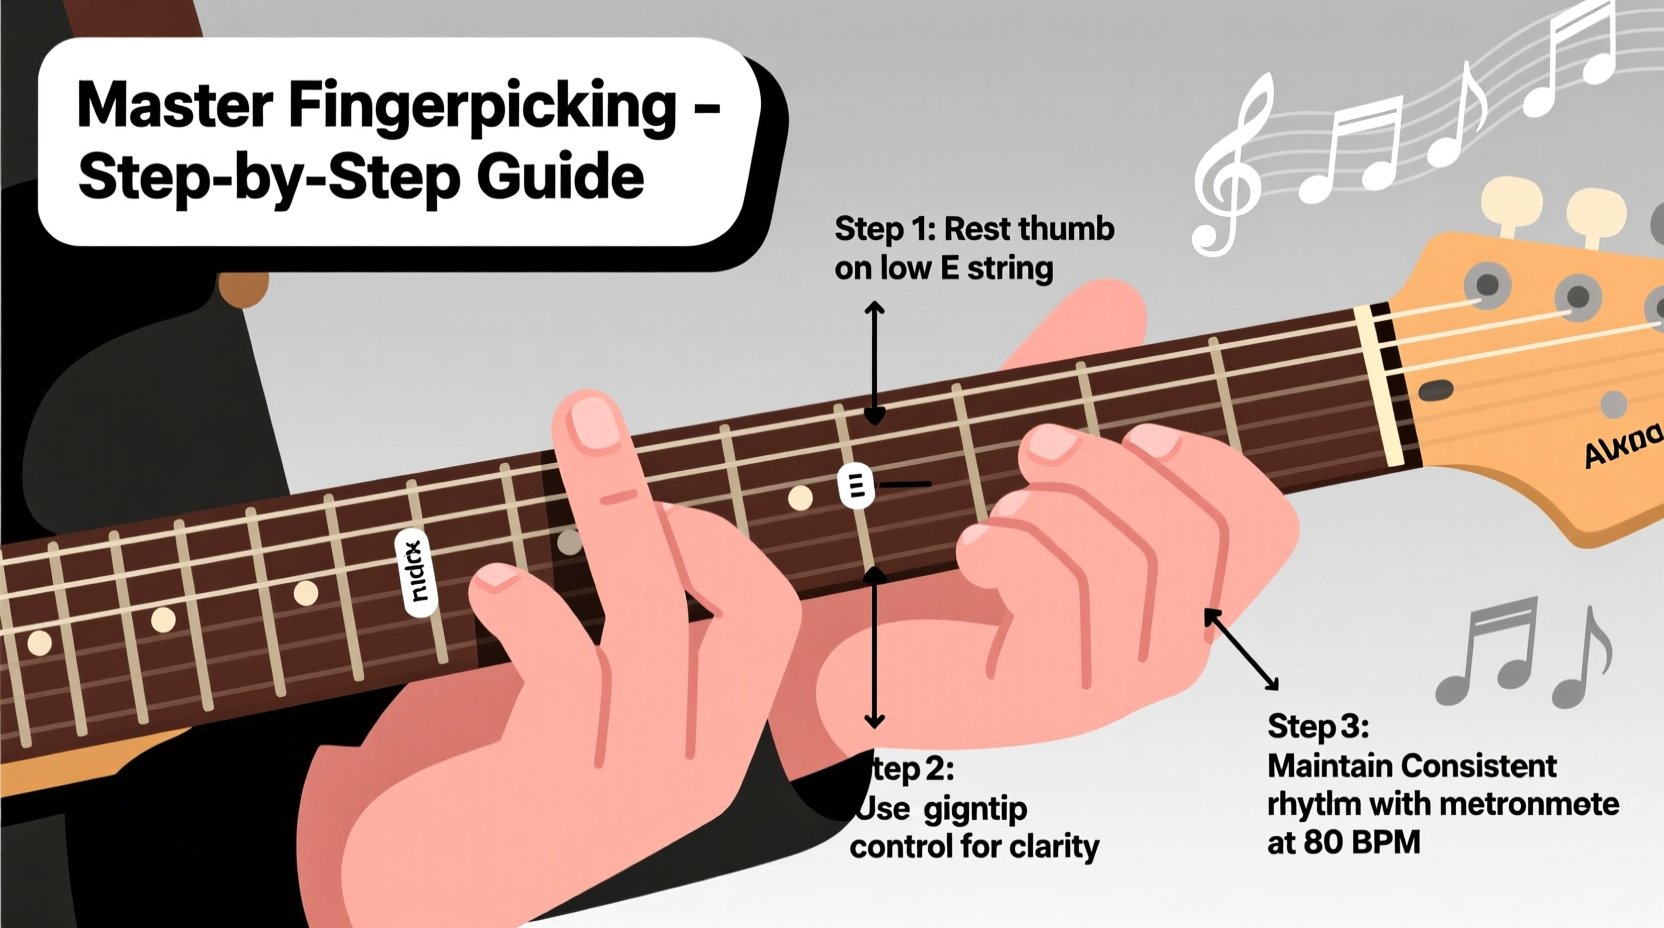
Fingerpicking transforms the guitar into a dynamic, expressive instrument capable of delivering melody, harmony, and rhythm simultaneously. Unlike flatpicking, which emphasizes speed and attack, fingerstyle playing invites nuance, control, and musicality. Whether you're drawn to folk ballads, classical pieces, or modern percussive arrangements, mastering fingerpicking opens a world of sonic possibilities. This guide breaks down the process into clear, actionable steps, helping you build strength, accuracy, and confidence in your right hand.
Understanding Fingerpicking Fundamentals
Fingerpicking relies on independent movement of the thumb and fingers, each assigned to specific strings. The standard classical notation assigns:
- Thumb (p): Bass strings (E, A, D)
- Index (i): G string
- Middle (m): B string
- Ring (a): High E string
This system, known as apoyando (rest stroke) or tirando (free stroke), forms the foundation of most fingerstyle traditions. Begin by anchoring your little finger lightly on the soundboard just below the high E string. This stabilizes your hand and improves accuracy.
Step-by-Step Development of Technique
Mastery comes not from rushing through exercises but from deliberate, focused practice. Follow this progression to build lasting skill:
- Establish Hand Position: Rest your picking hand so the wrist is relaxed and slightly arched. Fingers should approach the strings at a 45-degree angle.
- Isolate Thumb Movement: Practice alternating bass patterns (e.g., E-A-E-A) using only the thumb. Use a metronome at 60 BPM, increasing tempo gradually.
- Add Index and Middle Fingers: Play simple arpeggios like Am – C – G – D using p-i-m-i pattern. Focus on even volume and timing.
- Incorporate Ring Finger: Introduce the ring finger in sequences such as p-i-m-a. Start slowly to avoid tension.
- Integrate Independence Drills: Practice patterns where the thumb maintains a steady pulse while fingers play syncopated melodies.
Consistency matters more than duration. Ten minutes of mindful daily practice yields better results than an hour of distracted repetition.
Essential Exercises for Precision and Control
To develop muscle memory and coordination, integrate these foundational drills into your routine:
| Exercise | Pattern | Focus Area |
|---|---|---|
| Alternating Bass | p (E), p (A), i, m, i, m | Thumb independence |
| Travis Picking | p (bass), i (G), p (bass), m (B) | Rhythmic stability |
| Arpeggio Flow | p, i, m, a across open C chord | Finger reach and tone balance |
| Percussive Tap | p (tap body), p (bass), i-m-a | Dynamic contrast |
Practice each exercise with eyes closed after a few repetitions. This heightens tactile awareness and reduces visual dependency.
“Fingerpicking isn’t about how fast you can move—it’s about how clearly you can speak through the instrument.” — Diego Garcia, Classical Guitar Pedagogue
Common Challenges and How to Overcome Them
Even dedicated players encounter plateaus. Recognizing and addressing common issues accelerates progress:
- Inconsistent dynamics: One finger dominates others. Solution: Mute non-playing fingers against the strings to equalize pressure.
- Tension in the forearm: Often caused by over-gripping or poor posture. Reset every 5 minutes during practice; shake out your hand.
- Muting adjacent strings: Usually due to improper nail angle or finger curl. Adjust fingertip contact and ensure nails are smoothly filed.
- Losing rhythm under complexity: Break phrases into two-beat segments. Loop each until seamless, then connect.
Mini Case Study: From Struggles to Smooth Arpeggios
Lena, an intermediate guitarist, loved Nick Drake’s “Pink Moon” but couldn’t maintain consistent finger alternation. Her index finger consistently overpowered the middle, creating uneven flow. She began practicing the i-m sequence alone—plucking G and B strings in steady eighth notes—for five minutes daily. After three weeks, she reintroduced the thumb and found her arpeggios smoother and more musical. By focusing on the weakest link, she unlocked the entire pattern.
Expanding Your Repertoire with Musical Application
Technique without context lacks purpose. Apply your skills to real music with this checklist:
Repertoire Integration Checklist
- ✅ Choose one song per month that challenges a specific skill (e.g., syncopation, thumb independence).
- ✅ Break the piece into 2-bar phrases. Master each before moving forward.
- ✅ Practice hands separately if needed—especially useful for complex bass lines.
- ✅ Use a looper pedal to layer bass and melody, reinforcing internal rhythm.
- ✅ Perform the piece at 75% speed with full expression before increasing tempo.
Start with accessible pieces like “Dust in the Wind” (Kansas) for Travis picking, “Blackbird” (The Beatles) for thumb-melody separation, or “Romance Anónimo” for classical fluency. These serve as technical milestones while remaining musically rewarding.
FAQ
Can I fingerpick with short nails?
Yes. Many players use the fleshy part of the fingertip for a warmer tone. However, longer nails (especially on the right hand) allow greater projection and clarity. Experiment to find your preferred tone.
How long does it take to master fingerpicking?
Basic competence can emerge in 3–6 months with regular practice. True mastery—where technique serves spontaneous expression—takes years. Focus on incremental growth rather than timelines.
Should I use a thumb pick?
A thumb pick enhances bass clarity in country or bluegrass styles. It’s optional. Many players prefer bare-thumb control for softer genres. Try both and choose based on comfort and musical intent.
Final Steps Toward Artistic Fluency
Fingerpicking is not merely a technique—it’s a language. As your fingers gain agility, shift focus from mechanics to phrasing. Listen to masters like John Renbourn, Tommy Emmanuel, or Ana Vidović. Notice how they shape notes, breathe between phrases, and use silence as powerfully as sound. Emulate their touch, not just their fingerings.
The journey from mechanical execution to musical storytelling begins with disciplined fundamentals. Return to basics often, even as you advance. A strong foundation allows for greater creativity when improvising, composing, or interpreting songs.


 浙公网安备
33010002000092号
浙公网安备
33010002000092号 浙B2-20120091-4
Comments
No comments yet. Why don't you start the discussion?