
The iPad has evolved into a powerful music production tool, and GarageBand stands at the forefront of this revolution. With intuitive design, professional-grade features, and seamless integration across Apple devices, it empowers musicians, producers, and hobbyists to compose, record, edit, and mix full tracks without needing a traditional studio. Whether you're just starting or refining your workflow, mastering GarageBand on iPad can elevate your creativity and output significantly.
Optimize Your Workspace and Settings
Before diving into composition, set up your environment for maximum efficiency. The iPad’s touch interface offers flexibility, but performance depends heavily on configuration.
Start by connecting headphones or external monitors to ensure accurate sound monitoring. Disable background app refresh and notifications during sessions to prevent interruptions. In GarageBand preferences, assign a dedicated folder for project backups and enable Auto-Save to avoid losing progress.
Use Split View if you’re working with reference material or lyric sheets. Slide over Notes or a web browser while keeping GarageBand active. This multitasking capability turns your iPad into a compact yet complete production suite.
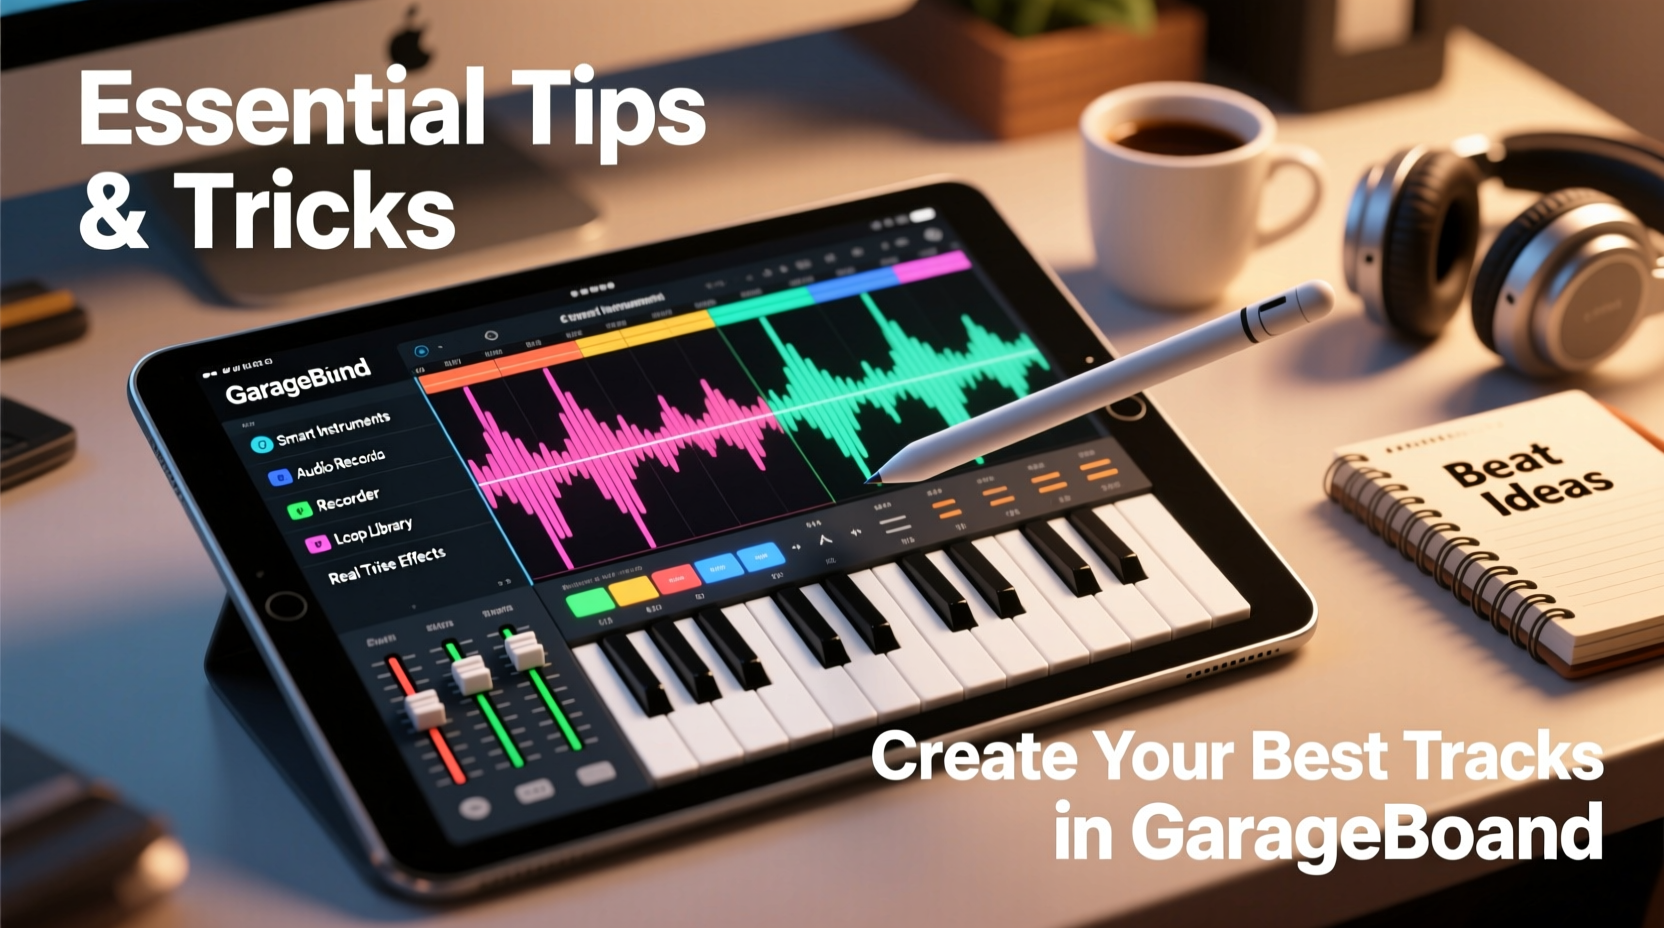
Build Tracks Efficiently Using Smart Instruments and Loops
GarageBand excels in lowering the barrier to entry through Smart Instruments and an expansive loop library. These tools allow users to create rich arrangements even without formal training.
Smart Drums let you tap out rhythms intuitively, adjusting complexity with swipe gestures. Smart Keyboard and Smart Guitar offer chord-based playing with selectable scales and styles—perfect for sketching ideas quickly.
- Hold a chord in Smart Keyboard to sustain it across measures
- Customize Smart Drum kits by swapping individual sounds (kick, snare, cymbals)
- Drag loops directly from the Loop Browser into your timeline
| Feature | Best For | Pro Tip |
|---|---|---|
| Smart Strings | Emotional pads and cinematic textures | Automate expression for dynamic swells |
| Arpeggiator (on Software Instrument) | Creating rhythmic synth patterns | Adjust rate and octaves for evolving sequences |
| Auto-Play (in Smart Bass) | Matching basslines to chord progressions | Switch between funk, rock, or reggae styles instantly |
Step-by-Step: Assembling a Full Track in Under 15 Minutes
- Open a new project and select “Empty Project” with Software Instrument.
- Choose a tempo and key that suits your mood (e.g., 90 BPM, A minor).
- Add a drum loop from the Electronic or Hip-Hop category; drag it across four bars.
- Layer a bassline using Smart Bass set to “Funk” mode, synced to your chord progression.
- Introduce chords via Smart Keyboard using Am–F–C–G progression.
- Add a melodic lead using the Synth or Electric Piano software instrument.
- Arrange sections by duplicating regions: Verse (4 bars), Chorus (8 bars), Bridge (4 bars).
- Apply volume automation to fade in the intro and emphasize the chorus.
- Mix levels so no single element overpowers the others.
- Export as AAC or WAV for sharing or further refinement.
Record and Edit Like a Pro
When it’s time to add real performances, GarageBand supports both audio and MIDI recording with precision editing tools.
To record vocals or acoustic instruments, plug in a compatible microphone (like the Shure MV88) or use the built-in mic in quiet conditions. Tap the red record button, arm your track, and monitor input levels to avoid clipping.
After recording, use Flex Time to correct timing issues manually. Zoom into the waveform and stretch or shift phrases without affecting pitch. For pitch correction, while GarageBand doesn’t include auto-tune, you can re-record off-pitch notes using the Pitch Correction feature under the Editor settings for vocal tracks.
“With GarageBand, I produced my first EP entirely on an iPad Air while traveling. The ability to capture ideas anywhere changed how I approach songwriting.” — Lena Torres, Independent Singer-Songwriter
Enhance Sound with Effects and Automation
Professional-sounding mixes rely not just on good performances but also on thoughtful use of effects and dynamics control.
Each track includes access to reverb, compression, EQ, and delay. Apply reverb subtly to vocals to create space. Use compression on bass and kick drums to maintain consistent levels. Adjust EQ to cut muddy low-mids (around 250 Hz) or boost clarity in vocals (around 3–5 kHz).
Automation unlocks expressive potential. Swipe down on a track to reveal automation lanes. Write changes for volume, pan, reverb send, or effect parameters over time. For example, automate a filter sweep on a synth pad leading into a chorus, or gradually increase echo feedback during an outro.
Do’s and Don’ts of Effect Usage
| Action | Do | Don't |
|---|---|---|
| Reverb | Use room or plate types for natural ambience | Apply heavy reverb to every track |
| Compression | Control peaks on dynamic sources like voice or bass | Over-compress and squash all dynamics |
| EQ | Carve space by cutting competing frequencies | Boost excessively to fix poor recordings |
| Delay | Create depth with dotted eighth-note syncopation | Set long delays without feedback control |
Real Example: From Idea to Finished Track in One Sitting
Jamal, a college student and bedroom producer, used his iPad during a weekend trip to the mountains. Without access to his desktop DAW, he opened GarageBand and started with a simple piano loop in C major. He layered a soft electronic beat and recorded a hummed melody. Inspired by the scenery, he sang original lyrics over the top.
Using only iPad-native tools, he applied light compression to his vocal, added ambient reverb, and automated a rising filter effect before the final chorus. Within three hours, he had a polished demo ready to share with friends. That track later became part of a self-released EP after minor refinements in Logic Pro.
This scenario illustrates how mobility and simplicity don’t mean sacrificing quality. When used skillfully, GarageBand on iPad becomes a legitimate production platform.
Essential Checklist Before Exporting
Ensure your final product meets professional standards with this verification list:
- ✅ Balance levels across all tracks (no clipping or buried elements)
- ✅ Apply high-pass filters to non-bass instruments to clean low end
- ✅ Check stereo imaging—avoid extreme panning unless intentional
- ✅ Listen on multiple devices (earbuds, car speakers, Bluetooth speaker)
- ✅ Confirm smooth transitions between sections
- ✅ Save a project backup before exporting
- ✅ Export at 24-bit/48kHz for highest quality (Settings > Advanced > Audio Export Quality)
Frequently Asked Questions
Can I connect MIDI keyboards and guitars to GarageBand on iPad?
Yes. Most USB and Bluetooth MIDI controllers are plug-and-play when connected via a Camera Connection Kit or wirelessly. Electric guitars can be plugged in using adapters like the Lightning to 3.5mm Headphone Jack or USB-C to 3.5mm depending on model.
Is GarageBand powerful enough for commercial releases?
Absolutely. Many independent artists have released charting singles and albums created primarily in GarageBand. While more complex projects may benefit from advanced DAWs like Logic Pro or Ableton, GarageBand provides everything needed for high-quality songwriting, demo creation, and even finished masters—especially when used thoughtfully.
How do I share my project with someone using Mac GarageBand?
Use iCloud Drive to sync projects across devices. Tap the project, choose \"Share,\" then \"Project to Mac.\" Ensure both devices are logged into the same Apple ID and have iCloud Drive enabled for GarageBand in Settings.
Take Your Music Further
Mastering GarageBand on iPad isn’t about memorizing every button—it’s about developing fluency in turning inspiration into finished work. With practice, the interface fades into the background, leaving room for pure creativity. Explore its capabilities daily, experiment fearlessly, and trust your ears above all.


 浙公网安备
33010002000092号
浙公网安备
33010002000092号 浙B2-20120091-4
Comments
No comments yet. Why don't you start the discussion?