
Screen recording on an iPad is one of the most underutilized yet powerful tools available to users. Whether you're creating tutorials, capturing gameplay, documenting app bugs, or sharing visual instructions with colleagues, the ability to record your screen opens up a world of possibilities. Apple has integrated this feature directly into iPadOS, making it accessible without third-party apps. However, many users either can’t find it or don’t know how to optimize its settings. This guide walks through every aspect of enabling and using screen recording on your iPad—clearly, thoroughly, and without unnecessary jargon.
Why Screen Recording Matters on iPad
The iPad’s versatility as a device for education, creativity, and productivity makes screen recording an essential function. Teachers can record lessons for remote students. Designers can showcase UI interactions. Professionals can create quick walkthroughs for clients. Even casual users benefit when troubleshooting tech issues with family members—showing is often clearer than explaining.
Apple’s native screen recorder is lightweight, secure, and respects user privacy. It doesn’t require internet access or external permissions beyond microphone access (if needed), ensuring recordings are fast, private, and high quality.
Step-by-Step: How to Enable Screen Recording on iPad
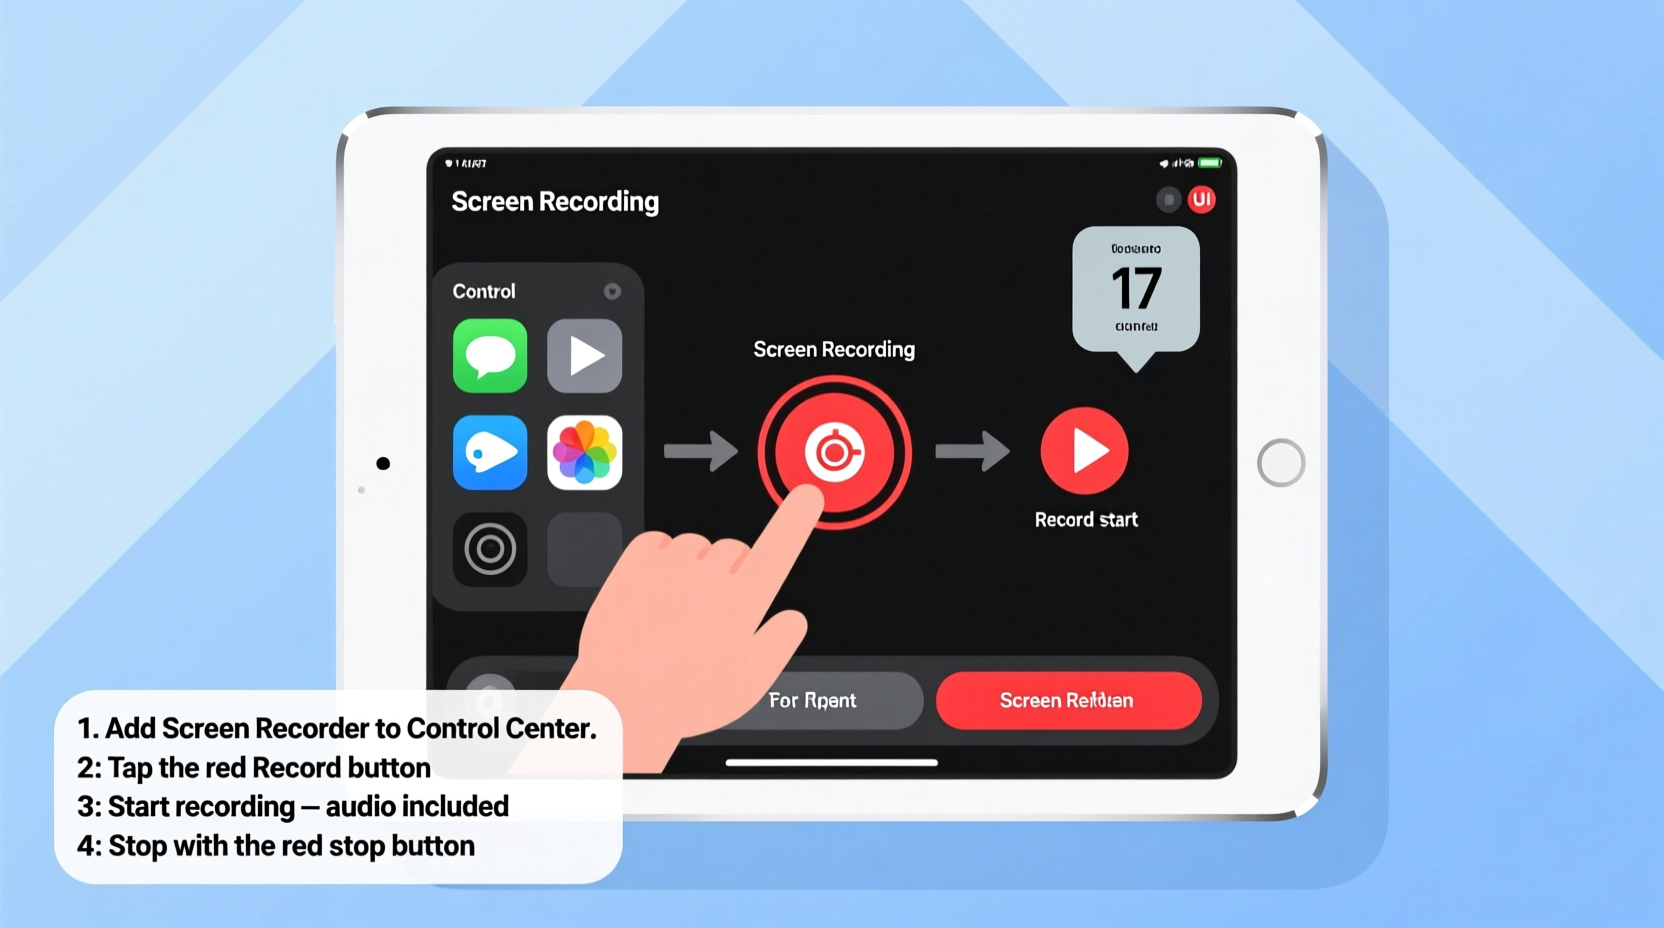
The screen recording feature isn’t visible by default. You must first add it to the Control Center, where it can be accessed quickly during any task.
- Open the Settings app on your iPad.
- Navigate to Control Center.
- Under “More Controls,” tap the green + next to Screen Recording.
- The icon will now appear in your Control Center menu.
To access Control Center, swipe down from the top-right corner of the screen (on iPads with Face ID) or swipe up from the bottom (on models with a Home button).
Once added, the screen recording button appears as a small circle with a dot inside—easily recognizable among other controls like brightness or Airplane Mode.
Customizing Your Screen Recording Settings
You can enhance your recordings by configuring audio input and video quality. Long-press (or force-touch) the screen recording icon in Control Center to reveal additional options:
- Mic Audio: Toggle on to narrate your actions during recording.
- Record Video: Choose between Full HD, HD, or Standard quality based on storage and purpose.
Enabling mic audio is particularly useful for voiceovers, while higher video quality ensures clarity for presentations or design reviews.
How to Start, Pause, and Stop a Screen Recording
Starting a recording is straightforward once the setup is complete.
- Open Control Center.
- Tap the screen recording button (the circular icon).
- A 3-second countdown begins—your recording is now live.
While recording, a red status bar appears at the top of the screen, indicating active capture. This helps prevent accidental long recordings.
To stop:
- Open Control Center again and tap the red recording button.
- Alternatively, tap the red bar at the top of the screen and select Stop.
After stopping, the recording automatically saves to your Photos app. From there, you can edit, share, or delete it as needed.
Advanced Tips for Better Screen Recordings
While basic functionality is simple, mastering screen recording means leveraging advanced techniques for professional results.
Use Gestures to Minimize Finger Obstruction
When demonstrating touch interactions, fingers can block important UI elements. To improve visibility:
- Use a stylus like Apple Pencil for precision.
- Enable AssistiveTouch to simulate taps without covering the screen.
Trim Recordings Directly in Photos
No need for third-party editors for short clips. After saving a recording:
- Open the video in the Photos app.
- Tap Edit.
- Drag the yellow handles to trim the start and end points.
- Tap Done to save the trimmed version.
Organize Recordings with Albums
Create a dedicated album called “Screen Recordings” to keep captured videos organized. This is especially helpful for educators or developers who produce multiple clips weekly.
| Feature | Benefit | Best For |
|---|---|---|
| Mic On | Add voice commentary | Tutorials, feedback, narration |
| Mic Off | Silent capture | Demonstrations, bug reports |
| Full HD Recording | High clarity | Presentations, client work |
| HD/Standard | Smaller file size | Quick internal sharing |
“Screen recording transforms the iPad from a consumption device into a creation powerhouse. When used intentionally, it becomes a tool for teaching, collaboration, and innovation.” — Jordan Lee, EdTech Consultant
Real-World Example: Training Remote Team Members
Sophia, a project manager at a digital agency, needed to onboard a new designer located overseas. Instead of writing lengthy emails or scheduling time-zone-challenged calls, she recorded a 4-minute screen walkthrough showing how to use their internal design handoff tool.
She enabled microphone audio to explain each step clearly, used Full HD quality for sharp visuals, and trimmed the final clip to remove pauses. The result? The new hire understood the process within hours and sent a follow-up message saying, “That video saved me at least two days of confusion.”
This scenario illustrates how a simple feature, when used effectively, can significantly improve communication efficiency.
Common Issues and How to Fix Them
Even a well-designed system can present occasional hiccups. Here are frequent problems and their solutions:
- Recording not saving: Check if Photos has permission to write files. Restart the device if necessary.
- No audio despite mic being on: Ensure no headphones are plugged in, as they override internal mic input.
- Red bar stuck at top: Force-stop the recording via Control Center. If unresponsive, restart the iPad.
- Low-quality output: Verify recording resolution settings in Control Center options.
FAQ
Can I record sound from apps along with my voice?
iPadOS does not allow simultaneous app audio and mic input in screen recordings due to privacy and licensing policies. You’ll get either system audio (app sounds only) or mic audio—but not both. Third-party apps may offer mixed audio, but Apple’s native tool separates these inputs.
Where do screen recordings go after I stop?
All recordings are automatically saved to your Photos app, typically in the “Recents” or “Videos” album. You can move them to custom albums or export via Messages, Mail, or cloud services.
Is screen recording allowed in all apps?
Most apps support screen recording. However, streaming platforms like Netflix or Disney+ may block recording to prevent piracy. In such cases, the screen will appear black during playback in the recording.
Checklist: Mastering Screen Recording on iPad
- ✅ Add Screen Recording to Control Center via Settings
- ✅ Test mic and video quality settings before important captures
- ✅ Use Full HD for professional outputs; HD for everyday clips
- ✅ Trim recordings in Photos to remove unnecessary segments
- ✅ Create a dedicated album to store and organize recordings
- ✅ Avoid recording in apps that restrict screen capture
- ✅ Share recordings via AirDrop or cloud links for fast delivery
Conclusion
Screen recording on iPad is more than just a hidden feature—it’s a practical tool that enhances communication, learning, and productivity. By taking a few minutes to set it up properly and understanding how to customize recordings, you unlock a seamless way to share knowledge visually. Whether you’re guiding a colleague, teaching a class, or documenting a workflow, the ability to press one button and capture exactly what’s on your screen is invaluable.


 浙公网安备
33010002000092号
浙公网安备
33010002000092号 浙B2-20120091-4
Comments
No comments yet. Why don't you start the discussion?