
Boiling an egg seems simple—drop it in water, wait, and done. Yet many end up with cracked shells, rubbery whites, or greenish-gray yolks. The truth is, boiling eggs to perfection requires more than guesswork. With precise timing, proper technique, and a few kitchen-tested tricks, you can consistently achieve creamy yolks, tender whites, and shells that peel cleanly. Whether you're making deviled eggs, packing lunches, or topping a salad, mastering this foundational skill elevates your cooking from haphazard to reliable.
The Science Behind the Perfect Boiled Egg
Eggs are delicate packages of protein and water encased in porous shells. When heated, the proteins in both the white and yolk coagulate at different temperatures. The egg white begins to set around 140°F (60°C), while the yolk starts firming at about 150°F (65°C). Overcooking causes the yolk to develop a greenish ring caused by a reaction between iron in the yolk and sulfur in the white—a harmless but unappetizing sign of excess heat.
Altitude, egg freshness, and starting temperature all influence results. Cold eggs plunged into boiling water are more likely to crack due to thermal shock. Older eggs peel more easily because their air cells have expanded and pH levels have risen, loosening the membrane beneath the shell.
Step-by-Step Guide to Perfect Hard-Boiled Eggs
- Select uniform eggs: Choose similarly sized large eggs for consistent cooking.
- Bring eggs to room temperature: Take them out of the fridge 15–20 minutes before boiling to reduce cracking risk.
- Place eggs in a single layer: Use a saucepan large enough to hold eggs without stacking.
- Add cold water: Pour in enough water to cover eggs by at least 1 inch.
- Heat to a boil: Bring water to a full rolling boil over medium-high heat.
- Remove from heat and cover: Once boiling, turn off the burner, cover the pot, and let sit.
- Follow precise timing:
- Soft-boiled: 4–6 minutes (runny yolk)
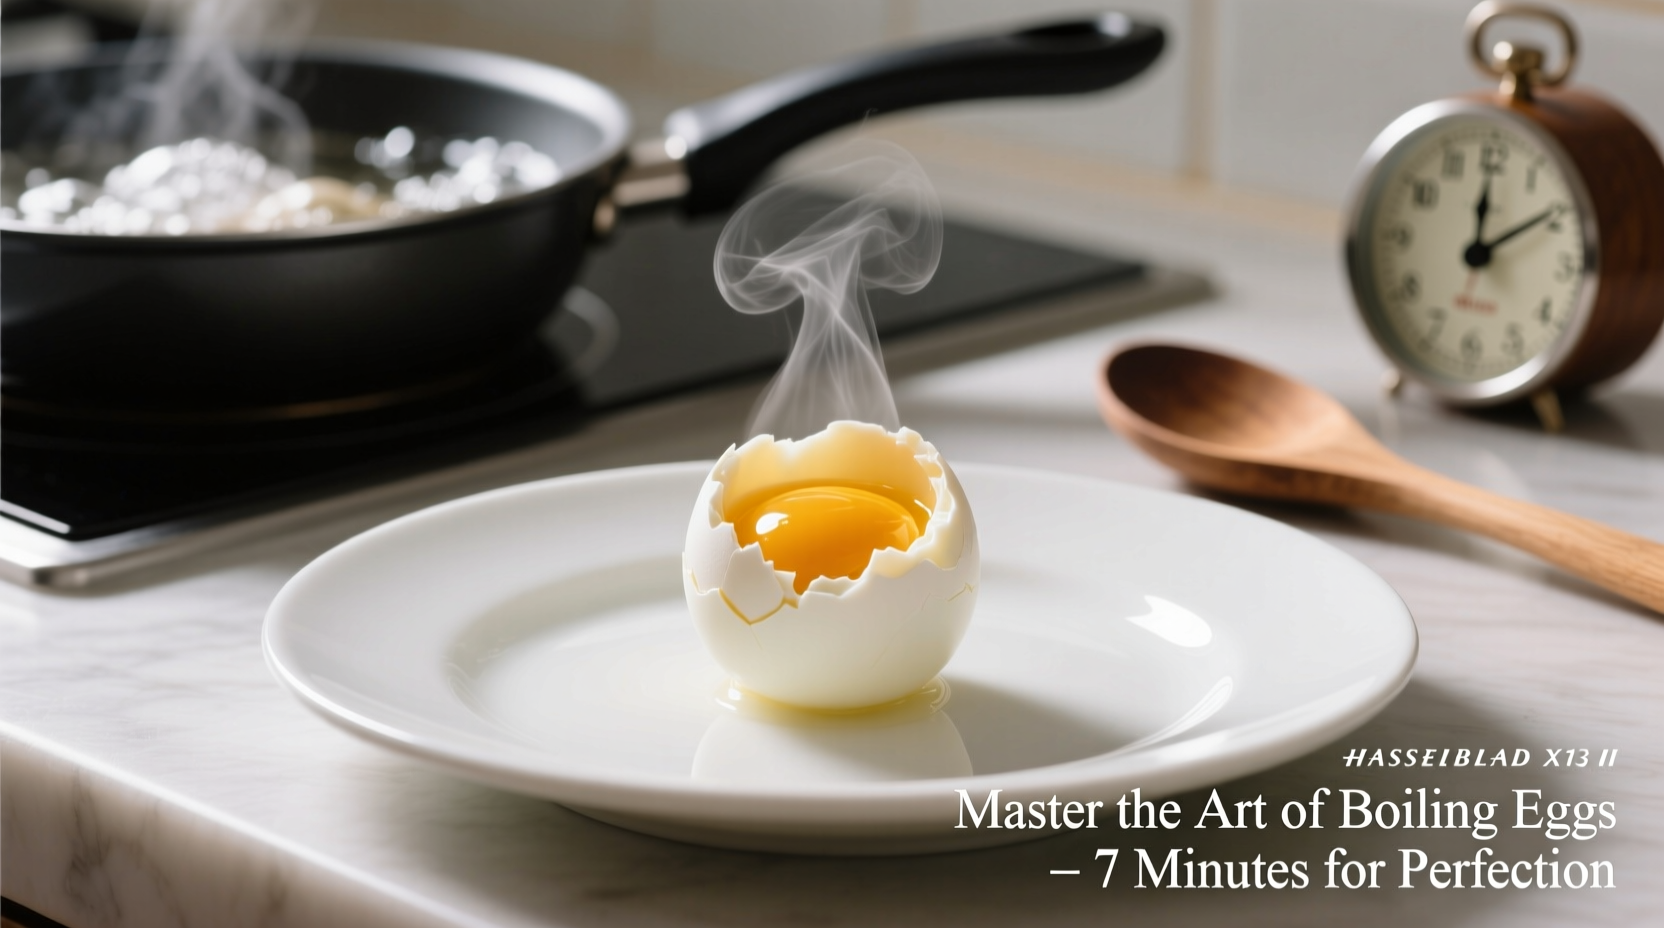
- Medium-boiled: 7–9 minutes (creamy yolk)
- Hard-boiled: 10–12 minutes (fully set, no green ring)
- Shock in ice water: Immediately transfer eggs to a bowl of ice water for at least 10 minutes to stop cooking and aid peeling.
Why the \"Boil and Rest\" Method Works
This method avoids aggressive boiling, which agitates eggs and increases cracking. By bringing water to a boil and then removing the pot from heat, you maintain a high but stable temperature—typically between 180°F and 200°F—ideal for even cooking without overcooking. This gentle approach produces smooth, centered yolks and minimizes the chance of a sulfurous aftertaste.
Peeling Secrets for Flawless Results
No one enjoys struggling with stubborn shells that tear the whites. Peeling success depends on technique and timing.
- Crack the egg all over by tapping it gently on a hard surface.
- Start peeling at the wider end, where the air pocket is located—it creates a natural gap between shell and membrane.
- Peel under cool running water to help lift the membrane away from the white.
- Use a spoon to slide between the shell and egg for a clean lift, especially with older eggs.
Do’s and Don’ts of Boiling Eggs
| Do’s | Don’ts |
|---|---|
| Use older eggs (7–10 days) for easier peeling | Use ultra-fresh eggs straight from the farm if peeling matters |
| Start with cold water or gently lower eggs into boiling water | Drop cold eggs into rapidly boiling water (causes cracks) |
| Shock eggs in ice water immediately after cooking | Let eggs sit in hot water after cooking |
| Add a pinch of salt or vinegar to help coagulate whites if shell cracks | Add too much vinegar—it can impart flavor |
| Store peeled eggs in water in the fridge for up to 2 days | Leave boiled eggs at room temperature for more than 2 hours |
Real Example: From Kitchen Disaster to Consistent Success
Sarah, a home cook in Portland, used to dread making boiled eggs for her weekly meal prep. Her yolks were often dry and green-rimmed, and half the batch would end up mangled from peeling struggles. After switching to the “boil and rest” method and letting her eggs age slightly in the fridge, her results transformed. She now boils a dozen every Sunday using a timer and an ice bath. “I finally get that bright yellow yolk every time,” she says. “And my deviled eggs look like they’re from a cookbook.”
“Perfectly boiled eggs aren’t about luck—they’re about controlling temperature and timing. A consistent method beats intuition every time.” — Chef Marcus Tran, Culinary Instructor at Pacific Kitchen Academy
Frequently Asked Questions
How long do hard-boiled eggs last in the fridge?
Unpeeled hard-boiled eggs stay fresh for up to one week in the refrigerator. Peeled eggs should be stored in a covered container with a damp paper towel or submerged in water (changed daily) and consumed within 48 hours.
Can I boil eggs in a pressure cooker or Instant Pot?
Yes. In a standard electric pressure cooker, place eggs on a trivet with 1 cup of water, seal, and cook on high pressure for 5 minutes. Quick-release, then transfer to an ice bath. This method yields consistent results with minimal effort and reduced cracking.
Why do some boiled eggs have a gray-green ring around the yolk?
This ring forms when iron in the yolk reacts with hydrogen sulfide from the white during prolonged heating. It’s safe to eat but indicates overcooking. Stick to 10–12 minutes of resting time after boiling to avoid it.
Checklist: Your Foolproof Boiled Egg Routine
- ☐ Use large eggs aged 7–10 days
- ☐ Bring eggs to room temperature before cooking
- ☐ Place eggs in a single layer in a saucepan
- ☐ Cover with cold water by 1 inch
- ☐ Bring to a rolling boil, then remove from heat
- ☐ Cover and set timer: 10 minutes for hard-boiled
- ☐ Prepare an ice bath in a large bowl
- ☐ Transfer eggs to ice water for 10+ minutes
- ☐ Tap, roll, and peel under running water
- ☐ Store properly in the refrigerator
Conclusion: Elevate a Simple Skill Into a Culinary Foundation
Boiling an egg may seem trivial, but getting it right builds confidence in the kitchen. Once you master the balance of time, temperature, and handling, you unlock endless possibilities—from ramen toppings to elegant hors d'oeuvres. The difference between a mediocre egg and a perfect one lies not in complexity, but in attention to detail. Apply these methods consistently, and you’ll never again settle for rubbery whites or stubborn shells.


 浙公网安备
33010002000092号
浙公网安备
33010002000092号 浙B2-20120091-4
Comments
No comments yet. Why don't you start the discussion?