
Crafting puff covers has emerged as a beloved pastime for creative individuals who appreciate texture, comfort, and handmade elegance. Whether you're looking to embellish throw pillows, renew old cushion covers, or design unique home décor, mastering puff covers offers both aesthetic satisfaction and functional value. These textured fabric panels—often filled with small padded inserts or stitched to mimic a quilted effect—add depth and warmth to any space. For beginners, the process may seem intricate, but with the right guidance, it becomes an accessible and rewarding craft.
This guide walks through every stage of creating stylish puff covers from scratch. From selecting fabrics to stitching techniques and finishing touches, you’ll gain the confidence to produce professional-looking results even as a novice.
Gather Your Essential Materials and Tools
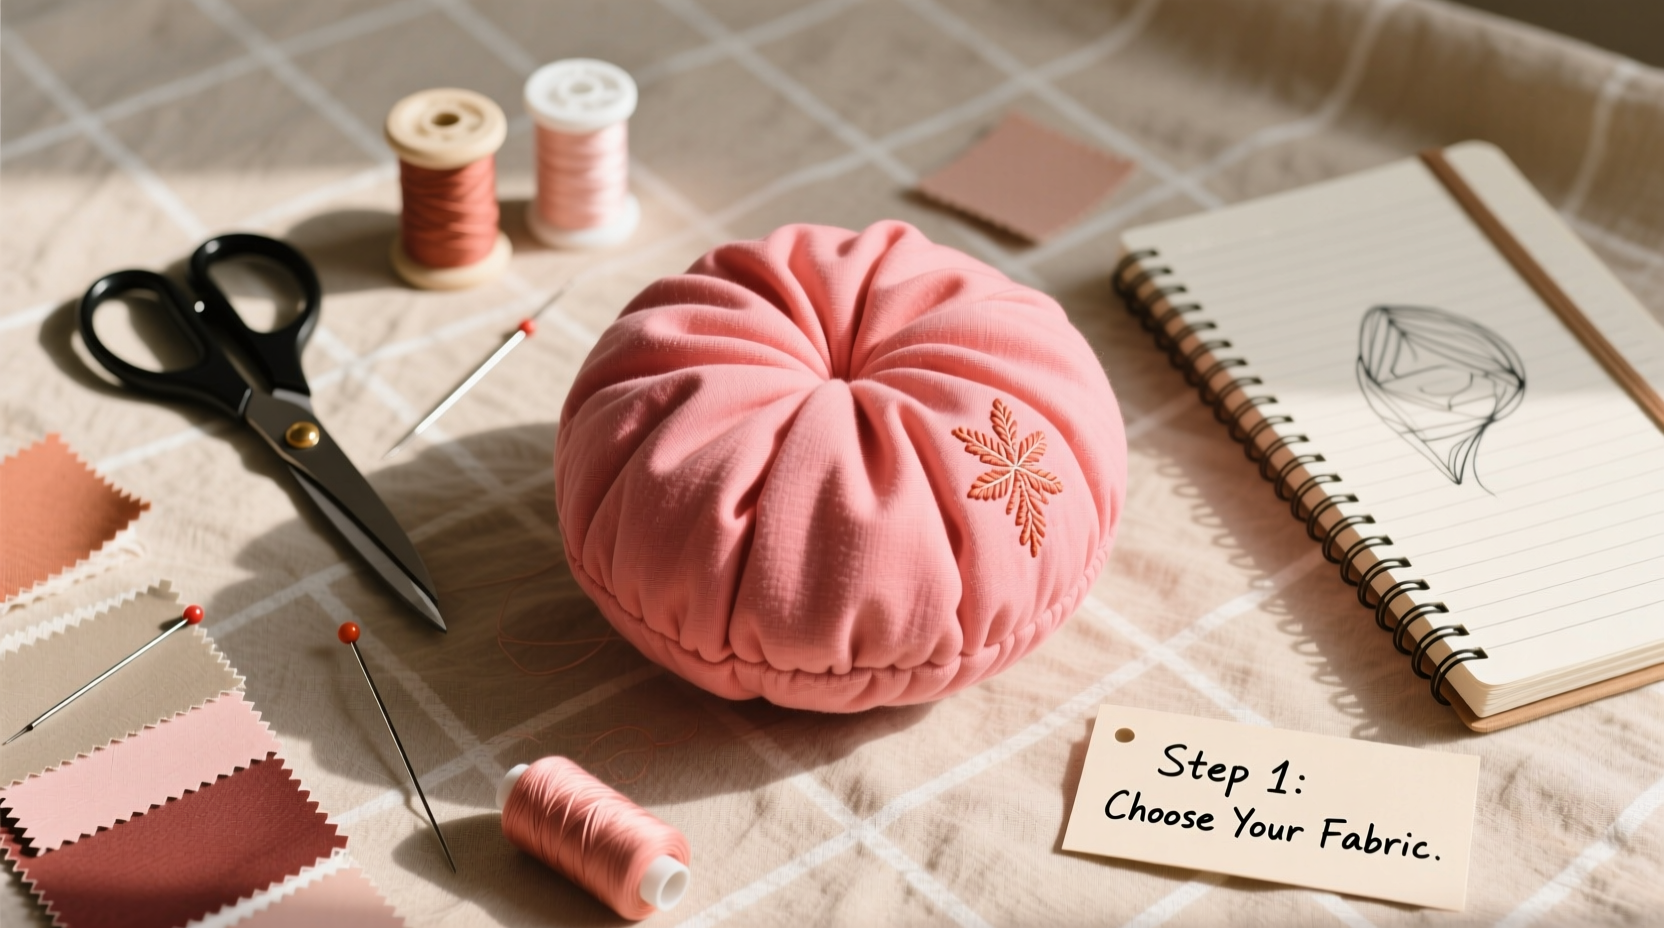
The foundation of a successful puff cover lies in using the right supplies. Unlike flat cushion covers, puff covers rely on structure and dimension, which means material choice directly impacts durability and appearance.
- Fabric: Choose medium-weight cotton, linen, or upholstery-grade textiles. These hold shape well and are easier to sew than slippery silks or stretchy knits.
- Lining fabric: A solid-colored cotton sheeting works well for the inner layer.
- Fusible interfacing: Adds stiffness and helps maintain puff shape over time.
- Thread: High-quality polyester or cotton-wrapped polyester resists breakage during dense stitching.
- Sewing machine: A basic model with adjustable stitch length is sufficient.
- Scissors, pins, measuring tape, and fabric chalk: Standard tools for precision cutting and marking.
- Optional fillers: Polyester fiberfill or small foam squares if you want extra loft.
Design Planning: Layout and Pattern Selection
Before cutting any fabric, decide on the puff pattern. Common designs include diamond quilting, square grids, or circular rosettes. Each creates a different visual impact.
For beginners, a simple 2-inch square grid offers predictable results and builds foundational skills. Use a ruler and fabric chalk to mark evenly spaced lines on the wrong side of your outer fabric. Align these marks precisely when layering with lining and batting.
“Consistency in spacing transforms a homemade project into something that looks store-bought.” — Lena Torres, Textile Artist & Craft Instructor
| Pattern Type | Difficulty Level | Best Use Case |
|---|---|---|
| Square Grid (2”) | Beginner | Cushions, bench seats |
| Diamond Quilting | Intermediate | Decorative throws, headboards |
| Rosette Puff | Advanced | Pillows, wall art |
Step-by-Step Guide to Constructing a Puff Cover
Follow this sequence to assemble a durable, visually appealing puff cover suitable for a standard 16x16 inch pillow.
- Measure and cut: Cut two pieces of outer fabric and two of lining, each 17x17 inches (allowing ½ inch seam allowance on all sides).
- Mark the puff layout: On the wrong side of one outer fabric piece, use a ruler and chalk to draw a grid of 2-inch squares.
- Add interfacing: Iron fusible interfacing onto the back of the marked outer fabric for added body.
- Layer the sandwich: Place the outer fabric (right side up), then the lining (wrong side up), aligning edges. Pin around the perimeter and along key grid lines to prevent shifting.
- Stitch the puffs: Sew along all marked lines, starting from one edge and working row by row. Backstitch at the beginning and end of each line for reinforcement.
- Create puff volume: After completing the quilting, gently pull the lining taut between stitched squares to create subtle raised sections. Do not overstress the fabric.
- Trim and finish edges: Trim corners diagonally to reduce bulk. Fold the entire piece in half to check symmetry.
- Assemble the cover: Place the quilted panel and its matching unquilted lining piece together (right sides facing). Sew around three sides with a ½ inch seam. Turn right side out.
- Add closure: Insert a zipper or use envelope-style overlap with inner flap for easy removal and cleaning.
- Press and finalize: Lightly iron the completed cover, avoiding direct contact with seams. Let it rest under a heavy book overnight to flatten edges.
Avoiding Common Beginner Mistakes
New crafters often encounter avoidable issues that compromise the final look. Awareness and preparation can eliminate most setbacks.
- Inconsistent tension: Adjust your sewing machine’s upper thread tension if stitches appear loose underneath.
- Misaligned layers: Always pin generously between layers before quilting. Fabric shift ruins geometric precision.
- Using thin thread: Lightweight thread breaks under repeated stitching. Opt for 40- or 50-weight thread for durability.
- Skipping pressing: Ironing between steps flattens seams and gives a polished result.
- Overcrowding the puff design: Too many small puffs on a large cover can overwhelm the eye. Balance density with negative space.
Mini Case Study: Sarah’s First Puff Pillow
Sarah, a hobbyist sewer from Portland, attempted her first puff cover using lightweight muslin and no interfacing. After quilting, the puffs collapsed when inserted into a pillow form. She revisited the project with midweight cotton canvas and added light fusible fleece. The second version held its shape beautifully and became a centerpiece on her living room sofa. Her takeaway? “Structure matters more than decoration. Once I focused on stability, the beauty followed naturally.”
Enhance Style with Creative Touches
Once you’ve mastered the basics, elevate your puff covers with personalized details.
- Contrast stitching: Use colored thread to outline puff shapes—gold on navy or white on charcoal adds drama.
- Bordered frames: Add a 1-inch fabric border around the edge to give a tailored look.
- Embellishments: Attach tassels, pom-poms, or fabric-covered buttons at puff intersections.
- Reversible designs: Make both sides quilted but with different patterns or colors for seasonal versatility.
FAQ
Can I make puff covers without a sewing machine?
Yes, but it’s significantly more time-consuming. Hand-quilting with a running stitch is possible, especially for smaller projects like lumbar pillows. Use a thimble and quilting needle for best results.
How do I clean a puff cover?
Always check fabric care labels. Most cotton-based puff covers can be spot-cleaned with mild detergent and a damp cloth. If removable, hand wash in cold water and air dry flat to preserve puff structure.
Are puff covers suitable for outdoor furniture?
Only if made from weather-resistant materials like Sunbrella fabric and synthetic batting. Standard cotton puff covers will degrade quickly when exposed to moisture and UV rays.
Final Checklist Before You Begin
- Materials Ready?
- Outer fabric, lining, thread, interfacing, scissors, pins, measuring tools.
- Pattern Chosen?
- Select a beginner-friendly grid or diamond layout.
- Fabric Pre-Washed?
- Prevent future shrinkage by washing and drying before cutting.
- Sewing Machine Tested?
- Run a test stitch on scrap fabric to confirm tension and stitch quality.
- Time Allocated?
- Allow 3–5 hours for your first cover, including mistakes and adjustments.
Conclusion
Crafting stylish puff covers blends tradition with personal expression. With patience and practice, even those new to sewing can produce elegant, tactile designs that enhance any interior. The key lies in careful preparation, consistent technique, and a willingness to learn from small imperfections. Every stitch builds skill, and every completed cover becomes a testament to creativity and craftsmanship.


 浙公网安备
33010002000092号
浙公网安备
33010002000092号 浙B2-20120091-4
Comments
No comments yet. Why don't you start the discussion?