
Tying a simple bow may seem like a basic skill, but getting it just right—symmetrical, secure, and neat—can elevate everything from gift wrapping to shoelaces. Whether you're preparing a present, styling hair, or fastening a ribbon on a garment, mastering this fundamental knot ensures consistency and elegance. Despite its simplicity, many people struggle with uneven loops, loose ends, or knots that slip apart. The good news is that with a few clear techniques and a bit of practice, anyone can tie a perfect bow every single time.
The Anatomy of a Perfect Bow
A well-tied bow consists of two loops (also called \"bunny ears\") and two tails (the free ends). The key to symmetry lies in balancing the length of the tails and maintaining consistent tension throughout. The structure relies on a central knot that holds the loops in place while allowing them to stand upright and full.
Different materials affect how a bow behaves. Ribbon, shoelaces, and fabric ties each respond uniquely to tension and friction. For instance, satin ribbons are slippery and require more care to prevent loosening, while cotton shoelaces grip better but can become bulky if over-tied.
Step-by-Step Guide: How to Tie a Simple Bow
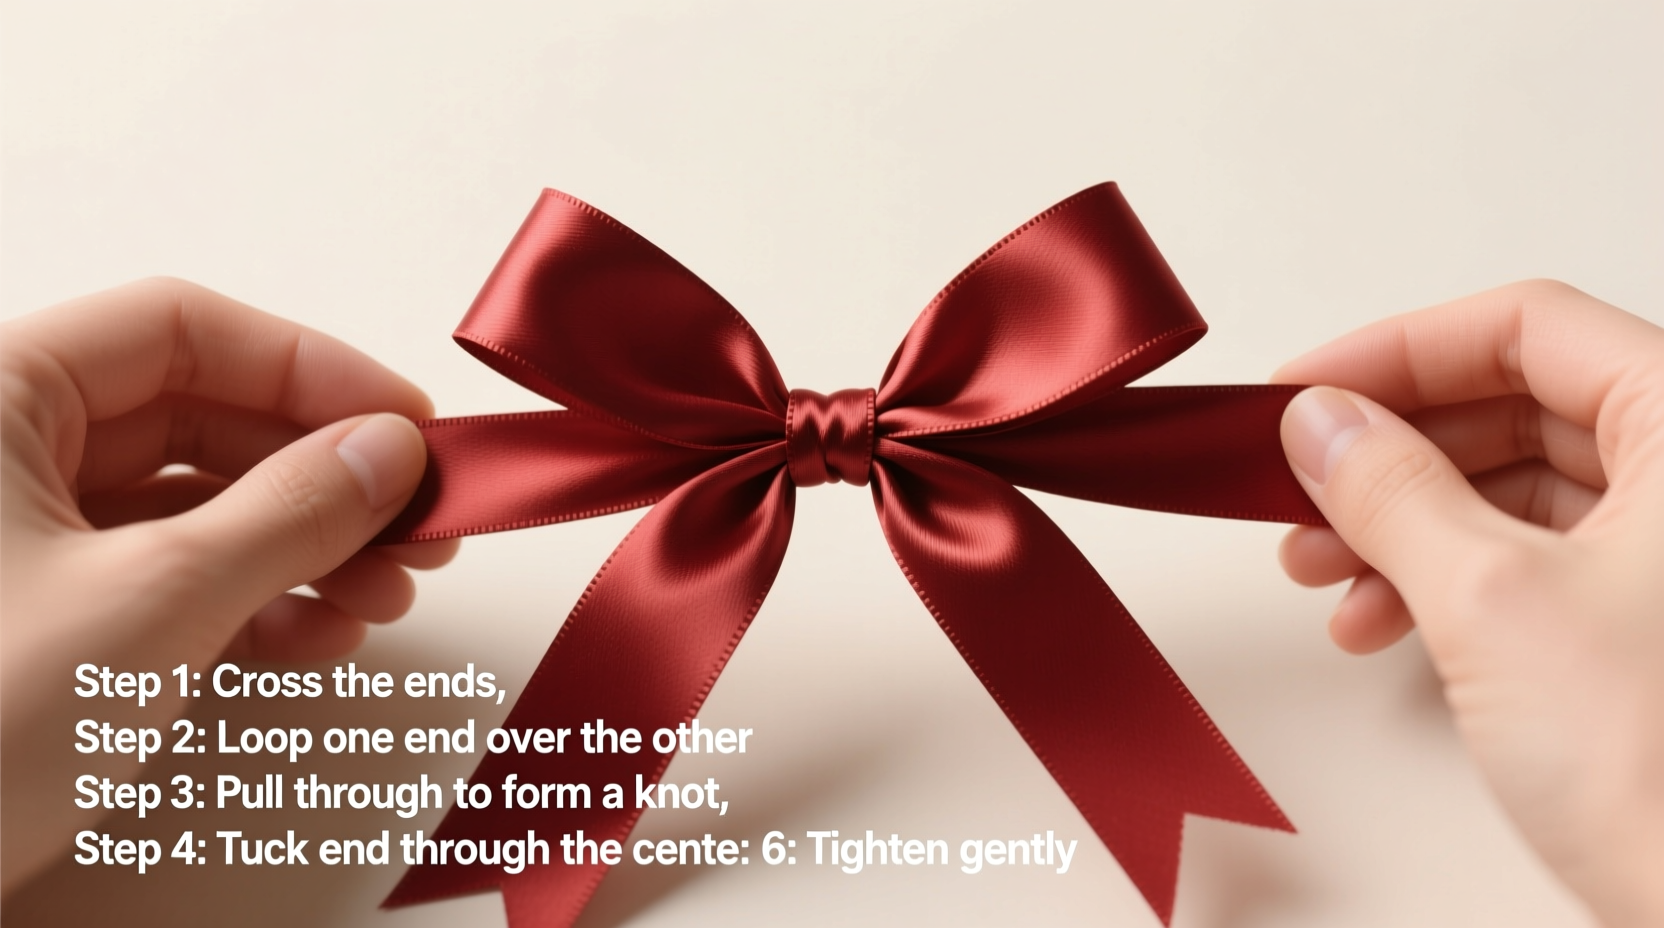
- Hold one end in each hand. Spread the material out straight so there are no kinks or coils. Make sure both sides are roughly equal in length.
- Cross the right end over the left. This forms an “X” shape. Keep your fingers near the intersection point.
- Pull the right end under the left and up through the loop. Gently tighten into a basic square knot. This foundational knot keeps the bow secure.
- Create a loop in your left hand (the left “bunny ear”). Pinch the fold between your thumb and forefinger.
- Wrap the right end around the base of the loop. Bring it behind and prepare to form the second loop.
- Pinch a second loop with your right hand and pull it through the back side of the knot. This creates the right “bunny ear.”
- Adjust both loops and pull gently on the tails. Fine-tune until the bow is centered, balanced, and tight enough to hold without sagging.
This method works universally across most materials. With practice, the entire process takes less than ten seconds and becomes second nature.
Common Mistakes That Ruin a Bow
- Starting with uneven ends—leads to lopsided bows.
- Over-tightening the initial knot—makes it difficult to form loops.
- Using weak tension when pulling loops through—results in loose, floppy bows.
- Rushing the final adjustment—misses opportunities for symmetry.
| Mistake | Effect | Solution |
|---|---|---|
| Uneven tail lengths | Asymmetrical appearance | Measure before tying or trim excess |
| Slippery ribbon (e.g., satin) | Bow comes undone easily | Add a drop of glue at the knot base or double-knot |
| Too much bulk at the center | Unnatural, puffy look | Use minimal tension; avoid retying multiple times |
| Twisted ribbon | Backside shows on front | Check alignment before tightening |
Variations for Different Uses
The same core technique adapts beautifully to various applications. A slight modification can make all the difference depending on context.
Gift Wrapping Bows
For presents, larger bows made from wired ribbon hold their shape best. After forming the standard bow, twist the wire ends together at the back and curl the tails with scissors for a polished finish. Secure the knot with a small dot of hot glue to prevent unraveling during transport.
Shoelace Bows
Children often learn the “bunny ears” method early, but adults benefit from the “circle sneak” technique: make one loop, wrap the other lace around it, then poke through and pull. It’s faster and reduces strain on fingers. Orthopedic experts recommend this method for those with arthritis or reduced dexterity.
“Properly tied shoelace bows not only stay secure but also reduce foot fatigue by preventing shoes from slipping inside.” — Dr. Lena Patel, Podiatry Specialist
Hair Bows
When tying bows in hair ribbons, use thinner materials and smaller loops for proportion. Anchor the knot close to the scalp or ponytail base. To keep it from sliding, lightly tease the hair underneath or use bobby pins discreetly placed beneath the knot.
Mini Case Study: The Bakery’s Gift Packaging Upgrade
A local artisan bakery noticed customers often struggled with flimsy, unraveling bows on their holiday cookie boxes. After switching from standard polyester ribbon to medium-weight grosgrain and training staff in proper bow-tying technique, customer feedback improved significantly. One review read: “The box looked so pretty I almost didn’t want to open it!” By applying consistent tension and securing knots with a tiny adhesive dot, the bakery achieved uniform, camera-ready packaging without increasing labor time.
This real-world example shows how attention to detail transforms perception. A neatly tied bow signals care, professionalism, and thoughtfulness—even in casual settings.
Checklist: Master Your Bow-Tying Skills
- ✔ Use even-length ends before starting
- ✔ Form a secure base knot first
- ✔ Create symmetrical loops with firm pinching
- ✔ Pull loops through with steady tension
- ✔ Adjust final shape for balance and neatness
- ✔ Test durability by giving a light tug
- ✔ Practice daily for five minutes to build muscle memory
Frequently Asked Questions
Why does my bow always come undone?
This usually happens due to insufficient tension in the base knot or using overly smooth materials. Try doubling the knot or opting for textured ribbons like grosgrain. If using satin, add a small amount of fabric glue at the knot’s base.
How do I make my bow look fuller?
Use longer ribbon and increase the size of your loops gradually. Fluff each loop outward after tying, and gently pull the outer edges to expand volume. Wired ribbon helps maintain a plump shape.
Can I tie a bow one-handed?
Yes, especially with practice. Anchor the base between your arm and torso, use your dominant hand to form one loop, then wrap and pull the second end through. This skill is useful for caregivers or individuals with limited mobility.
Final Thoughts: Consistency Builds Confidence
Tying a simple bow is more than a mechanical task—it's a gesture of care. Whether sealing a love letter, finishing a child’s hairstyle, or presenting a handmade gift, the bow communicates effort and intention. Mastery doesn't require special tools or talent, only patience and repetition. Once the motion becomes automatic, you’ll find yourself reaching for ribbon in new ways, adding thoughtful touches to everyday moments.


 浙公网安备
33010002000092号
浙公网安备
33010002000092号 浙B2-20120091-4
Comments
No comments yet. Why don't you start the discussion?