
Folding a paper plane may seem like child’s play, but beneath its simplicity lies a world of aerodynamics, precision, and craftsmanship. The best paper planes don’t just fly—they glide, soar, and sometimes even loop with grace. Whether you're a curious beginner or an enthusiast aiming for record-breaking flights, mastering the art of paper planes combines science, creativity, and attention to detail. This guide walks you through the principles, techniques, and advanced folds that transform a plain sheet of paper into the ultimate flying machine.
The Science Behind Flight: What Makes a Paper Plane Work
Paper planes operate on the same fundamental forces as real aircraft: lift, drag, thrust, and gravity. Understanding how these interact is essential to building a successful design.
- Lift is generated when air moves faster over the top of the wings than underneath, creating upward pressure.
- Drag resists forward motion—smooth, sleek designs minimize this force.
- Thrust comes from your throw; a consistent, level launch gives the plane momentum.
- Gravity pulls the plane down, so balance and weight distribution are critical.
A well-designed paper plane balances all four. Too much nose weight causes a nosedive; too little, and it stalls. Wings that are too wide increase drag, while narrow wings improve speed but reduce stability.
“Even the simplest paper airplane teaches core principles of flight—center of gravity, wing loading, and airflow. It’s aerospace engineering in miniature.” — Dr. Alan Liu, Aeronautics Educator at MIT
Essential Materials and Tools
You don’t need much to get started, but the right materials can dramatically affect performance.
| Material | Best For | Avoid If |
|---|---|---|
| Standard 8.5” x 11” printer paper | Beginner designs, quick testing | Seeking maximum distance or durability |
| Cardstock (lightweight) | Sturdier builds, outdoor flights | Need extreme lightness or flexibility |
| Newspaper sheets | Large gliders with slow descent | High-speed or tight-maneuver designs |
| Origami paper (7” square) | Decorative or compact models | Aiming for long-distance records |
No scissors or tape are required for traditional designs, but experienced folders sometimes use tiny pieces of tape at stress points—like the nose—to reinforce structure without adding excessive weight.
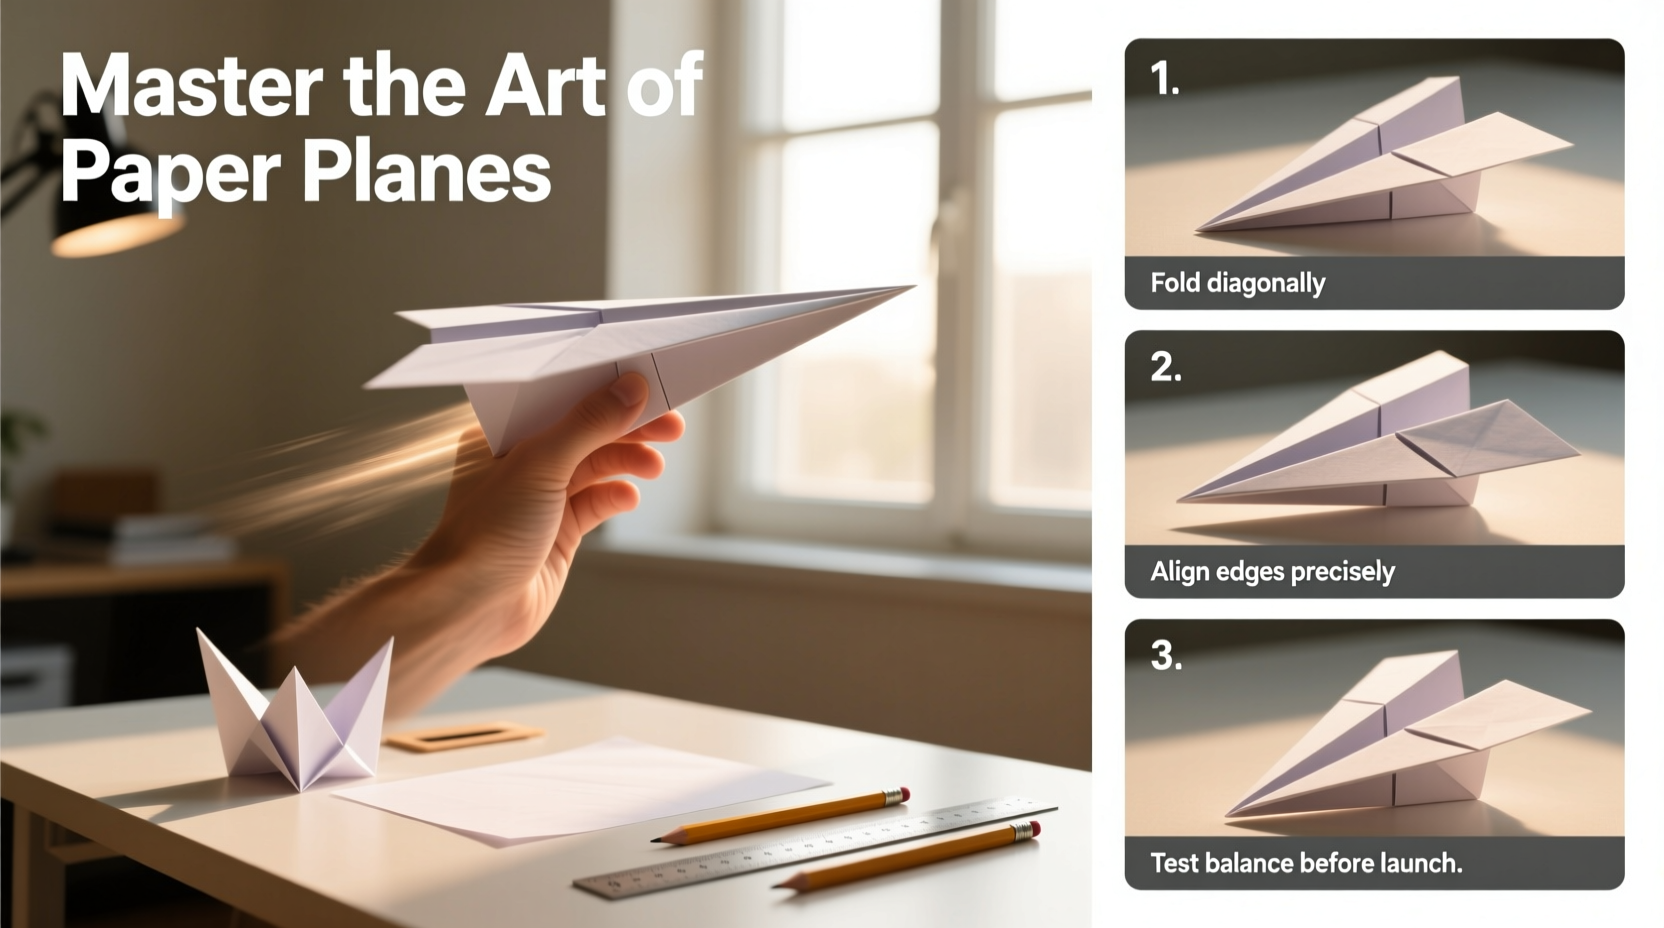
Step-by-Step Guide to Building the Ultimate Flyer
This sequence outlines how to build a high-performance dart-style plane optimized for distance and stability. Follow each step precisely for best results.
- Start with a clean sheet: Use standard 8.5” x 11” printer paper. Place it vertically (portrait orientation).
- Fold in half lengthwise: Bring the right edge to meet the left. Crease sharply, then unfold. This center line guides symmetry.
- Create the nose: Fold the top two corners down to meet at the center crease, forming a triangle at the top.
- Form the second layer: Fold the new top edges (of the triangle) inward again to align with the center crease. You now have a narrower, pointed front.
- Secure the body: Fold the entire plane in half along the original center crease, so the folded edges are on the outside.
- Create wings: Fold one side down so the top edge aligns with the bottom of the plane. Repeat on the other side. Wings should be slightly angled up (dihedral angle) for stability.
- Refine wing shape: Adjust wingtips slightly upward to prevent rolling mid-flight.
Tuning Your Plane for Peak Performance
Folding is only half the battle. Fine-tuning makes the difference between a wobbly flutter and a smooth glide.
- Bend the back edges of wings slightly upward to increase lift if the plane dives.
- Angle wingtips downward to correct sharp turns or rolls.
- Add a small paper clip to the nose if the plane stalls or flips backward during flight.
- Adjust throw strength: Gentle throws favor gliding; firm, level throws maximize distance.
Advanced Designs: From Gliders to Aerobatic Flyers
Once you’ve mastered the basics, experiment with specialized models.
- Suzanne (World Record Holder): Designed by John Collins, this complex glider set the Guinness World Record for longest indoor flight (78.7 feet). It requires precise folding and subtle adjustments to wing flaps.
- The Nakamura Lock: Known for its locked wing structure, this design resists unfolding mid-air and performs well outdoors.
- Delta Wing (Swept-Back): Inspired by fighter jets, this model excels in speed and diving maneuvers but requires excellent balance.
For competitive flyers, consider using lighter-weight drawing paper or Japanese washi paper for improved lift-to-weight ratios.
Mini Case Study: Breaking the Indoor Flight Record at Home
In 2021, high school student Maya Tran attempted to replicate John Collins’ Suzanne design in her school gymnasium. She began with standard printer paper but found the wings drooped after repeated throws. Switching to slightly stiffer cardstock improved rigidity, but the added weight reduced hang time. Her breakthrough came when she used a hybrid: a lightweight bond paper (60 gsm), hand-cut to exact dimensions.
After 17 test flights adjusting wing angles and adding a microscopic tape dot at the nose, her plane achieved a 62-foot glide—nearly matching professional attempts. “It wasn’t about power,” she said. “It was patience, observation, and trusting the small tweaks.”
Common Mistakes and How to Avoid Them
Even experienced folders make errors that sabotage flight. Here’s what to watch for:
| Mistake | Effect on Flight | Solution |
|---|---|---|
| Asymmetrical wings | Plane veers sharply left or right | Use ruler-guided folds and check alignment after each step |
| Over-tight creases causing paper crunch | Warping and uneven surfaces | Fold firmly but smoothly; avoid crushing fibers |
| Too much nose weight | Rapid dive immediately after launch | Remove clips or reduce tape; rebalance center of gravity |
| Wings angled downward (anhedral) | Roll instability and spiraling | Adjust wingtips upward slightly for dihedral stability |
Checklist: Launch-Ready Paper Plane Tune-Up
Before every flight, run through this checklist:
- ✅ Symmetrical wings and balanced body
- ✅ Sharp, clean creases with no loose flaps
- ✅ Wings set at slight upward angle (dihedral)
- ✅ No crumpling or moisture damage
- ✅ Balanced center of gravity (should rest on fingertip near front third)
- ✅ Smooth, level throwing motion (not upward or downward)
Frequently Asked Questions
What kind of paper makes the best paper airplane?
Standard 80 gsm copy paper offers the best balance of weight, stiffness, and availability. For advanced models, lighter papers (60–70 gsm) enhance glide, while heavier stocks (up to 100 gsm) add durability for outdoor use.
Why does my plane always nosedive?
Nosediving usually means the center of gravity is too far forward or there's insufficient lift. Try reducing nose weight (remove clips), slightly bending the back edges of the wings upward, or increasing the wing area by adjusting folds.
Can I make a paper plane that loops or does tricks?
Absolutely. Designs like the “Harrier” or “Boomerang” are engineered for acrobatics. These often feature curved wings or asymmetrical flaps that create torque. Throw them vertically or with spin to trigger loops or returns.
Conclusion: Take Flight With Confidence
Mastering the art of paper planes isn’t about luck—it’s about understanding form, function, and the subtle interplay of physics and craftsmanship. From the first fold to the final glide, every decision shapes the flight path. Now equipped with the principles of aerodynamics, a proven folding method, and tuning strategies, you’re ready to push the limits of what paper can do.


 浙公网安备
33010002000092号
浙公网安备
33010002000092号 浙B2-20120091-4
Comments
No comments yet. Why don't you start the discussion?