
The cup song—popularized by Anna Kendrick in the 2012 film *Pitch Perfect*—has become a global phenomenon. What began as a simple rhythmic routine using a plastic cup has evolved into a performance staple in classrooms, talent shows, and viral videos. While it looks effortless when performed well, mastering the cup song requires precision, coordination, and practice. This guide breaks down every element of the rhythm, from basic taps to full-performance dynamics, so you can confidently play and perform the cup song with flair.
Understanding the Core Rhythm
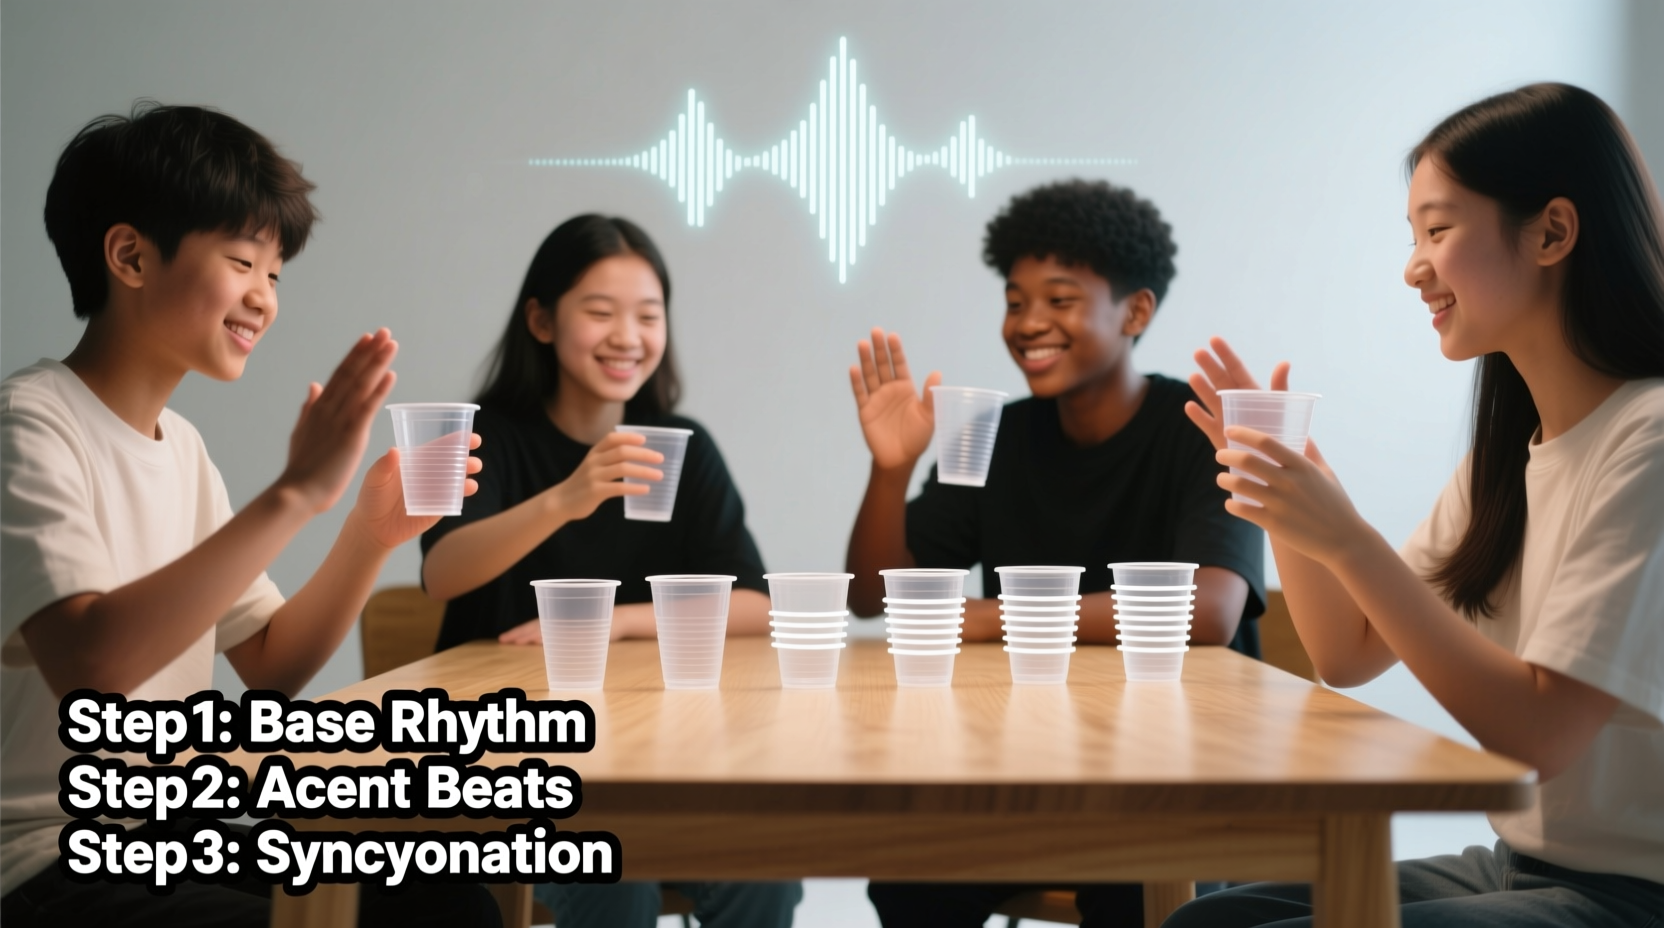
The foundation of the cup song lies in a repeating eight-beat pattern. It combines hand claps, table taps, and cup movements to create a percussive loop. The most common version follows a 4/4 time signature, making it accessible even for beginners. Each beat corresponds to a specific action, and consistency in timing is key to maintaining flow.
The standard sequence is often notated like this:
- Tap cup on surface (1)
- Clap hands together (and)
- Tap cup again (2)
- Place cup down (and)
- Lift cup with pinky and ring finger (3)
- Flip cup over (and)
- Catch cup mid-air (4)
- Slam cup down (and)
This cycle repeats throughout the song. The challenge isn’t just memorizing the moves—it’s syncing them seamlessly while maintaining a steady tempo.
Step-by-Step Guide to Learning the Pattern
Break the process into manageable stages. Rushing leads to sloppy execution. Follow this progression to ensure clean technique and confidence.
Stage 1: Master the Beat Without the Cup
Sit at a table or desk. Use your dominant hand to tap the surface on beats 1 and 2. Clap on the “and” after each. For beats 3 and 4, mimic the lift-and-flip motion with an imaginary cup. Repeat slowly until the sequence feels natural.
Stage 2: Introduce the Cup
Use a lightweight plastic cup. Begin with the first four beats: tap, clap, tap, place. Focus on consistent volume and spacing between actions. Once stable, add the flip motion. This is where most learners struggle—practice the flip-catch in isolation until it’s reliable.
Stage 3: Slow-Motion Full Cycle
Perform the entire eight-beat loop at half speed. Count aloud: “1, and, 2, and, 3, and, 4, and.” Prioritize accuracy over speed. Use a metronome set to 60 BPM to maintain rhythm.
Stage 4: Increase Tempo Gradually
Only increase speed once you can complete 10 uninterrupted cycles at the current pace. Move up in 5-BPM increments. Most performances settle between 90–100 BPM for optimal clarity and energy.
Stage 5: Add Vocalization or Singing
Once the rhythm is automatic, try humming or singing along. Many performers use the melody from “When I’m Gone” by Carter Family or Anna Kendrick’s arrangement. Sync lyrics with the beat, ensuring neither distracts from the rhythm.
“Rhythm is internalized through repetition, not memorization. Your body should feel the groove before your mind understands it.” — Lila Torres, Percussion Educator and Performance Coach
Common Mistakes and How to Fix Them
Even advanced players encounter pitfalls. Awareness prevents ingrained errors.
| Mistake | Why It Happens | Solution |
|---|---|---|
| Inconsistent tapping volume | Uneven pressure or wrist movement | Practice tapping with a relaxed wrist; focus on uniform contact |
| Dropping the cup during the flip | Over-rotating or poor grip | Use fingers 4 and 5 to lift; limit rotation to 180 degrees |
| Losing tempo when adding vocals | Cognitive overload | Practice rhythm and vocals separately before combining |
| Hunched posture affecting timing | Tension or lack of breath control | Perform standing with shoulders back; breathe steadily |
Enhancing Your Performance
Playing the cup song correctly is one thing—performing it compellingly is another. Elevate your presentation with these strategies.
- Eye contact: Engage your audience. Avoid staring at the cup.
- Facial expression: Smile or convey emotion that matches the song’s mood.
- Dynamic variation: Soften taps during verses, emphasize slams in choruses.
- Body movement: Sway slightly or shift weight to the beat—avoid rigidity.
- Costuming and staging: In formal performances, consider attire and lighting to amplify impact.
Mini Case Study: From Classroom to Viral Video
Jessica, a high school drama student, learned the cup song for a talent show. Initially, she struggled with the flip motion, dropping the cup repeatedly. She slowed the tempo, practiced the lift-and-catch 100 times daily, and recorded her progress. Within two weeks, she performed flawlessly on stage. Her teacher uploaded the video to the school’s social media, where it gained over 50,000 views. Jessica credits her success to incremental practice and filming herself—“I didn’t realize I was tensing my shoulders until I saw the video,” she said.
Performance Checklist
Before taking the stage or recording a video, run through this checklist:
- ✅ Practiced the full rhythm at performance tempo for 3+ minutes without error
- ✅ Integrated vocals smoothly without breaking rhythm
- ✅ Rehearsed under performance conditions (standing, with audience or camera)
- ✅ Verified cup stability (not too slippery, not too heavy)
- ✅ Prepared backup cup in case of breakage or loss
- ✅ Warmed up hands and wrists to prevent stiffness
- ✅ Rehearsed transitions (starting, stopping, bowing)
Frequently Asked Questions
Can left-handed people perform the cup song?
Absolutely. The technique is mirrored, not restricted. Left-handed performers often find flipping easier with their dominant hand. Adjust grip and motion accordingly—there’s no single correct way.
What kind of cup works best?
Standard 16-oz red plastic party cups are ideal—lightweight, grippy, and widely available. Avoid paper cups (too flimsy) or glass (safety hazard). Some performers use rubberized training cups designed for rhythm drills.
How long does it take to master the cup song?
Basic proficiency takes 3–7 days with 15–20 minutes of daily practice. Full mastery—smooth performance with singing—typically requires 2–4 weeks. Consistency matters more than session length.
Conclusion: Turn Rhythm Into Art
Mastering the cup song is more than learning a sequence—it’s about transforming a simple rhythm into expressive performance. With deliberate practice, attention to detail, and a willingness to refine your technique, you can move beyond imitation to authentic artistry. Whether you’re preparing for a school event, creating content, or simply enjoying a creative challenge, the cup song offers a unique blend of music, movement, and connection.


 浙公网安备
33010002000092号
浙公网安备
33010002000092号 浙B2-20120091-4
Comments
No comments yet. Why don't you start the discussion?