
A kneaded eraser is one of the most versatile tools in an artist’s toolkit—far beyond simply correcting mistakes. Unlike traditional rubber erasers that scrape away graphite or charcoal, a kneaded eraser lifts medium gently, preserving paper texture while offering unparalleled control over highlights, tonal transitions, and fine details. Whether you're a beginner or a seasoned artist, mastering this pliable tool can dramatically elevate your drawings by introducing precision, depth, and subtle nuance.
What sets the kneaded eraser apart is its malleability. It can be stretched, shaped, and molded into points, edges, or broad surfaces, making it ideal for a wide range of artistic applications. From creating soft gradients to defining sharp highlights, this unassuming gray mass offers immense creative potential when used intentionally.
The Science Behind the Kneaded Eraser
Kneaded erasers are made from a synthetic rubber compound that’s non-abrasive and tacky rather than sticky. When pressed against a surface, it adheres to loose particles of graphite, charcoal, or pastel without damaging the paper fibers. Over time, the eraser picks up pigment and darkens—but instead of discarding it, artists simply “knead” it like dough to expose a clean surface.
This self-cleaning property makes it sustainable and long-lasting. However, once fully saturated, its effectiveness diminishes. Proper maintenance—such as regular kneading and avoiding excessive pressure—extends its life and performance.
“Many students overlook the kneaded eraser as just a cleanup tool. In reality, it’s a sculpting instrument for light.” — Julian Reyes, Drawing Instructor at the Hudson Valley Art Academy
Shaping Techniques for Maximum Control
The true power of a kneaded eraser lies in how you shape it. Because it holds form temporarily, you can customize it for specific tasks:
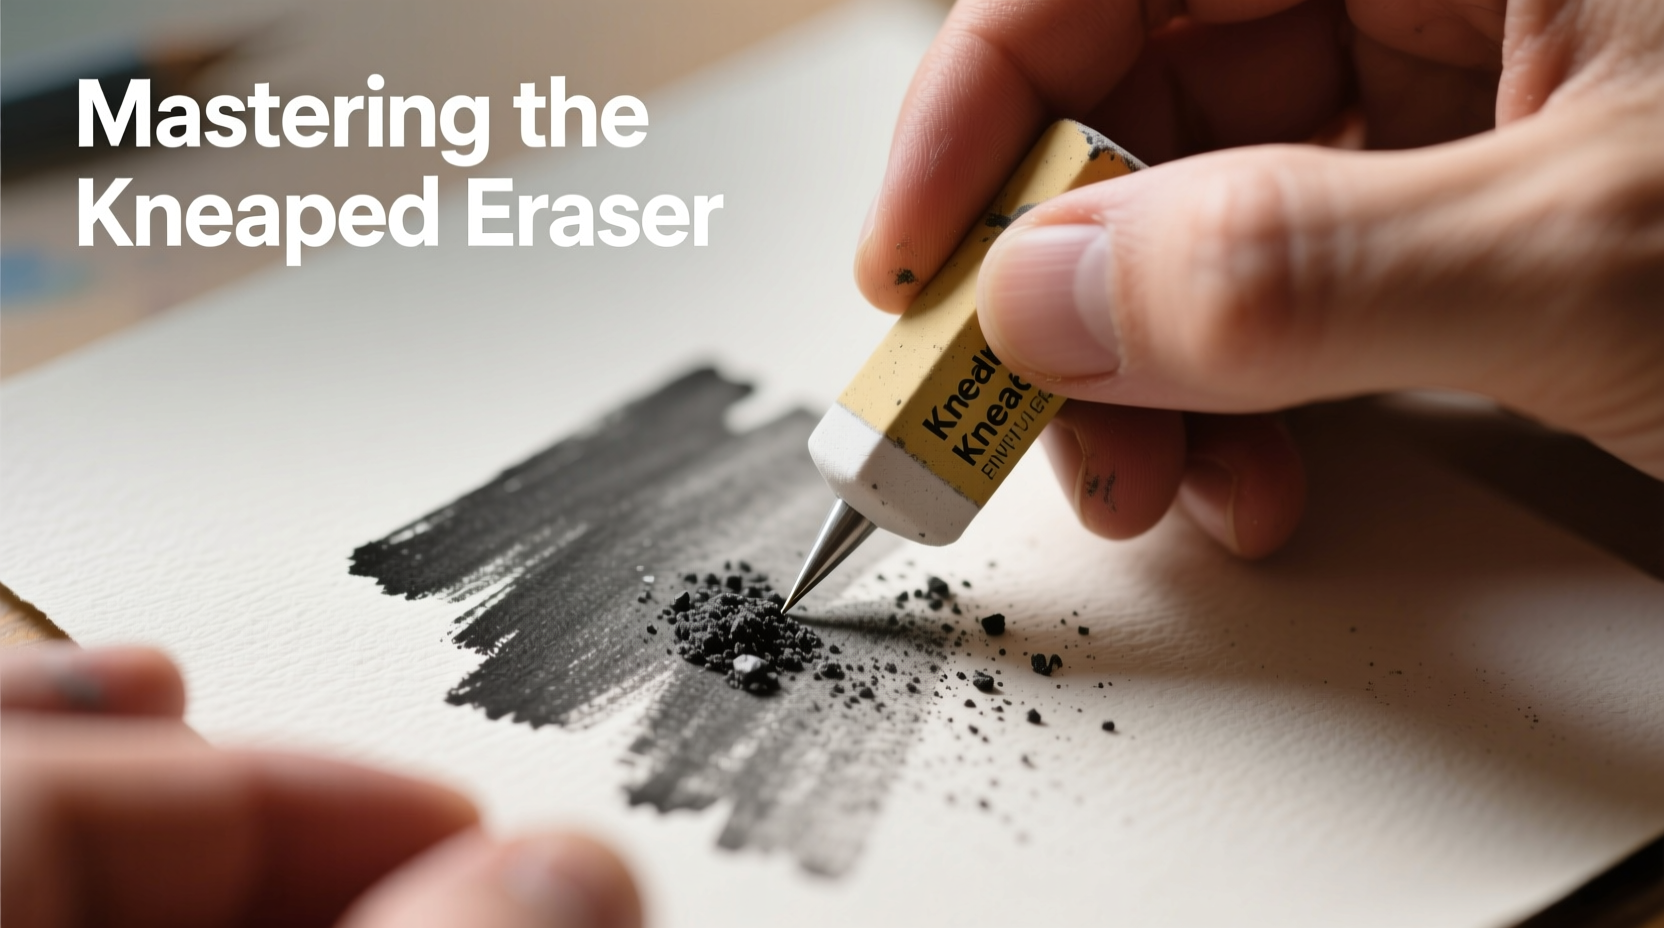
- Point tip: Pull and twist a small section into a fine point for lifting tiny highlights, such as catchlights in eyes or dewdrops on leaves.
- Edge or wedge: Flatten one side to create a straight edge for architectural lines or crisp shadow corrections.
- Blunt dome: Round the end for soft blending and gradual tonal reduction in large areas like skies or skin tones.
- Strip or rope: Roll into a thin line to erase parallel marks or simulate fine hair strands.
Creative Applications in Drawing and Shading
Using a kneaded eraser isn’t limited to fixing errors. Skilled artists incorporate it into their workflow as an active drawing tool. Here are several advanced techniques:
Lifting Highlights for Dramatic Contrast
In chiaroscuro-style drawings, contrast defines form. Instead of drawing every highlight, artists often apply broad graphite tones and then lift key areas with a shaped eraser. This method produces cleaner, brighter highlights than leaving white space, especially in curved or complex forms like fabric folds or rounded faces.
Creating Texture and Grain
By dabbing or stippling the eraser onto a toned surface, you can generate granular textures resembling stone, bark, or distant foliage. The irregular contact creates natural-looking variation that mimics organic surfaces better than mechanical tools.
Soft Blending and Gradient Control
After smudging graphite with a blending stump, subtle over-darkened areas can be lifted using the broad side of a flattened kneaded eraser. This technique refines gradients without flattening contrast, maintaining dimensionality in midtones.
Reverse Drawing (Erasing as Line Work)
In reverse drawing, the entire page is shaded first. Then, using a pointed eraser, the artist \"draws\" by removing graphite to reveal lighter lines. This approach is particularly effective for ethereal effects—think wisps of smoke, flowing hair, or moonlit landscapes.
“I once spent three hours refining a portrait’s eyebrow hairs not with a pencil, but with a needle-pointed kneaded eraser. The result was sharper and more lifelike than any drawn stroke could achieve.” — Lila Chen, Portrait Artist
Step-by-Step Guide: Using a Kneaded Eraser to Enhance a Charcoal Portrait
- Block in shadows: Cover the entire face with a mid-tone layer of soft charcoal.
- Define deep values: Use fingers or stumps to darken recesses (eye sockets, nostrils, jawline).
- Shape the eraser: Mold a small point for facial highlights and a flat edge for cheekbone definition.
- Lift core highlights: Press gently on the forehead, nose bridge, and upper lip to reveal underlying paper.
- Create texture: Dab lightly around the temple and jaw to suggest skin grain.
- Refine edges: Use the edge to clean up harsh transitions between light and shadow.
- Final adjustments: Knead the eraser to refresh its surface and repeat lifting where needed.
Do’s and Don’ts: Best Practices Table
| Do’s | Don’ts |
|---|---|
| Shape the eraser frequently for different effects | Press too hard—this can leave indentations |
| Knead regularly to expose clean material | Leave it folded or compressed when not in use |
| Use it on toned backgrounds for maximum effect | Use on wet media—it won’t work and may smear |
| Store in a cool, dry place away from dust | Expose it to extreme heat or direct sunlight |
| Combine with other tools (blenders, pencils) for layered effects | Use it as a substitute for proper sharpening or line control |
Maintaining Your Kneaded Eraser
Proper care ensures longevity and consistent performance. Over time, accumulated pigment reduces lifting efficiency. To restore function:
- Gently stretch and fold the eraser repeatedly until the darker outer layers are worked inward and fresh material emerges.
- If heavily soiled, roll it in a ball and press it repeatedly onto a clean sheet of paper to transfer excess graphite.
- Avoid washing or using solvents—these compromise the rubber’s integrity.
- Replace only when it no longer bounces back or fails to lift pigment effectively.
Mini Case Study: Reviving a Flat Landscape Sketch
Jamal, an intermediate sketch artist, struggled with a graphite landscape that looked dull and lifeless. Despite careful shading, the sky lacked depth and the tree canopy appeared muddy. After consulting a tutorial on eraser techniques, he applied a full mid-gray tone across the sky with soft graphite. Once blended, he used a domed kneaded eraser to lift swirling clouds by gently rolling and pressing in circular motions. For the trees, he shaped the eraser into a fine point and selectively removed specks of graphite to simulate dappled sunlight filtering through leaves. The result transformed the piece from flat to dynamic, adding atmospheric perspective and visual interest—all achieved through subtraction rather than addition.
Frequently Asked Questions
Can I use a kneaded eraser on colored pencils?
Yes, but with limitations. It works best on light applications and may not fully lift dense layers. Always test on a scrap area first, as some binders in colored pencils can react unpredictably.
Why does my kneaded eraser feel stiff?
Temperature and age affect flexibility. Cold environments make it brittle. Warm it in your hands before use. If permanently hardened, it’s likely dried out and should be replaced.
Is a kneaded eraser better than a vinyl eraser?
They serve different purposes. Vinyl erasers remove aggressively and are great for complete mark removal but damage paper if overused. Kneaded erasers are gentle, precise, and ideal for nuanced lifting—complementary, not interchangeable.
Mastering the Art of Subtraction
Drawing is often seen as an additive process—layering lines, tones, and textures to build an image. Yet mastery also lies in knowing what to remove. The kneaded eraser empowers artists to treat light as a tangible element, shaping luminosity with intention. By integrating it into your practice not as a corrective afterthought but as a primary design tool, you unlock new dimensions of expression. Experiment with shapes, pressures, and sequences. Let the eraser become an extension of your creative vision.


 浙公网安备
33010002000092号
浙公网安备
33010002000092号 浙B2-20120091-4
Comments
No comments yet. Why don't you start the discussion?