
AVP (Aliens vs. Predator) building block figures have captured the imaginations of collectors and hobbyists worldwide. These modular, brick-based models offer more than just assembly—they invite creativity through customization. Whether you're a seasoned builder or new to the world of collectible figures, mastering these kits opens the door to crafting one-of-a-kind characters inspired by the iconic sci-fi universe. With the right techniques, tools, and mindset, you can transform standard sets into personalized masterpieces.
Understanding AVP Building Block Systems
Before diving into customization, it's essential to understand how AVP building block systems work. Most are compatible with leading brick-based platforms, featuring standardized stud connections, articulation points, and interchangeable armor pieces. The core design philosophy emphasizes modularity—each component is engineered to be removed, replaced, or upgraded.
The typical AVP figure includes:
- Interlocking skeletal frames for stability
- Swappable heads, weapons, and armor plates
- Posable joints at shoulders, hips, elbows, and knees
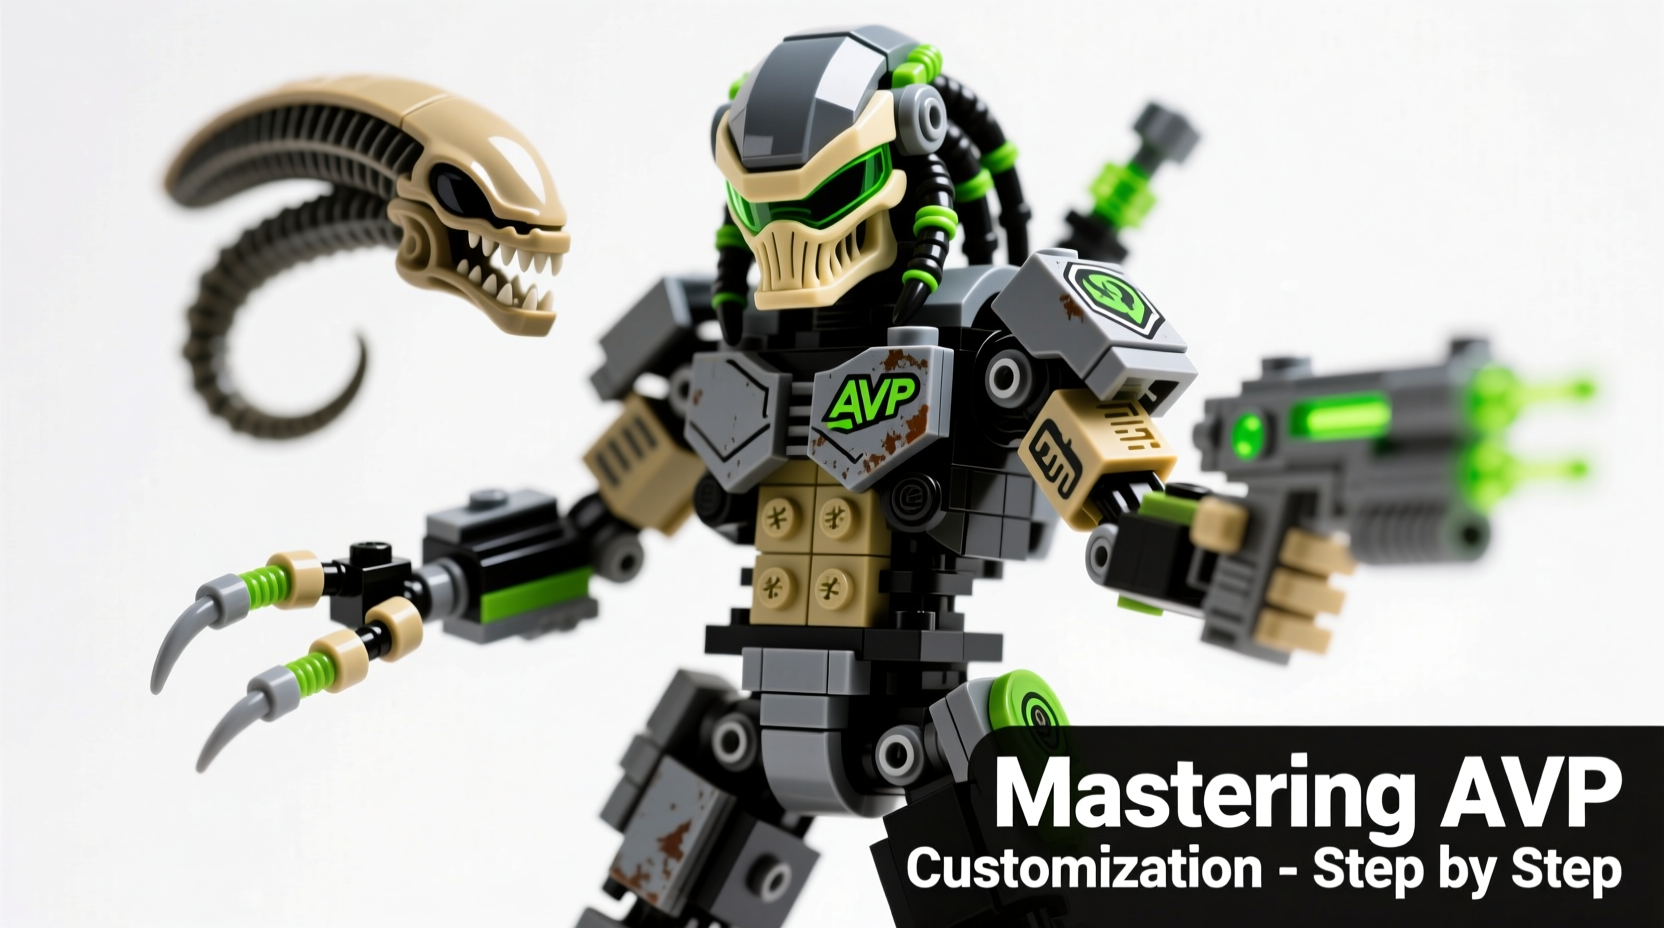
- Signature detailing such as bio-masks, dreadlocks, or exoskeletal ridges
This foundation allows for extensive personalization. Builders aren't limited to recreating movie-accurate versions; they can experiment with hybrid designs, alternate universes, or entirely original species.
Step-by-Step Guide to Customizing Your AVP Figure
Customization transforms a standard kit into something uniquely yours. Follow this structured process to ensure consistent results and avoid common pitfalls.
- Conceptualize Your Design: Decide whether you’re creating a warrior variant, a stealth Predator, or a genetically altered Xenomorph hybrid. Sketch ideas on paper or use digital tools to visualize proportions.
- Gather Compatible Parts: Use existing collections or purchase individual elements from online marketplaces. Focus on pieces that maintain scale and articulation compatibility.
- Dismantle the Base Figure Carefully: Use proper removal tools to avoid snapping pins or cracking sockets. Keep parts organized in labeled containers.
- Test Fit Modifications: Assemble modified sections before final attachment. Check range of motion and structural integrity.
- Secure Permanent Changes: For non-removable upgrades (e.g., glued accessories), use low-viscosity plastic cement sparingly. Allow full curing time before handling.
- Add Detailing and Finishing Touches: Apply weathering effects, paint accents, or engraved textures using fine-tip markers or micro engraving tools.
Pro Tips During Assembly
- Avoid over-tightening ball-joint connections to preserve long-term flexibility.
- Use silicone joint lubricant if limbs become stiff after prolonged display.
- Keep a logbook or photo journal of each modification for future reference.
Essential Tools and Materials for Advanced Customization
While basic customization requires only hands and patience, advanced builds benefit from specialized tools. Investing in quality equipment ensures precision and longevity of your creations.
| Tool/Material | Purpose | Recommended Brands |
|---|---|---|
| Brick Separator Tool | Safely disconnect tightly joined pieces | Bricktool, Brick Worx |
| Micro Screwdriver Set | Adjust internal connectors or remove screws in motorized variants | Wiha, Precision Plus |
| Plastic Cement (ABS-safe) | Permanently bond plastic components | Testors, Tenax 7R |
| Fine-Tip Acrylic Paints | Add color detail without obscuring texture | Vallejo Model Color, Citadel Shades |
| Third Hand Tool with Magnifier | Hold small parts steady during painting or gluing | Xuron, Weller |
Real Example: Creating “Arctic Hunter” Predator Variant
Jamal Rivera, a custom builder from Colorado, wanted to design a cold-climate Predator suited for tundra environments. He started with a standard Yautja figure but replaced dark metallic armor with white and frost-blue plating sourced from discontinued winter-themed sets. To enhance realism, he added translucent ice-effect bricks around the shoulder cannon and used matte gray sprays to simulate snow-scuffed surfaces.
For mobility in deep snow, he extended the lower legs with reinforced poles and oversized footpads made from repurposed baseplates. The final touch was a thermal vision HUD effect painted inside the mask using reflective silver ink.
“I didn’t want another jungle stalker,” Jamal said. “By thinking about environment first, the rest followed naturally.” His creation now appears in regional collector exhibitions and has inspired similar eco-specific builds.
“We often focus on aggression in AVP figures, but adaptation tells a deeper story. A well-customized figure should reflect survival, not just strength.” — Dr. Lena Park, Toy Design Lecturer at ArtCenter College of Design
Common Pitfalls and How to Avoid Them
Even experienced builders encounter setbacks. Awareness of frequent issues helps maintain progress and protect investment.
| Do’s | Don’ts |
|---|---|
| Plan modifications digitally before physical changes | Rush into irreversible alterations like cutting or permanent dyeing |
| Use removable adhesives when testing new configurations | Mix incompatible brick scales (e.g., micro-scale with standard) |
| Photograph every stage of the build | Expose finished figures to direct sunlight for extended periods |
| Join online forums for feedback before finalizing designs | Ignore weight distribution—top-heavy figures may topple easily |
FAQ: Frequently Asked Questions About AVP Figure Customization
Can I mix AVP parts with other licensed building block brands?
Yes, most AVP building block figures use industry-standard sizing and stud geometry, making them compatible with major third-party systems. However, always test fit critical joints before committing to complex integrations.
Is painting safe for delicate parts like masks or claws?
Painting is safe when done correctly. Use acrylic-based model paints diluted appropriately and apply in thin layers. Avoid enamel paints unless primed properly, as they can degrade plastic over time.
How do I preserve articulation after adding heavy armor?
Balancing weight is key. Reinforce stress points with internal support rods or distribute mass evenly. Consider upgrading joints with aftermarket metal-reinforced hinges if available.
Checklist: Preparing for Your First Major Custom Build
- ☐ Define your character’s theme or backstory
- ☐ Inventory available parts and identify gaps
- ☐ Order missing components from reputable sellers
- ☐ Prepare workspace with adequate lighting and organization trays
- ☐ Test-fit all new parts prior to permanent attachment
- ☐ Document initial and modified states with photos
- ☐ Allow 24–48 hours drying time for any adhesive applications
- ☐ Evaluate poseability and durability under gentle movement
Final Thoughts: From Builder to Creator
Mastering AVP building block figures isn’t just about following instructions—it’s about redefining them. Every connector, plate, and joint offers an opportunity to express imagination. The most memorable figures aren’t those that replicate scenes exactly, but ones that ask “What if?” and answer boldly.
With careful planning, attention to detail, and respect for structural integrity, you can push beyond pre-designed limits and craft truly original beings rooted in the AVP legacy. Whether displayed proudly on a shelf or shared in online communities, your customized figure becomes more than a toy—it becomes a statement of creative identity.


 浙公网安备
33010002000092号
浙公网安备
33010002000092号 浙B2-20120091-4
Comments
No comments yet. Why don't you start the discussion?