
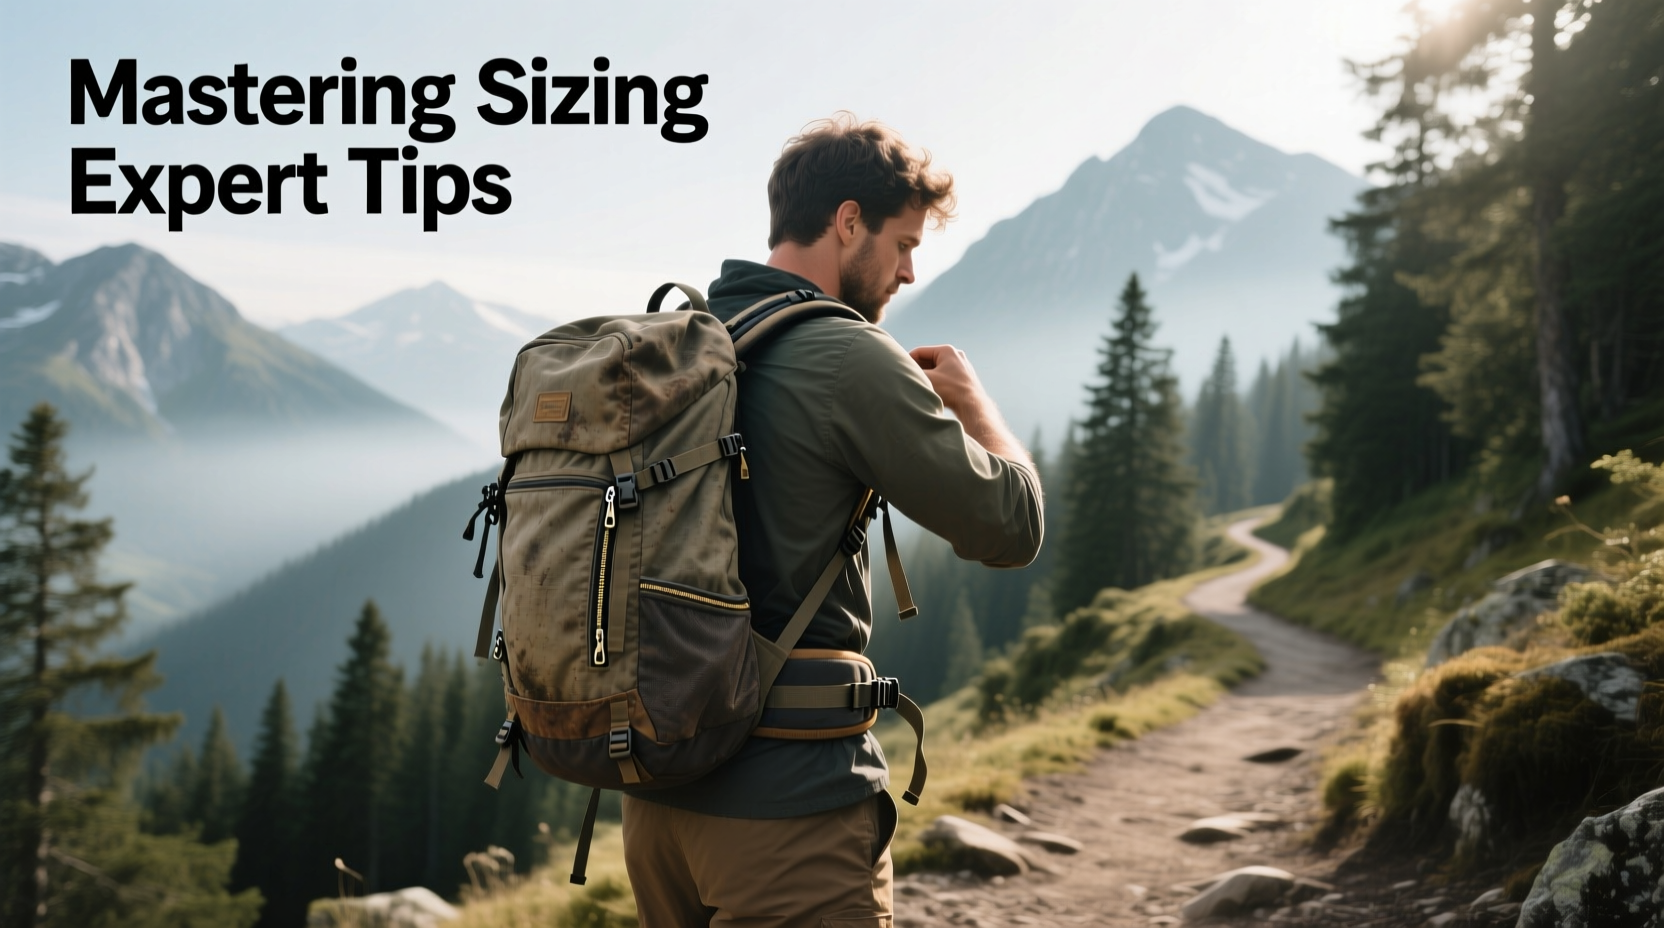
Selecting the right backpack is more than just a matter of style or brand preference—it’s about alignment, comfort, and functionality. Whether you're hiking rugged trails, commuting through city streets, or traveling across continents, an improperly sized backpack can turn even the most exciting adventure into a painful ordeal. A pack that’s too large encourages overpacking; one that’s too small forces uncomfortable compromises. More importantly, poor fit leads to shoulder strain, back pain, and reduced mobility. Understanding how to size a backpack correctly ensures not only physical comfort but also enhances endurance and enjoyment on every journey.
Why Backpack Fit Matters More Than You Think
The human body wasn’t designed to carry heavy loads on its back without proper support. When a backpack doesn’t fit well, weight distribution becomes uneven. Straps dig into shoulders, the hip belt rides up, and the load pulls away from your center of gravity. Over time, this leads to chronic discomfort and even long-term postural issues.
A properly fitted backpack transfers most of the weight to your hips—where your body is strongest—while keeping the center of gravity close to your spine. This balance reduces fatigue and improves stability, especially on uneven terrain. According to Dr. Lena Torres, a sports biomechanist at the Outdoor Performance Institute:
“Up to 80% of a loaded backpack’s weight should be borne by the hips when the pack is correctly adjusted. Shoulder straps are meant for stabilization, not primary load-bearing.”
This principle applies whether you're carrying 15 pounds on a day hike or 40 pounds on a week-long trek. Fit isn’t negotiable—it’s foundational.
How to Measure Your Torso Length Correctly
Backpack sizes are typically based on torso length, not height. Many people assume their height determines the right pack size, but posture, spinal curvature, and proportions vary widely. The key measurement is from the base of your neck (C7 vertebra) to the top of your hip bones (iliac crest).
To measure accurately:
- Tilt your head forward slightly and locate the prominent bump at the base of your neck—the C7 vertebra.
- Have someone mark this spot with a pen or tape.
- Locate the top of your hip bones—this is where your iliac crests sit, roughly at the level of your belt line.
- Using a flexible ruler or measuring tape, follow the natural curve of your spine between these two points.
This measurement, in inches or centimeters, corresponds directly to backpack sizing. Most manufacturers categorize packs as follows:
| Torso Length (inches) | Torso Length (cm) | Recommended Pack Size |
|---|---|---|
| 14–16 | 35–40 | Small (S) |
| 16–18 | 40–45 | Medium (M) |
| 18–20 | 45–50 | Large (L) |
| 20–22+ | 50–55+ | Extra Large (XL) |
Choosing Capacity Based on Adventure Type
Capacity, measured in liters, must align with your intended use. Too little space limits essentials; too much invites unnecessary bulk. Here's a practical guide:
- Daypacks (15–30L): Ideal for short hikes, urban commutes, or school. Holds water, snacks, layers, and a small first-aid kit.
- Weekend Packs (30–50L): Suitable for overnight trips or weekend excursions. Fits a sleeping bag, lightweight tent, and extra clothing.
- Multi-Day Hiking (50–70L): Designed for 3–5 day backpacking trips. Accommodates full camping gear, food, and weather-appropriate clothing.
- Expedition Packs (70L+): Built for extended wilderness travel or cold-weather expeditions requiring bulky gear.
Modern ultralight gear has shifted these norms. Skilled packers using compressible equipment often thrive with smaller volumes. However, beginners should err on the side of slightly more space to avoid frustration.
Real Example: Sarah’s Mistake on the Appalachian Trail
Sarah, an experienced road tripper but new to backpacking, chose a 75-liter pack for her first five-day hike. She assumed bigger meant safer. Within hours, she was struggling. The pack towered over her shoulders, throwing her off balance. She’d overpacked “just in case” items—extra shoes, multiple books, a heavy camera lens. By day two, her lower back ached and her pace slowed dramatically. At a trail resupply point, a ranger suggested downsizing to a 55-liter frameless pack and streamlining her load. After repacking with only essentials, Sarah completed the remaining three days comfortably and realized: capacity isn’t about storage—it’s about sustainability.
The Anatomy of a Properly Fitted Backpack
Fitting a backpack involves more than selecting the right size—it requires adjusting key components to match your body. Follow this step-by-step guide to dial in your fit:
- Adjust the hip belt first. It should sit snugly on the top of your pelvis, covering the iliac crest. This is where the majority of weight should rest.
- Connect and tension the shoulder straps. They should wrap comfortably over your shoulders without pinching or lifting the hip belt.
- Engage the load lifters. These diagonal straps connect the top of the pack to the shoulders. Pull them until the pack pulls slightly inward toward your upper back—this stabilizes the load.
- Secure the sternum strap. Positioned at chest level, it helps distribute pressure and prevents shoulder strap slippage.
- Check movement. Bend forward, twist side to side, and walk around. The pack should move with your body, not sway or shift independently.
Do’s and Don’ts of Backpack Fitting
| Do | Don't |
|---|---|
| Measure your torso before buying | Rely solely on height-based sizing charts |
| Load the pack with 10–15 lbs during fitting | Test a completely empty backpack |
| Ensure 1–2 inches of space above your shoulders | Let the top of the pack rise above your shoulders |
| Distribute weight with frame stays and compression straps | Carry loose, shifting loads without internal organization |
Expert Checklist: How to Choose the Perfect Backpack
Before making a purchase, run through this essential checklist:
- ✅ Measured your torso length accurately
- ✅ Determined required capacity based on trip duration
- ✅ Tried on multiple brands—fits vary significantly
- ✅ Adjusted hip belt, shoulder straps, and load lifters
- ✅ Loaded the pack with mock weight (e.g., books or weights)
- ✅ Walked around the store or test area for at least 5 minutes
- ✅ Confirmed ventilation features for hot climates
- ✅ Checked access points (top, front, side) for convenience
- ✅ Verified compatibility with hydration reservoirs if needed
- ✅ Reviewed warranty and return policy
Frequently Asked Questions
Can I use the same backpack for hiking and travel?
Yes, many 45–55L convertible backpacks work well for both purposes. Look for models with clamshell openings, lockable zippers, and detachable daypacks. However, dedicated travel packs often prioritize security and accessibility, while hiking packs focus on weight transfer and durability. Choose based on your primary use.
What if my torso length falls between sizes?
When caught between sizes, prioritize hip belt fit. A slightly shorter torso can often be accommodated with load lifter adjustment, but a misaligned hip belt cannot be corrected. If possible, go with the size that allows the hip belt to sit securely on your pelvis—even if the shoulder harness feels marginally tight.
Are women-specific backpacks necessary?
Many women benefit from packs designed with shorter torso lengths, narrower shoulders, wider hips, and contoured hip belts. While not mandatory, women-specific models often provide better comfort and weight distribution due to anatomical differences. Try both unisex and gender-specific options to compare fit.
Final Thoughts: Invest Time Now, Enjoy Every Step Later
Choosing the right backpack isn’t a shortcut-driven process. It demands attention to detail, honest assessment of your needs, and willingness to try before you buy. A perfectly sized pack transforms how you experience the outdoors—it becomes an extension of your body rather than a burden to endure. Comfort enables longer hikes, clearer focus, and deeper immersion in nature.


 浙公网安备
33010002000092号
浙公网安备
33010002000092号 浙B2-20120091-4
Comments
No comments yet. Why don't you start the discussion?