
Blender has evolved into one of the most powerful open-source tools for 3D digital sculpting, rivaling commercial software in both capability and flexibility. While beginners often start with basic mesh modeling, true artistry emerges in the sculpt mode—where form, texture, and emotion take shape through dynamic topology and intuitive brush control. To move beyond simple shapes and create lifelike characters, creatures, or organic environments, artists must master advanced sculpting workflows. This guide dives deep into the techniques, settings, and mindset that separate amateur attempts from professional-grade results.
Understanding Dynamic Topology and When to Use It
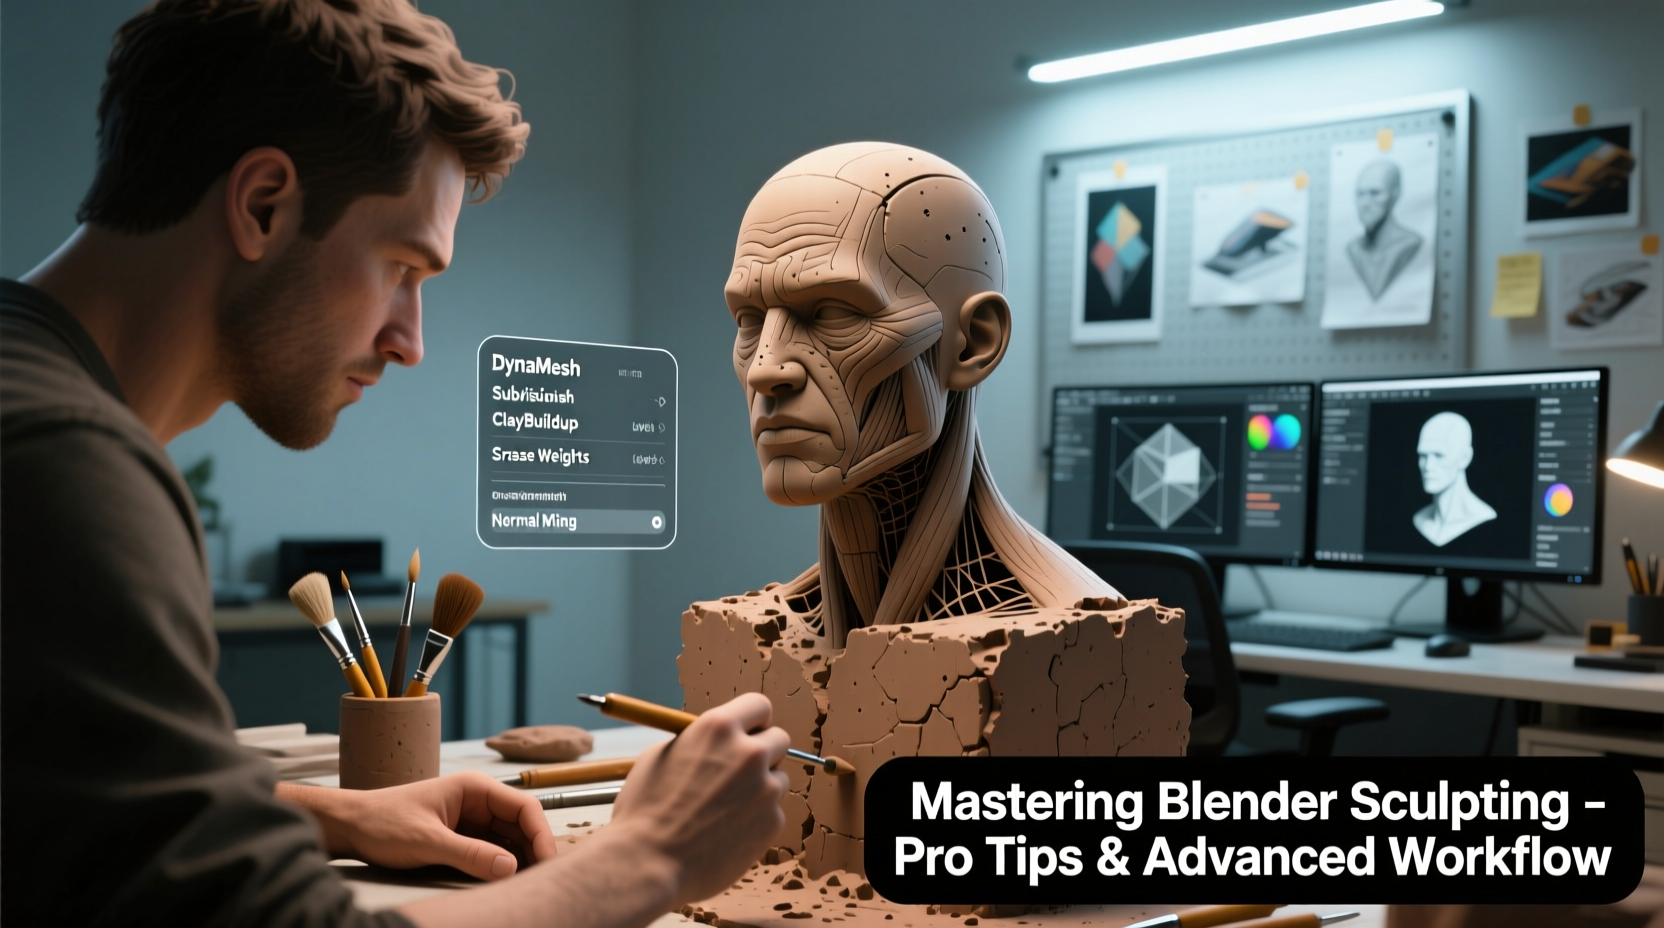
Dynamic Topology (Dyntopo) is the cornerstone of detailed sculpting in Blender. Unlike traditional subdivision levels, Dyntopo dynamically adds or removes geometry based on brush strokes, allowing for extreme detail without pre-planning mesh density. However, its power comes with trade-offs: messy topology, performance hits, and difficulty retopologizing later.
Use Dyntopo when working on highly irregular forms—such as faces with deep wrinkles, creature anatomy with horns or scales, or abstract organic shapes. Disable it when refining large surfaces or preparing for animation, where clean edge flow matters more than micro-detail.
Advanced Brush Techniques for Realistic Detailing
The default brushes in Blender are functional, but unlocking their full potential requires customization and layering. Professional sculptors rarely rely on a single stroke; instead, they blend multiple brushes with varying strength, spacing, and falloff to simulate real-world material behavior.
- Clay Strips: Ideal for building up muscle mass or clothing folds. Combine with the Smooth brush to soften transitions.
- Crease: Sharpens edges and defines seams. Lower the strength to 0.3 for subtle definition without overcutting.
- Pinch: Use sparingly to tighten features like eyelids or lips. Overuse can collapse mesh detail.
- Mask + Inverse + Grab: A powerful combo for isolating areas and adjusting proportions non-destructively.
Customize brush curves under the Falloff panel. A “sharp” curve gives precise control at the brush center, while “sphere” offers smoother gradients. For skin textures, use a textured stencil with low opacity to scatter pores or scars across the surface.
Optimizing Workflow with Multiresolution and Remeshing
For projects requiring both high detail and animation readiness, the Multiresolution modifier is superior to Dyntopo. It allows you to subdivide uniformly and sculpt progressively across levels, preserving cleaner topology.
- Start with a base mesh and add a Multiresolution modifier.
- Sculpt broad forms at Level 0 or 1.
- Increase resolution step-by-step, refining details only after establishing overall volume.
- Use Sculpt > Apply Base to transfer changes down the stack before exporting.
When topology becomes too dense or uneven, remeshing saves time. The Voxel Remesher creates uniform geometry from any sculpt. Apply it selectively by hiding unwanted parts or use it post-sculpt to generate a clean base for retopology.
| Technique | Best For | Limitations |
|---|---|---|
| Dyntopo | High-detail organic sculpts (faces, creatures) | Poor topology, hard to animate |
| Multiresolution | Characters needing rigging or reuse | Limited asymmetry, fixed subdivisions |
| Voxel Remesh | Cleaning up messy meshes | Destroys existing details if not masked |
Expert Insight: Working Like a Studio Artist
“Sculpting isn’t about adding detail—it’s about revealing form. The best artists spend 70% of their time blocking in volumes and silhouettes before touching a detail brush.” — Lena Torres, Senior Character Artist at Framestore
This philosophy underpins professional workflows. Rushing into fine details leads to flat, noisy models lacking depth. Instead, follow a structured progression: block-in → refine → define → detail → polish. Each phase uses different brushes, zoom levels, and mental focus.
During block-in, work at 25–50% zoom, using broad strokes to establish proportions. Only when the silhouette reads correctly from all angles should you proceed to secondary forms like muscles or clothing draping. Fine details come last—and only where they serve the design.
Mini Case Study: Creating a Fantasy Warrior Bust
An indie game developer needed a stylized warrior bust for a promotional render. Starting with a ZSphere-like base mesh, she enabled Dyntopo with a detail size of 10px. Over two hours, she blocked out facial structure, exaggerated cheekbones, and added armor plates using the Grab and Clay brushes.
At this stage, the model looked bulky and lacked personality. She switched to Multiresolution, baked the main forms, and began refining eyes and mouth with mirrored symmetry. After disabling symmetry, she introduced asymmetry—slightly raised eyebrow, scar across the nose—to add realism.
Finally, she used alpha stencils for chainmail texture and applied noise via the Displace modifier with a Musgrave texture to simulate weathered metal. Total sculpt time: six focused hours across three sessions. The final model was decimated for real-time use but retained print-quality detail for renders.
Pro Checklist: Sculpting Optimization Routine
- ✅ Always start with reference images on background planes.
- ✅ Use layers or save incremental versions (.blend files) every 30 minutes.
- ✅ Enable Lazy Mouse for smoother curves and controlled lines.
- ✅ Regularly rotate view to check proportions from multiple angles.
- ✅ Use masking to protect finished areas during aggressive brushing.
- ✅ Bake normal maps early for testing in engines like Unity or Unreal.
- ✅ Clean up topology before exporting—never send Dyntopo meshes to animators.
Frequently Asked Questions
Can I sculpt high-poly models on a laptop?
Yes, but performance depends on RAM and GPU. Use Dyntopo sparingly, keep subdivision levels low during work, and enable Simplify in Preferences to reduce viewport load. Consider using a tablet with pressure sensitivity to maximize efficiency.
How do I avoid mesh tearing when using strong brushes?
Maintain even geometry distribution. Avoid dragging brushes across sharp topology jumps. Use the Relax brush periodically to smooth out distortions. If tearing persists, increase base mesh resolution or switch to Multiresolution mode.
What’s the best way to share sculpted assets with others?
Export as OBJ or FBX with applied modifiers. Include a baked normal map and displacement map if the receiving software supports them. For collaboration, provide both the high-poly sculpt and a retopologized version for rigging.
Conclusion: Elevate Your Art Through Discipline and Experimentation
Mastering Blender sculpting isn’t about knowing every shortcut—it’s about developing an eye for form, a hand for precision, and the patience to iterate. The tools are free, but expertise comes from deliberate practice. Challenge yourself weekly: sculpt a new animal, replicate a portrait from photo, or design an original creature using only five brushes.


 浙公网安备
33010002000092号
浙公网安备
33010002000092号 浙B2-20120091-4
Comments
No comments yet. Why don't you start the discussion?