
There’s something profoundly satisfying about holding a book you’ve made with your own hands—its weight, the texture of its cover, the crisp turn of each page. Bookbinding is no longer confined to specialized artisans or industrial presses. With basic tools, accessible materials, and a bit of patience, anyone can create durable, elegant books at home that rival professionally bound editions.
This guide walks you through the entire process—from selecting the right paper to stitching the spine and finishing the cover—so you can produce high-quality notebooks, journals, or gift books that stand the test of time.
Gathering Your Tools and Materials
Before beginning any bookbinding project, it’s essential to assemble the correct tools and materials. While some advanced techniques require specialized equipment, many beautiful books can be made with items commonly found around the house or purchased affordably online.
| Tool/Material | Purpose | Home Alternative (if needed) |
|---|---|---|
| Fine bone folder | Crimps folds and smooths creases | Butter knife (clean and dull) |
| Needle and waxed linen thread | Sewing signatures together | Embroidery floss (less durable) |
| Bookbinding needle (blunt tip) | Prevents tearing paper when sewing | Tapestry needle |
| Cardstock or binder board | Forms stiff covers | Damaged cereal box layers glued together |
| PVA glue | Bonds paper and board without warping | White craft glue (diluted slightly) |
| Ruler and cutting mat | Ensures precise measurements | Any ruler + cardboard base |
Choosing the Right Paper and Designing Signatures
The foundation of every well-bound book lies in its pages. The choice of paper affects not only aesthetics but also functionality—how easily the book opens, how ink behaves, and how long the pages last.
For most handmade books, use acid-free paper between 70–100 gsm. Heavier paper resists bleed-through and adds substance, but too much weight makes sewing difficult. Common choices include drawing paper, watercolor sheets, or even repurposed printer paper for practice.
A “signature” is a group of folded sheets nested together to form a section of the book. Most hand-bound books use 3–5 signatures depending on desired thickness. Each signature typically contains 4–8 sheets, folded evenly in half.
- Fold each sheet precisely using a bone folder to sharpen the crease.
- Align all folded sheets into one stack to form a single signature.
- Repeat until you have enough signatures to reach your desired page count.
For a 100-page notebook, use five signatures of eight sheets (16 pages) each. This yields 80 pages; add endpapers and you’re close to target. Plan accordingly.
“Precision in folding and alignment separates amateur attempts from professional results.” — Daniel Reyes, Hand Bookbinder & Instructor, Center for Craft Book Arts
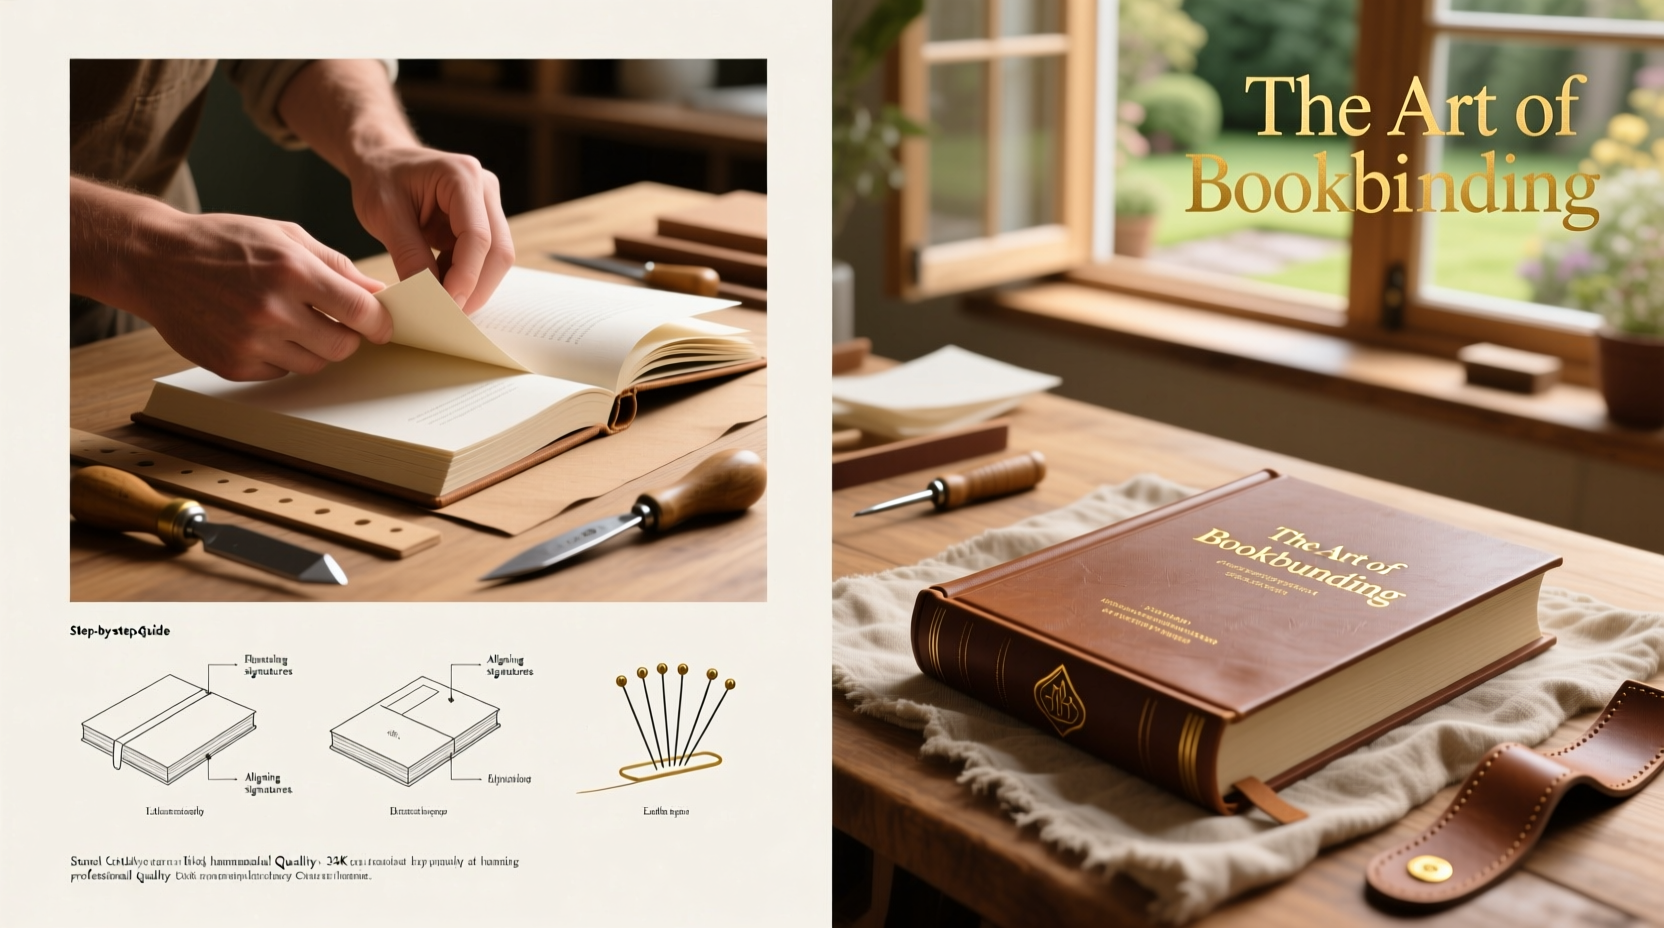
Step-by-Step Binding Process: The Long-Stitch Method
One of the most beginner-friendly yet visually striking binding styles is the long-stitch technique. It exposes the thread along the spine, creating a decorative pattern while maintaining strength.
Step 1: Punch Holes in Signatures
Using a long ruler, mark 4–6 evenly spaced points along the fold (spine edge) of each signature. Use an awl or thin nail to gently punch through each point. Keep holes consistent across all signatures.
Step 2: Prepare the Cover
Cut two pieces of binder board to match your page size (e.g., 6” x 9”). These will become the front and back covers. Cut a strip of decorative paper or cloth slightly longer than the height of the book and wide enough to wrap around both covers and the spine gap (typically 1–1.5 inches).
Step 3: Sew the Signatures Together
- Thread a bookbinding needle with about 3 feet of waxed linen thread.
- Start from the inside of the first signature, pulling the thread through so the knot rests within the fold.
- Sew through each hole, moving outward.
- When attaching the next signature, loop the thread around the previous stitch before continuing—this creates a strong chain-link connection.
- Repeat until all signatures are sewn.
Step 4: Attach to the Cover
Lay the cover flat, spine-side up. Position the sewn block of signatures against it, aligning the spine edge with the center of the spine portion of the cover. Continue sewing through pre-punched holes in the cover, following a visible pattern such as straight lines or diamond shapes. Knot securely on the outside.
Step 5: Finish and Press
Once sewn, place the book under heavy weights (like stacked books) for 12–24 hours. This flattens the spine and sets the shape. Trim edges with a paper guillotine or sharp blade if needed for uniformity.
Adding Professional Touches: Endpapers, Titles, and Protection
To elevate your book from homemade to high-end, incorporate refined details that enhance both function and appearance.
- Endpapers: Glue decorative paper (marbled, Japanese tissue, or handmade) to the inside covers. They reinforce attachment and provide a polished interior.
- Title labeling: Use gold leaf stamping, calligraphy, or printed labels centered on the spine or front cover.
- Edge painting: Apply acrylic paint or shellac to the top, fore-edge, or bottom of the pages for a luxurious finish. Let dry fully before handling.
- Protective coating: Brush a thin layer of clear varnish or beeswax on cloth covers to resist moisture and wear.
These touches may seem minor, but they signal craftsmanship and care—qualities readers instantly recognize.
Real Example: Sarah’s Handmade Journal Project
Sarah, a freelance writer in Portland, wanted a durable journal for outdoor sketching and note-taking. Store-bought notebooks fell apart after weeks of use. She decided to make her own using the long-stitch method.
She used 80 gsm recycled cotton paper for the pages, brown linen thread, and a dark gray canvas-covered binder board. After sewing five signatures and attaching them to the cover, she added marbled paper endpapers and painted the page edges deep navy. The result was a rugged yet elegant journal that survived rain, backpacks, and daily use for over a year—far outlasting commercial alternatives.
Her feedback? “Knowing how it was built gives me confidence in its strength. Plus, I love showing it off.”
Common Mistakes and How to Avoid Them
Even experienced crafters encounter issues. Being aware of common pitfalls helps ensure success.
| Mistake | Consequence | Solution |
|---|---|---|
| Inconsistent hole placement | Uneven stitching, loose binding | Use a jig or template to mark holes identically on all signatures |
| Over-tightening thread | Spine buckles, pages won’t lie flat | Keep tension firm but flexible; allow slight give |
| Using non-acid-free materials | Yellowing and brittleness over time | Always choose archival-quality paper and adhesives |
| Skipping the pressing stage | Wavy pages, uneven spine | Weight the book overnight after binding |
FAQ
Can I bind a book without glue?
Yes. Non-adhesive bindings like Coptic stitch or long-stitch rely entirely on thread. These allow the book to open completely flat and are ideal for sketchbooks or photo albums.
How do I repair a loose signature?
Carefully open the book near the loose section. Apply a small amount of PVA glue to the spine edge of the signature, then re-sew through existing holes using fresh thread. Clamp until dry.
What’s the best way to store finished books?
Store upright on a shelf, away from direct sunlight and humidity. Wrap in acid-free tissue if storing long-term. Avoid plastic bags, which trap moisture.
Conclusion
Creating professional-quality books at home is not only possible—it’s deeply rewarding. With careful planning, attention to detail, and a few essential tools, you can produce volumes that are functional, beautiful, and uniquely yours. Whether you're making a personal journal, a gift for a loved one, or a limited-edition artist’s book, the skills you develop will grow with each project.


 浙公网安备
33010002000092号
浙公网安备
33010002000092号 浙B2-20120091-4
Comments
No comments yet. Why don't you start the discussion?