
Calligraphy is more than just writing—it’s an art form that transforms words into visual poetry. With a fountain pen in hand, you gain access to a world of expressive strokes, elegant flourishes, and timeless beauty. But achieving mastery requires more than enthusiasm; it demands technique, patience, and deliberate practice. Whether you're a beginner or refining existing skills, improving your fountain pen calligraphy hinges on understanding foundational principles and applying them consistently.
Understanding the Tools of the Trade
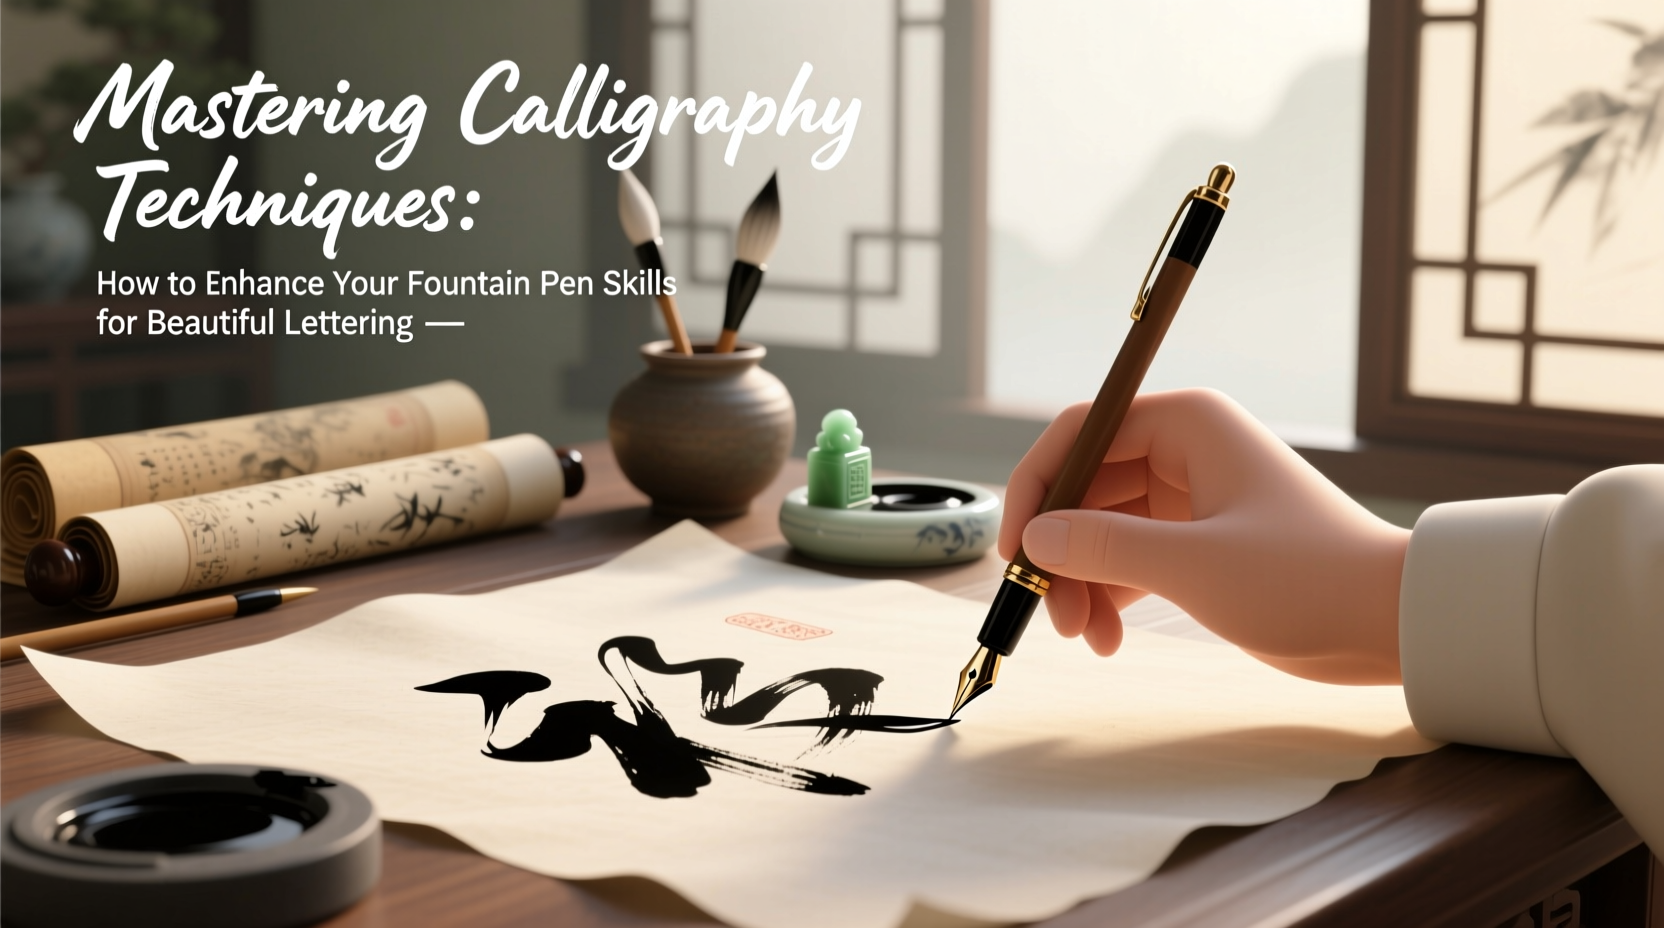
The fountain pen is not merely a writing instrument—it's an extension of your hand and intention. Unlike ballpoints or gel pens, fountain pens rely on ink flow regulated by capillary action and gravity. This makes them uniquely responsive to pressure, angle, and speed. To master calligraphy, you must first understand your tool.
Fountain pens come in various nib types—broad, fine, stub, italic, and flexible—each influencing stroke width and character style. For traditional calligraphy like Copperplate or Spencerian, a flexible nib allows for dramatic contrast between thick downstrokes and thin upstrokes. A stub or italic nib works well for modern styles with consistent line variation.
Selecting the Right Materials
Paper matters as much as the pen. Smooth, high-quality paper prevents nib snagging and controls ink spread. Rhodia, Clairefontaine, and Tomoe River are favorites among calligraphers for their balance of texture and absorbency. Avoid glossy or heavily textured surfaces unless specifically designed for ink work.
Ink selection also influences results. Water-based inks flow smoothly but dry slowly; pigmented inks offer permanence but may require extra cleaning. For beginners, reliable options include Pelikan 4001, Diamine, or Noodler’s Bulletproof series.
Foundational Techniques for Consistent Lettering
Beautiful calligraphy begins with control. Before attempting elaborate scripts, focus on mastering basic strokes—the building blocks of all letters. These include ascending lines, descending curves, compound curves, and oval forms. Practicing these daily builds muscle memory and improves consistency.
Hold the pen at a 45-degree angle to the baseline for most formal scripts. This ensures optimal contact between nib and paper, allowing both tines to engage during downstrokes while minimizing drag on upstrokes. Rotate your paper slightly (clockwise for right-handers, counterclockwise for left-handers) to maintain this angle without contorting your wrist.
| Technique | Do | Avoid |
|---|---|---|
| Grip | Use a relaxed tripod grip near the nib | Clutching too tightly or gripping far from tip |
| Pressure | Apply gentle pressure only on downstrokes | Excessive force causing railroading or scratchiness |
| Motion | Move from forearm, not fingers | Jerkiness caused by finger-only movement |
| Speed | Moderate pace for controlled flow | Rushing, which disrupts ink delivery |
“True elegance in calligraphy comes not from complexity, but from disciplined simplicity.” — James Horton, Master Penman & Calligraphy Instructor
Step-by-Step Guide to Improving Your Script
Progress in calligraphy follows a structured path. Follow this timeline to build skill systematically over weeks and months.
- Week 1–2: Focus on Basic Strokes
Practice drills daily using lined practice sheets. Repeat vertical shades, compound curves, and entry/exit flicks until they become fluid and uniform. - Week 3–4: Form Individual Letters
Begin constructing lowercase letters using correct proportions. Use guidelines spaced at 5mm intervals to maintain x-height and ascender/descender consistency. - Month 2: Connect Letters Gracefully
Work on joining characters without lifting the pen where appropriate. Aim for smooth transitions and even spacing between letters. - Month 3: Develop Uppercase Forms
Introduce ornamental capitals. Study historical models such as George Bickham’s *The Universal Penman* for authentic inspiration. - Month 4+: Refine Style and Add Flourishes
Once legibility and rhythm are stable, experiment with personal flair—slight slants, exaggerated loops, or decorative extensions—while preserving readability.
Common Challenges and How to Overcome Them
Even experienced practitioners face obstacles. Recognizing and addressing them early accelerates progress.
- Inconsistent Stroke Width: Often due to uneven pressure or incorrect pen angle. Recheck your grip and ensure the nib remains perpendicular to the slant line.
- Skipping or Railroading: When the two tines of the nib separate mid-stroke, usually from excessive pressure. Use lighter touch and consider switching to a stiffer nib if flexibility exceeds your current control level.
- Bleeding or Feathering: Caused by porous paper or overly wet ink. Try drier inks or less absorbent paper stock.
- Shaky Lines: Indicates tension in the hand. Loosen your grip, breathe steadily, and practice larger strokes on bigger paper to build confidence.
Mini Case Study: From Frustration to Flow
Sarah, a graphic designer in Portland, struggled for months with shaky downstrokes and irregular letter sizes. She practiced sporadically, often switching pens and papers in search of a “magic” setup. After consulting a local calligraphy guild, she committed to one pen (Lamy Safari with Zebra G nib), one ink (Diamine Onyx), and one paper (Rhodia No. 18). She practiced basic strokes 15 minutes every morning. Within six weeks, her writing became noticeably smoother. By month three, she completed her first invitation suite for a friend’s wedding—neat, balanced, and full of character. Her breakthrough came not from changing tools, but from consistent repetition and mindful correction.
Essential Checklist for Daily Practice
To stay on track, follow this actionable checklist each time you sit down to write:
- ✔ Prepare your workspace: clean surface, good lighting, water for rinsing (if needed)
- ✔ Set up guidelines using a lightbox or printed sheet under your paper
- ✔ Warm up with 5–10 minutes of basic stroke drills
- ✔ Focus on one aspect per session (e.g., spacing, pressure, connections)
- ✔ Limit distractions—practice in silence or with calming background music
- ✔ Review your work critically: circle what worked, mark areas for improvement
- ✔ Clean your pen weekly to prevent clogging and ensure steady ink flow
Frequently Asked Questions
How long does it take to master fountain pen calligraphy?
There is no fixed timeline. With regular practice (20–30 minutes, 4–5 times per week), most learners see significant improvement within 3–6 months. Mastery, however, is a lifelong pursuit involving continual refinement and stylistic exploration.
Can left-handed people excel at calligraphy?
Absolutely. Left-handed writers may need to adjust their grip or rotate the paper more dramatically to avoid smudging. Some benefit from using quick-drying inks or a slanted writing board. Many renowned calligraphers are left-handed and have developed unique approaches suited to their natural motion.
Why does my ink blob at certain points?
Blobbing typically occurs when the pen dwells too long on the paper, causing excess ink to pool. It can also stem from a misaligned nib or overly saturated feed. Lift the pen cleanly after each stroke and ensure your pen is properly cleaned and assembled.
Cultivating Patience and Artistic Vision
Calligraphy rewards persistence. Early attempts may feel clumsy, but every stroke contributes to neural and muscular development. Don’t compare your Day 30 to someone else’s Year 3. Instead, measure progress against your own previous work. Over time, you’ll notice subtler control, cleaner lines, and greater confidence in expression.
As your technical skill grows, so should your artistic intent. Study historical scripts, analyze contemporary masters, and eventually develop a voice that reflects your personality. The most compelling calligraphy isn’t flawless—it’s alive with intention and care.
“Your hand learns what your mind commits to. Practice not for perfection, but for presence.” — Lin Mei, Calligraphy Artist & Educator
Conclusion
Mastering calligraphy with a fountain pen is a journey of precision, patience, and passion. By selecting the right tools, practicing fundamental strokes, and embracing incremental progress, you lay the foundation for truly beautiful lettering. Remember, excellence emerges not from occasional bursts of effort, but from daily dedication.


 浙公网安备
33010002000092号
浙公网安备
33010002000092号 浙B2-20120091-4
Comments
No comments yet. Why don't you start the discussion?