
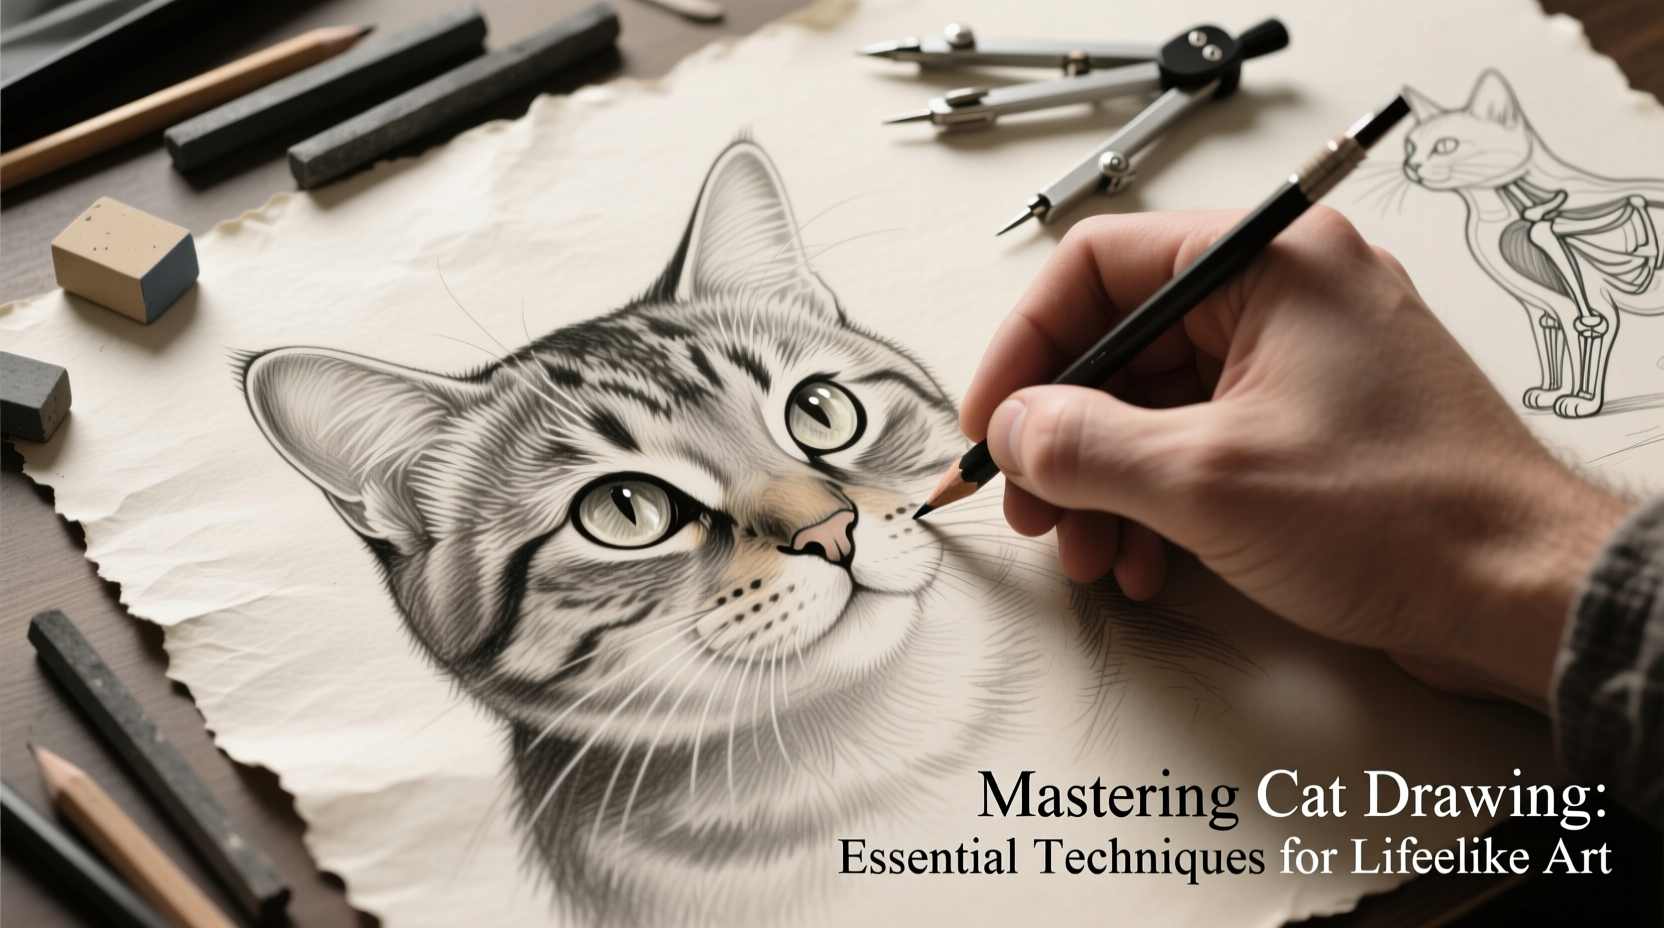
Drawing cats is more than capturing fur and whiskers—it’s about understanding form, movement, and expression. Whether you're a beginner or an intermediate artist looking to refine your skills, mastering the nuances of feline anatomy and behavior translates into drawings that breathe life. Cats move with subtle grace, their eyes flicker with emotion, and their postures speak volumes. Translating these qualities onto paper requires both technical skill and observational patience. This guide breaks down the core principles behind realistic cat illustration, offering actionable steps, expert insights, and structured methods to elevate your artwork.
Anatomy: The Foundation of Lifelike Cat Drawing
To draw a convincing cat, start with its underlying structure. Unlike humans, cats have flexible spines, compact torsos, and limbs built for agility. Their skeletal framework allows for extreme contortions—stretching, arching, pouncing—which must be understood before attempting detailed rendering.
The head is triangular in most domestic breeds, with large, forward-facing eyes positioned low on the skull. Ears sit high and tilt slightly outward. The neck is short but powerful, blending smoothly into broad shoulders. The torso tapers from chest to hindquarters, often concealed beneath fur but critical for proportion accuracy. Legs are slender yet muscular, ending in small paws with retractable claws.
A common mistake is over-rounding the body or elongating the legs unnaturally. Study reference photos from multiple angles—side, front, three-quarter—to internalize how volume shifts with pose. Pay attention to weight distribution: when a cat sits, its hind legs fold beneath, while the forelegs support the upper body lightly.
Proportional Accuracy Through Measurement
Accurate proportions separate amateur sketches from professional-quality drawings. Use comparative measurement techniques to maintain consistency across features. For example, the width of one eye typically equals the space between the eyes. The nose lies midway between the eyes and chin. The ear height matches the distance from eye to brow line.
| Feature | Proportion Rule |
|---|---|
| Head | Divide vertically into thirds: eyes at top third, nose at middle, mouth below |
| Eyes | One eye-width apart; oval shape, angled toward center |
| Body | Length approximately 3–4 head units depending on breed |
| Legs | Front legs align under shoulder joints; back legs longer and angled |
Use a grid method or sighting tool (like a pencil held at arm’s length) to compare angles and distances directly from your reference. These tools help train your eye to see relationships rather than isolated shapes.
Step-by-Step Guide to Drawing a Realistic Sitting Cat
- Begin with gesture lines: Lightly sketch the spine curve and central axis of the head. This establishes posture and flow.
- Block in major forms: Use circles and ovals for head, ribcage, pelvis, and limb segments. Keep lines loose and adjustable.
- Refine joint placement: Mark shoulders, elbows, knees, and paws based on anatomical logic, not guesswork.
- Add facial guidelines: Draw a crosshair on the head for eye, nose, and mouth positioning.
- Define musculature: Connect the forms with smooth transitions, indicating muscle mass without heavy outlining.
- Detail the face: Place eyes along the horizontal midline, nostrils at the base of the muzzle, whisker pads beneath.
- Render fur texture: Follow directional growth patterns—short around face, longer along neck and tail.
- Apply shading: Build values gradually, starting with midtones, then shadows, and finally highlights.
This sequence ensures structural integrity before aesthetic refinement. Skipping steps often leads to flat or distorted results.
Capturing Expression and Personality
A technically perfect drawing can still feel lifeless without emotional resonance. Cats communicate through subtle cues: narrowed eyes signal relaxation; dilated pupils suggest alertness; flattened ears indicate fear. Observing real cats—or high-resolution photographs—helps decode these expressions.
The eyes are the focal point. Render them with layered graphite or ink, leaving tiny highlights to simulate moisture and depth. The area around the eyes, including eyebrows and cheekbones, contributes to mood. A slightly raised outer corner can imply curiosity, while downturned lids suggest sleepiness.
“Animals don’t wear masks. Their faces reveal true feeling. To draw a cat well, you must learn to read its silence.” — Lena Torres, Wildlife Illustrator and Educator
In one mini case study, an artist struggled to make her tabby drawings appear engaging. After spending two hours observing a neighbor’s cat, she noticed how the animal’s whiskers twitched forward when curious and swept back when annoyed. Incorporating those micro-movements transformed her work from generic to vividly authentic.
Fur Texture and Rendering Techniques
Fur isn’t drawn stroke by stroke—it’s suggested through value shifts and directional marks. Short-haired breeds like Siamese require fine, even hatching. Long-haired cats such as Persians need flowing, overlapping curves to mimic tufts and ruffles.
- Use a sharp pencil for tight areas like the face.
- Switch to a softer lead (2B–6B) for shadow zones and dense fur.
- Lift graphite with a kneaded eraser to create highlight strands.
- Work from dark to light, building contrast slowly.
Observe how fur changes direction across the body: radiating from the crown, flowing down the spine, swirling at the shoulders. Ignoring these patterns results in a “painted-on” look.
Checklist for Creating Convincing Cat Art
- Study live references or high-quality photos from multiple angles
- Simplify the body into geometric forms before detailing
- Verify proportions using measurement techniques
- Map out facial features with a guideline system
- Sketch the spine and limb alignment to ensure natural posture
- Indicate light source and plan shadow placement
- Render fur following natural growth directions
- Add final details: whiskers, paw pads, claw definition
- Step back frequently to assess overall balance
- Sign and date your finished piece for progress tracking
Common Mistakes and How to Avoid Them
Even experienced artists fall into traps when drawing animals. One frequent error is “doll syndrome”—rendering eyes too large or symmetrically placed, making the cat look cartoonish. Another is stiff posing, where limbs appear rigid or disconnected from the torso.
Overworking the drawing with excessive detail can muddy values and obscure form. Instead, focus on clarity: define edges only where necessary, and let softer transitions suggest depth.
“The best animal drawings aren’t the most detailed—they’re the ones that capture a moment of truth.” — Julian Reed, Editorial Illustrator
FAQ
How do I make my cat drawings look less flat?
Add volume by establishing a clear light source and using gradual tonal gradients. Emphasize rounded forms with soft shadows under the chin, between limbs, and along the underside of the tail.
Should I draw every hair?
No. Focus on groups of hairs forming clumps or waves. Individual strands should only appear in highlights or sparse areas like whiskers.
What materials work best for realistic cat drawings?
Soft graphite pencils (2B–8B), a kneaded eraser, and smooth Bristol board offer excellent control. Some artists also use blending stumps for seamless gradients.
Mastery Through Practice and Observation
Realistic cat drawing is not mastered overnight. It grows from consistent practice, keen observation, and a willingness to analyze mistakes. Set aside time weekly to draw from life or curated references. Keep a sketchbook dedicated solely to feline studies—note posture variations, facial expressions, and lighting effects.
Join online communities or local art groups to share work and receive feedback. Over time, you’ll develop an intuitive sense of how cats occupy space, move, and express themselves—knowledge that transforms your drawings from representations into living portraits.


 浙公网安备
33010002000092号
浙公网安备
33010002000092号 浙B2-20120091-4
Comments
No comments yet. Why don't you start the discussion?