
Measuring with precision is a fundamental skill that applies across everyday life—from school projects and DIY crafts to engineering and tailoring. At the heart of accurate measurement lies a tool so common it’s often overlooked: the ruler. While many are familiar with inches, the metric system—especially centimeters—is used globally and offers simplicity through its decimal-based structure. Yet, for some, reading a ruler in centimeters remains a source of confusion. This guide demystifies the process, equipping you with the knowledge and confidence to measure accurately using metric units.
Understanding the Metric Ruler Layout
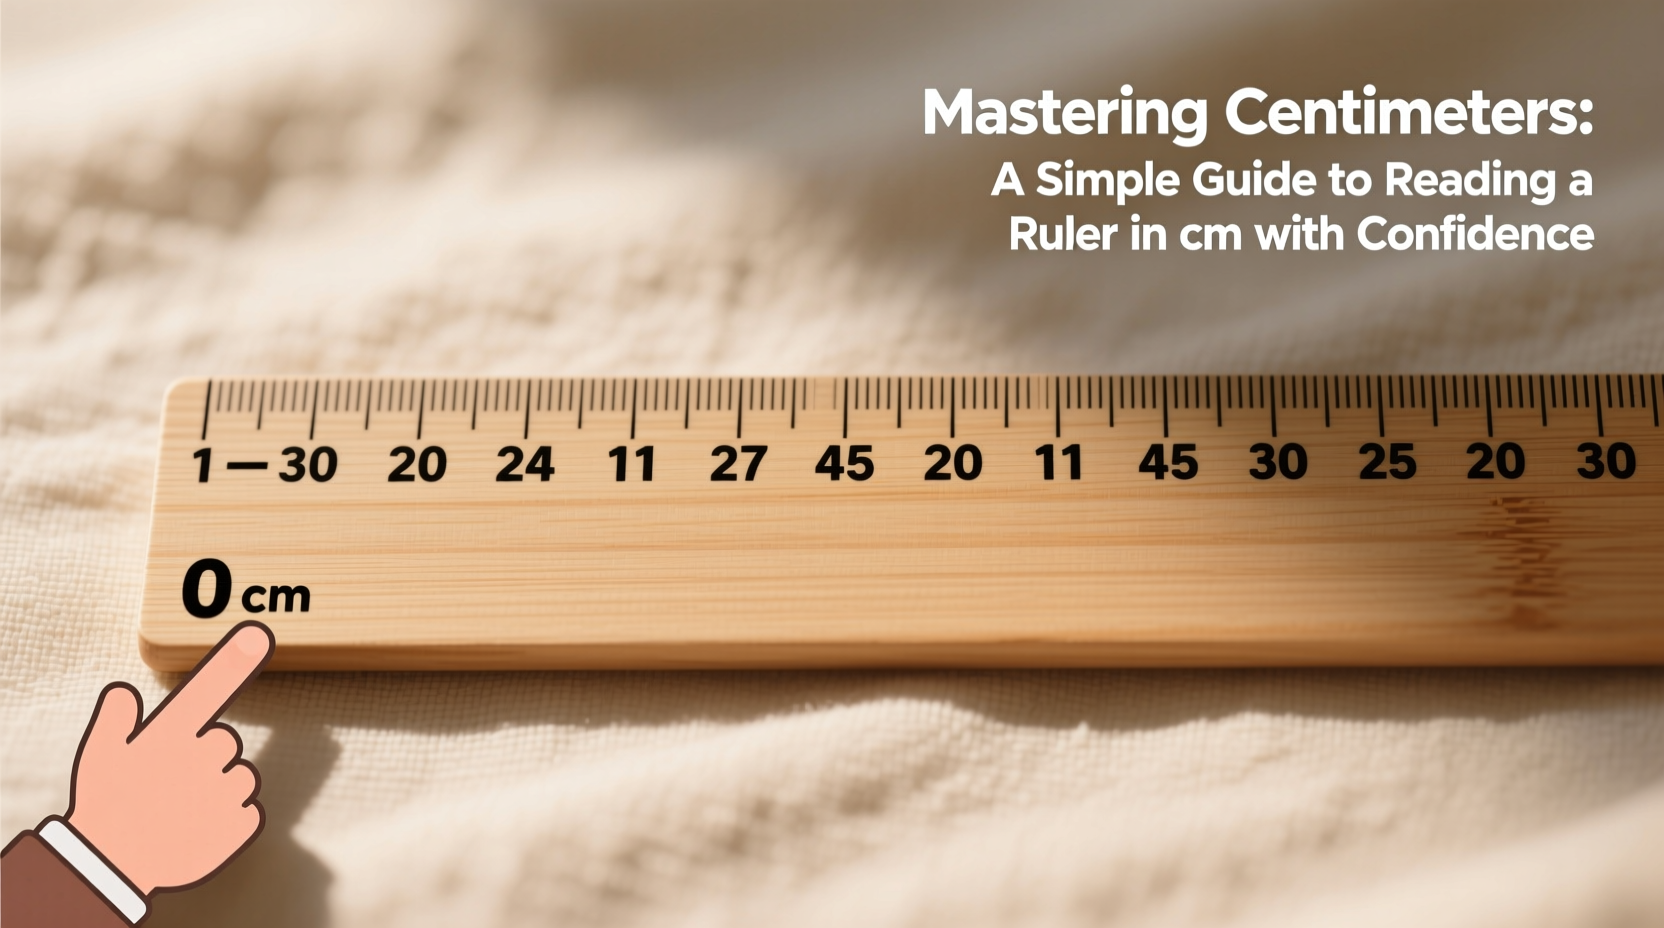
A standard metric ruler is typically 30 centimeters long, with each centimeter clearly marked by a longer line and a number. Between each centimeter, you’ll find ten smaller lines representing millimeters. This makes the system intuitive: 1 cm = 10 mm. Unlike the imperial system, which uses fractions of an inch, the metric system relies on decimals, making calculations faster and less error-prone.
The longest lines indicate full centimeters (1, 2, 3…), while the slightly shorter lines at the halfway point (5 mm) often stand out from the rest. The smallest lines represent single millimeters. When measuring, align the object’s edge with the zero mark or the end of the ruler, then read the value where the object ends.
How to Read Centimeters and Millimeters Step by Step
Reading a metric ruler becomes second nature with practice. Follow this clear sequence to ensure accuracy every time:
- Align the object correctly: Place the edge of the item flush with the 0 cm mark on the ruler. Avoid angling or misaligning the object.
- Identify the nearest full centimeter: Look at where the other end of the object lands. Note the last complete centimeter line it passes.
- Count the millimeters beyond that centimeter: Count the small lines past the last full cm. Each line equals 1 mm.
- Combine the values: Add the centimeters and millimeters together. For example, if an object ends at 7 cm plus 3 small lines, it measures 7.3 cm.
- Double-check your reading: Re-measure once to confirm consistency, especially when precision matters.
This method eliminates guesswork and supports consistent results, whether you’re measuring fabric, wood, or classroom materials.
Common Mistakes and How to Avoid Them
Even experienced users can make errors when reading rulers. Awareness of these pitfalls improves accuracy significantly.
| Mistake | Why It Happens | How to Fix It |
|---|---|---|
| Misreading millimeters as centimeters | Confusing the smaller lines with full centimeter marks | Remember: only numbered lines are centimeters; all others are subdivisions |
| Parallax error (viewing from an angle) | Looking at the ruler from above or below eye level | Position your eyes directly over the measurement point |
| Using a worn or stretched ruler | Plastic rulers degrade; metal ones dent | Inspect tools regularly and replace damaged ones |
| Starting from the physical edge instead of 0 | Some rulers have a gap before the zero mark | Always verify where \"0\" begins before measuring |
Real Example: Measuring Fabric for a Pillow Cover
Sophie needed to cut a square piece of fabric exactly 25.5 cm per side. She placed her ruler along the material but started measuring from the very edge of the plastic ruler, which had a 2 mm gap before the \"0\" mark. As a result, each side ended up 2 mm too short. After sewing, the pillow insert didn’t fit properly. Upon reviewing her process, she realized the alignment error. By starting at the actual zero line and double-checking with a second ruler, she corrected the issue and completed her project successfully.
“Accurate measurement isn’t about speed—it’s about consistency and attention to detail.” — Dr. Lena Patel, Engineering Educator and STEM Curriculum Developer
Pro Tips for Greater Measurement Confidence
Whether you're a student, crafter, or hobbyist, refining your technique leads to better outcomes. These actionable insights will sharpen your skills:
- Use a metal ruler when possible—they resist warping and offer sharper edges for clean alignment.
- Write down measurements immediately to avoid memory errors.
- When working with curves or irregular shapes, use a flexible tape measure calibrated in centimeters.
- Teach children to count millimeters aloud (“1 mm, 2 mm…”) to reinforce understanding of scale.
- For repeated cuts, mark one accurate measurement and use it as a template.
Frequently Asked Questions
What does each small line on a metric ruler represent?
Each small line represents one millimeter (mm). There are 10 millimeters in a centimeter, so the distance between two consecutive centimeter marks is divided into 10 equal parts.
Can I measure curved objects with a standard ruler?
Not effectively. A rigid ruler works best for straight edges. For curved surfaces, use a flexible measuring tape designed for metric units.
Is 0.5 cm the same as 5 mm?
Yes. Since 1 centimeter equals 10 millimeters, half a centimeter (0.5 cm) is equivalent to 5 millimeters. This direct conversion is one of the advantages of the metric system.
Putting It Into Practice: A Daily Measurement Checklist
To build lasting proficiency, incorporate these habits into your routine:
- ✅ Inspect your ruler for damage or wear before each use.
- ✅ Align the object with the true zero point—not the edge of the ruler.
- ✅ Read the measurement at eye level to prevent parallax distortion.
- ✅ Record the value in both centimeters and millimeters (e.g., 14.7 cm or 147 mm).
- ✅ Verify critical measurements twice before cutting or assembling.
Consistency builds confidence. Over time, reading a ruler in centimeters becomes as natural as reading a clock.
Final Thoughts: Measure with Purpose, Accuracy, and Confidence
Mastering centimeters is more than learning a tool—it’s developing a mindset of precision. Whether you're helping a child with homework, building furniture, or designing prototypes, the ability to read a ruler accurately empowers you to achieve better results. The metric system was designed for clarity and global compatibility, and with a little practice, anyone can wield it with confidence.


 浙公网安备
33010002000092号
浙公网安备
33010002000092号 浙B2-20120091-4
Comments
No comments yet. Why don't you start the discussion?